Introduction to Cosplay Sword Crafting
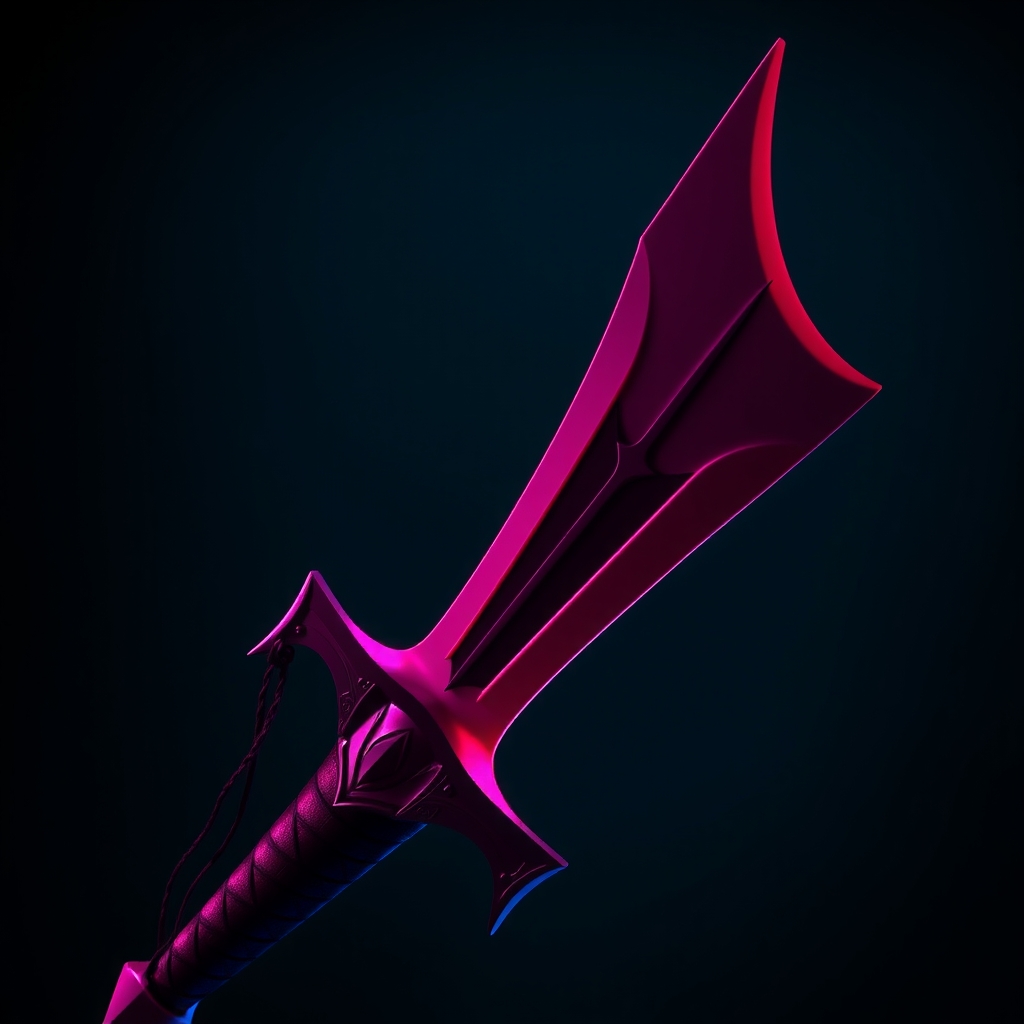
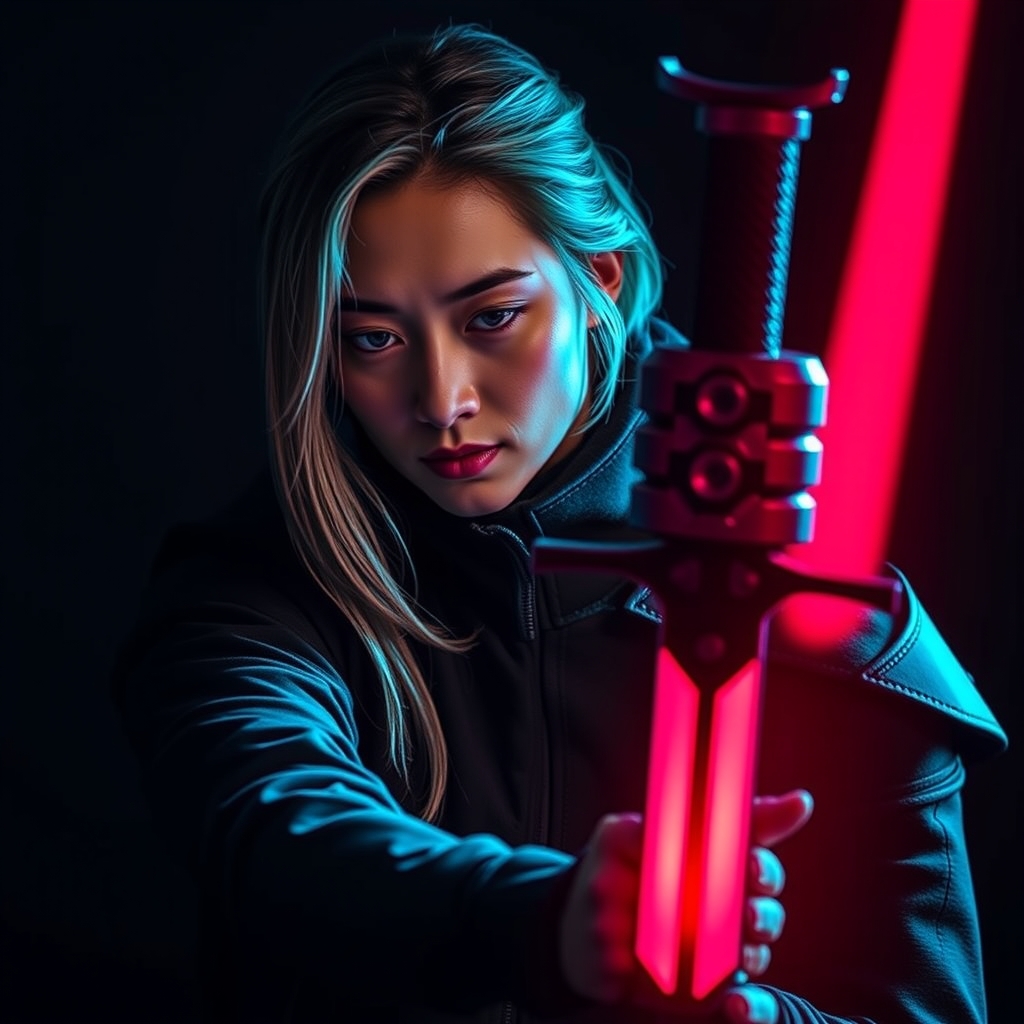
Crafting a realistic cosplay sword can be a daunting task, especially for beginners. With the advancement of technology, 3D printing has become a popular method for creating intricate designs and complex shapes. When combined with Worbla, a versatile thermoplastic material, cosplayers can achieve professional-looking results. In this guide, we'll walk you through the process of designing, printing, and finishing a cosplay sword using 3D printing and Worbla.
Designing Your Sword
Before starting your project, it's essential to have a clear design in mind. Research the sword you want to replicate, taking note of its shape, size, and details. You can use reference images or consult with other cosplayers for inspiration. For a beginner-friendly design, consider a simple sword with clean lines and minimal details.
Use computer-aided design (CAD) software or 3D modeling tools to create a digital model of your sword. You can find many free 3D models online or purchase them from marketplaces like Thingiverse or MyMiniFactory. Make sure to choose a model that is optimized for 3D printing.
Choosing the Right 3D Printing Settings
When 3D printing your sword, it's crucial to choose the right settings for a sturdy and detailed print. Here are some general guidelines:
- Layer height: 0.2-0.3 mm for a balance between detail and print speed
- Infill density: 20-50% for a strong and lightweight print
- Support material: Enable support for overhanging features and complex shapes
Experiment with different settings to find the optimal combination for your specific print.
Preparing Your 3D Print for Worbla
Once your 3D print is complete, remove any support material and sand the surface to smooth out any rough edges. Apply a coat of primer to the print, making sure to cover the entire surface. This will help the Worbla adhere evenly.
Worbla is a thermoplastic material that can be molded and shaped when heated. To apply Worbla to your 3D print, follow these steps:
- Cut a piece of Worbla to size, leaving a small excess around the edges
- Apply heat to the Worbla using a heat gun or a hair dryer
- Shape the Worbla to fit your sword, smoothing out any wrinkles or bubbles
- Allow the Worbla to cool and harden completely
Adding Details and Finishing Touches
With the Worbla in place, you can add details to your sword using paint, markers, or additional Worbla applications. For a more realistic look, consider adding a weathered or worn effect to your sword.
To add a handle or grip to your sword, use materials like foam, Worbla, or even 3D printing. Attach the handle using adhesives or mechanical fasteners, making sure it is secure and durable.
Safety Considerations and Tips
When crafting a cosplay sword, safety should always be a top priority. Here are some tips to keep in mind:
- Use protective gear when working with power tools or heat
- Ensure your sword is not too heavy or unwieldy
- Check with convention organizers or event staff for prop rules and regulations
By following these guidelines and taking necessary precautions, you can create a stunning and realistic cosplay sword that will elevate your costume to the next level.