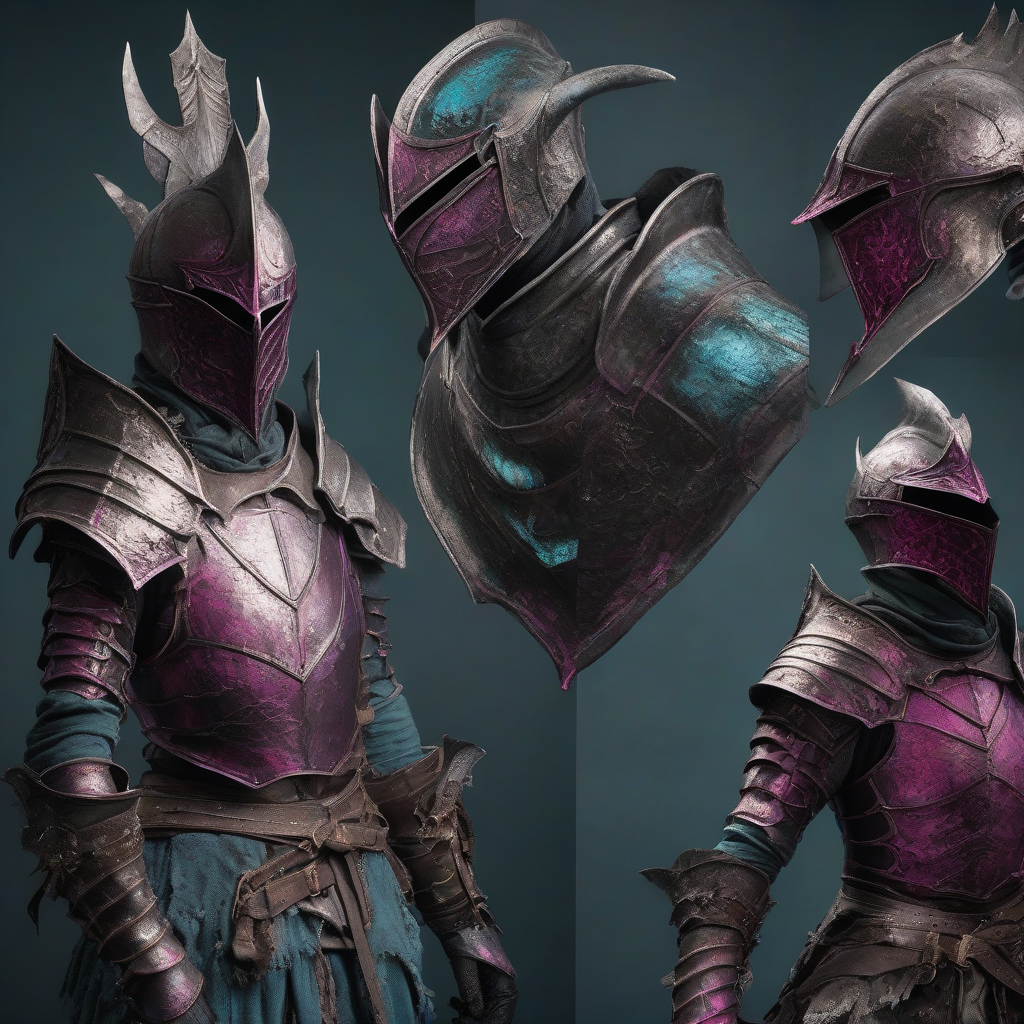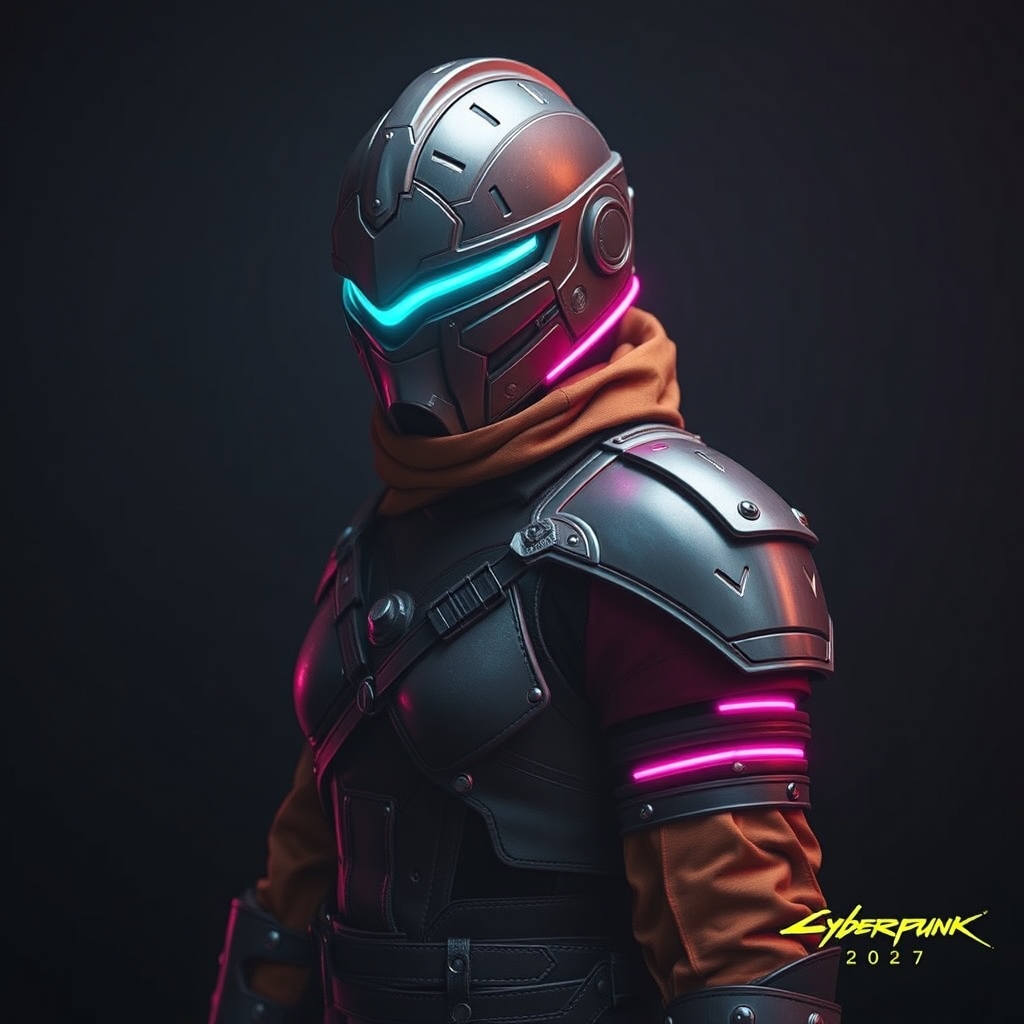
Introduction to Nomad Armor
Cyberpunk 2077's Nomad armor is a rugged and iconic look that has captured the hearts of cosplayers and gamers alike. The Nomad's post-apocalyptic armor is a testament to the game's gritty, high-tech world. In this guide, we'll walk you through the process of crafting a detailed and accurate Nomad armor set, perfect for conventions, photoshoots, or simply to showcase your crafting skills.
Materials and Tools
Before we dive into the crafting process, let's cover the essential materials and tools you'll need:
- Foam ( Worbla, Wonderflex, or EVA foam) for the armor plates and details
- 3D printing materials (PLA or ABS) for intricate details and accessories
- Leather or faux leather for the jacket and pants
- Thermal plastic or resin for added durability and texture
- Adhesives (hot glue, epoxy, or contact cement)
- Paint and primer for finishing and weathering
- Power tools (Dremel, drill press, or sanding blocks)
- Reference images and patterns (optional)
Pattern Making and Planning
To create an accurate Nomad armor set, you'll need to plan and pattern your pieces carefully. Study reference images from the game and take note of the armor's shape, proportions, and details. You can use software like Adobe Illustrator or Autodesk Fusion 360 to create digital patterns or draw them by hand.
Break down the armor into individual components, such as the chest plate, shoulder guards, and greaves. This will help you manage the complexity of the build and ensure a more accurate result.
Crafting the Armor Plates
With your patterns in hand, it's time to start crafting the armor plates. Cut out the foam or 3D printed pieces according to your patterns, and begin shaping them to fit your body. Use a combination of sanding, heat shaping, or solvent welding to smooth out the edges and create a seamless fit.
For added durability and texture, apply a layer of thermal plastic or resin to the armor plates. This will also help to create a more weathered, battle-worn look.
Adding Details and Accessories
The Nomad armor is characterized by its intricate details and accessories. Use 3D printing or resin casting to create small components like bolts, rivets, or buckles. Attach these details using adhesives or small mechanical fasteners.
For a more weathered look, apply paint and primer to the armor plates, using a combination of washes and drybrushing to create a post-apocalyptic patina.
Finishing Touches
Once your armor plates are complete, it's time to assemble the full Nomad armor set. Use adhesives or mechanical fasteners to attach the plates to a harness or vest, ensuring a comfortable and secure fit.
Complete the look with a leather or faux leather jacket and pants, and add any additional accessories like a backpack or cyberware.
Tips and Variations
To take your Nomad cosplay to the next level, consider adding weathering effects, like scratches, dents, or bloodstains. You can also experiment with different materials or techniques, like using fabric or mesh for added texture or incorporating LED lights for a futuristic glow.
Don't be afraid to put your own spin on the Nomad armor – after all, the post-apocalyptic world of Cyberpunk 2077 is all about customization and self-expression.