
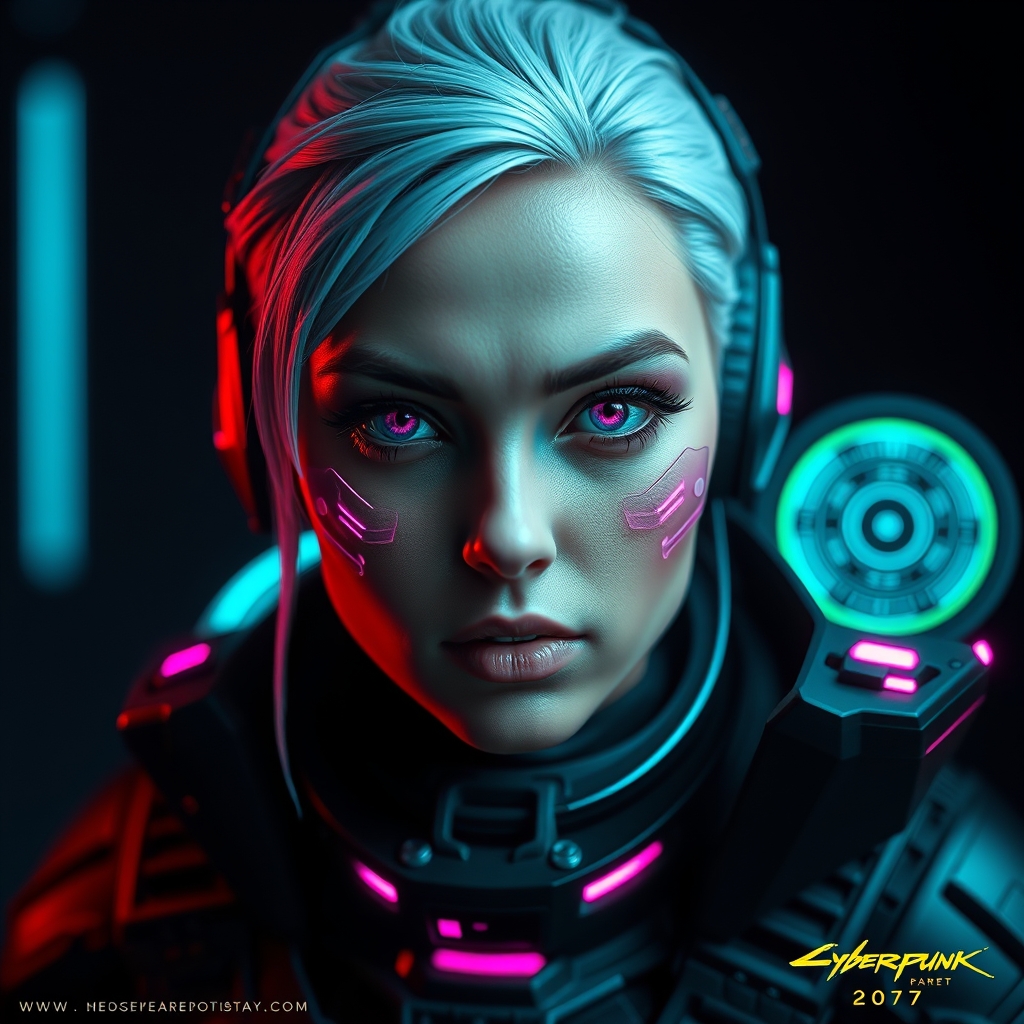
Introduction to Netrunner Interfaces
Cyberpunk 2077's netrunner interfaces are a staple of the game's futuristic aesthetic, and a highly sought-after element in cosplay. These intricate, high-tech screens are a key part of the netrunner's arsenal, allowing them to hack into the virtual world and manipulate the physical one. In this guide, we'll take you through the process of creating your own netrunner interface using 3D printing and painting techniques.
Designing the Interface
The first step in creating your netrunner interface is to design the model. You can find 3D models of netrunner interfaces online, or create your own using computer-aided design (CAD) software. For this guide, we'll be using a 3D model inspired by the game's UI. You can download the model files from Thingiverse or MyMiniFactory.
3D Printing the Interface
Once you have your design, it's time to print it out. For this project, we'll be using a Prusa i3 3D printer, but any FFF/FDM printer will work. Make sure to adjust the print settings to achieve a high level of detail and accuracy.
- Print material: PLA or ABS plastic
- Layer height: 0.1-0.2mm
- Infill density: 20-30%
Post-Processing the Print
Once the print is complete, you'll need to post-process it to achieve a smooth, high-quality finish. This involves removing any support material, sanding the surface, and applying a coat of primer.
- Remove support material using pliers or a hobby knife
- Sand the surface using progressively finer grits of sandpaper (100-220-320)
- Apply a coat of primer using a spray can or brush
Painting the Interface
With your print primed and ready to go, it's time to add some color. For this project, we'll be using a combination of acrylic paints and weathering powders to achieve a worn, high-tech look.
- Acrylic paints: Vallejo or Citadel
- Weathering powders: Army Painter or AK Interactive
Adding Details and Final Touches
The final step is to add any details or finishing touches to your netrunner interface. This can include adding LED lights, decals, or other small details.
Conclusion
With these steps, you should now have a highly detailed and realistic netrunner interface to add to your Cyberpunk 2077 cosplay. Remember to experiment and have fun with the process – and don't be afraid to show off your finished project on social media using the hashtag #Cyberpunk2077Cosplay.



