
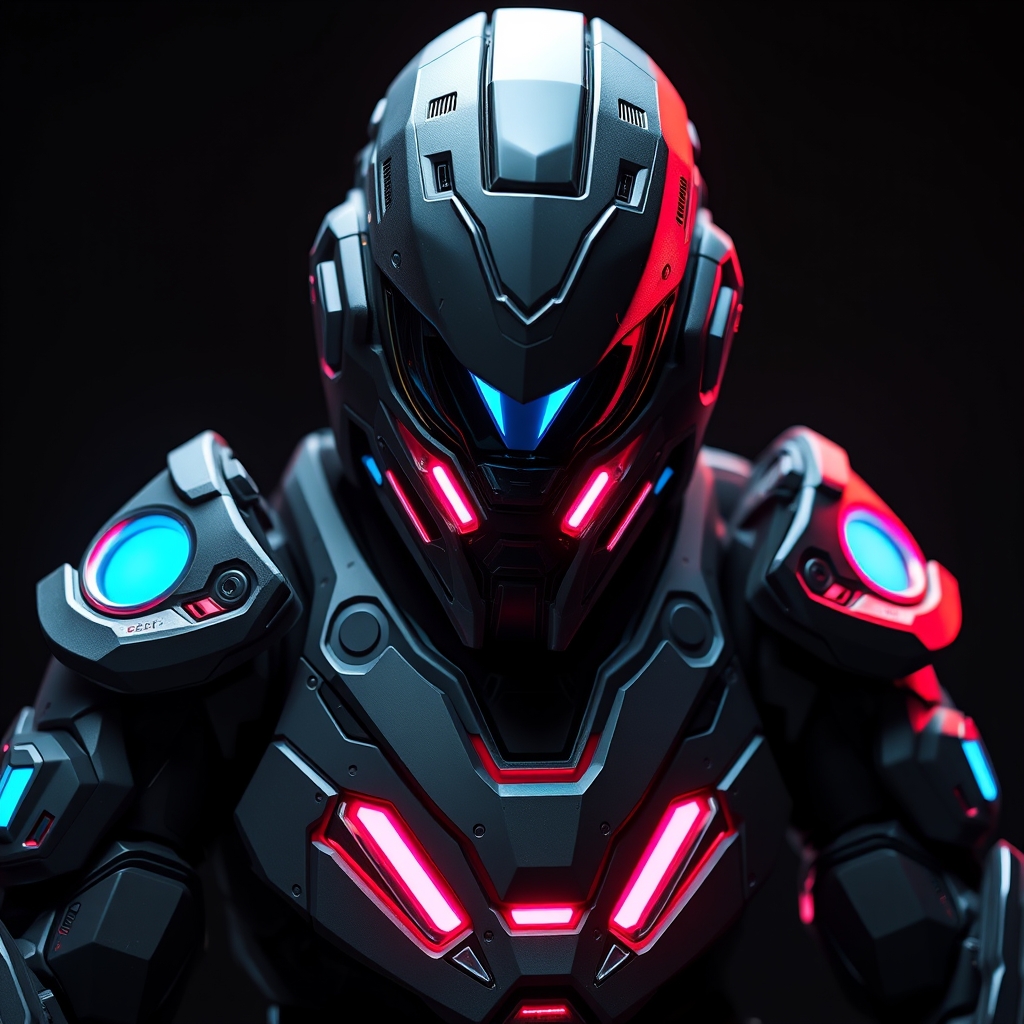
Introduction to Omnic Armor
Overwatch, Blizzard's team-based shooter, has captivated gamers worldwide with its diverse cast of heroes, each with unique abilities and backstories. Among the game's most iconic characters is the Omnic, a sentient robot with a complex design that lends itself perfectly to cosplay. In this guide, we'll walk you through the process of creating an intricate Omnic armor set using 3D printing and painting techniques.
Design and 3D Modeling
Before diving into the creation process, it's essential to have a solid design to work with. For this project, we'll be using existing 3D models of the Omnic armor, which can be found online or created from scratch using computer-aided design (CAD) software. Popular sources for 3D models include:
- Thingiverse: A community-driven repository of 3D printable models
- GrabCAD: A platform for sharing and downloading 3D models
- Blender: A free, open-source CAD software for creating 3D models from scratch
Once you've obtained or created your 3D model, it's crucial to prepare it for 3D printing by ensuring it's watertight, has no overlapping faces, and is optimized for your specific printer.
3D Printing
With your design ready, it's time to start 3D printing. For this project, we'll be using a fused deposition modeling (FDM) printer, which is ideal for creating large, detailed pieces. When printing, keep in mind:
- Layer height: A lower layer height will result in a more detailed finish but will increase print time.
- Infill density: Adjusting infill density will affect the weight and durability of your print.
- Support material: Depending on the complexity of your design, you may need to use support material to prevent sagging or collapsing.
It's also essential to choose the right filament for your project. For a more durable and weather-resistant finish, consider using:
- PLA (polylactic acid) or PETG (polyethylene terephthalate glycol) for a smooth, detailed finish
- ABS (acrylonitrile butadiene styrene) for a more impact-resistant and durable print
Post-Processing and Sanding
Once your prints are complete, it's time to remove any support material and begin post-processing. Use a combination of:
- Files and sandpaper to smooth out rough edges and surfaces
- Putty or filler to fill in any gaps or imperfections
- Primer to create a uniform base coat for painting
Sanding is a critical step in achieving a smooth, high-quality finish. Start with coarse grit sandpaper and progress to finer grits for a silky-smooth surface.
Painting and Finishing
With your armor pieces sanded and primed, it's time to bring your Omnic to life with paint. Use a combination of:
- Acrylic paints for bold, vibrant colors
- Metallic paints or airbrushes for a weathered, metallic finish
- Clear coats or varnishes to seal and protect your paint job
To achieve a realistic, battle-worn look, consider using weathering techniques such as:
- Washes: Thin, translucent coats of paint used to add shading and depth
- Drybrushing: Using a nearly dry brush to apply paint and create textured, rough surfaces
- Edge highlighting: Applying paint or ink to raised edges to create a sense of volume and dimension
Assembly and Finishing Touches
With all your pieces painted and finished, it's time to assemble your Omnic armor. Use a combination of:
- Epoxy or super glue to bond pieces together
- Velcro or magnets for secure, easy attachment and detachment
- Straps or harnesses to create a comfortable, wearable piece
Finally, add any finishing touches, such as:
- Electronics or LED lighting to create a more immersive experience
- Weathering or wear and tear to add a sense of realism
- Final coats of clear varnish to seal and protect your armor
Conclusion
Creating an intricate Omnic armor set using 3D printing and painting techniques requires patience, dedication, and practice. By following this guide and experimenting with different materials and techniques, you'll be well on your way to crafting a show-stopping cosplay piece that's sure to impress. Happy building!



