
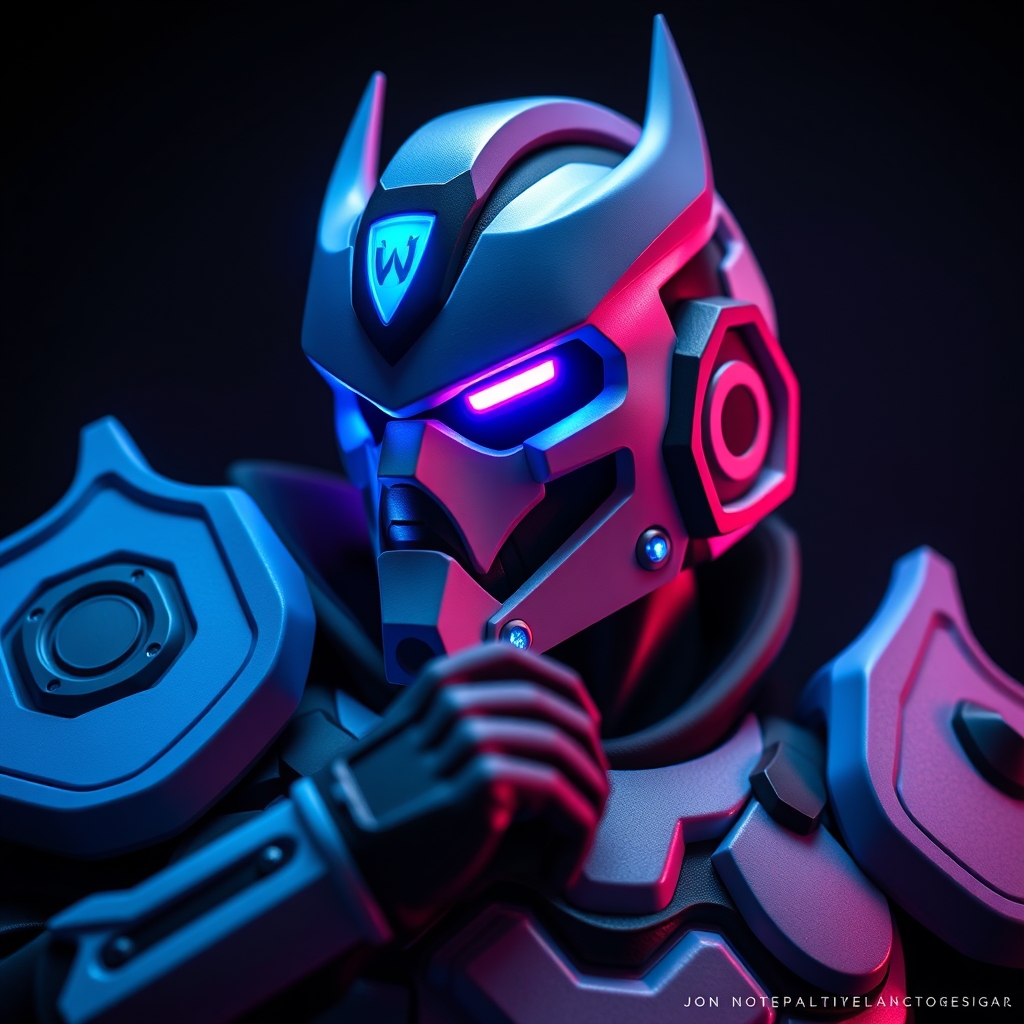
Introduction to Sigma
Sigma, the Dutch astrophysicist turned Overwatch hero, is a complex and intriguing character known for his gravity-manipulating abilities and distinctive appearance. His unique design, featuring a mixture of scientific and mystical elements, presents a fascinating challenge for cosplayers. In this guide, we'll walk you through the process of creating a detailed and accurate Sigma cosplay using 3D printing and painting techniques.
Design and 3D Modeling
Before diving into 3D printing, it's essential to have a detailed design and 3D model of Sigma's armor and accessories. You can either create your own model using software like Blender or Maya or find existing models online. For this guide, we'll assume you have access to a 3D model of Sigma's armor pieces, including his iconic headgear, chest plate, and gauntlets.
Preparing the 3D Model for Printing
- Ensure the model is watertight and free of errors.
- Scale the model to your desired size, taking into account comfort and mobility.
- Slice the model into manageable parts for printing, if necessary.
3D Printing Sigma's Armor
For this guide, we'll focus on using Fused Deposition Modeling (FDM) 3D printing, a popular and accessible method for cosplay prop making. When printing Sigma's armor, keep the following tips in mind:
Choosing the Right Materials
- PLA or ABS plastic for detailed, high-resolution prints.
- TPU or flexible filament for parts requiring flexibility, such as straps or joints.
Optimizing Print Settings
- Layer height: 0.1-0.2mm for high-detail prints.
- Infill density: 20-50% for a balance between strength and material usage.
- Support material: Enable for overhanging parts, such as Sigma's headgear.
Post-Processing and Painting
Once your prints are complete, it's time to post-process and paint Sigma's armor. This step is crucial for achieving a realistic and weathered look.
Sanding and Smoothing
- Use progressively finer grit sandpaper to smooth out layer lines and imperfections.
- Apply a primer or filler to cover any remaining gaps or blemishes.
Painting Sigma's Armor
Sigma's color scheme features a predominantly black and gray armor with accents of blue and orange. Use acrylic or enamel paints to achieve a realistic finish.
Adding Weathering and Details
- Use washes or thinned paint to add shading and depth to recessed areas.
- Apply decals or freehand paint to add Sigma's distinctive symbols and markings.
Conclusion and Tips
Crafting Sigma's complex armor using 3D printing and painting techniques requires patience, attention to detail, and practice. To enhance your cosplay experience:
Comfort and Mobility
- Consider adding padding or adjustable straps for comfort.
- Design and print mobility-enhancing features, such as joints or hinges.
Community Resources and Inspiration
Join online forums, social media groups, or Discord servers dedicated to cosplay and 3D printing to share your work, learn from others, and stay inspired.



