Introduction
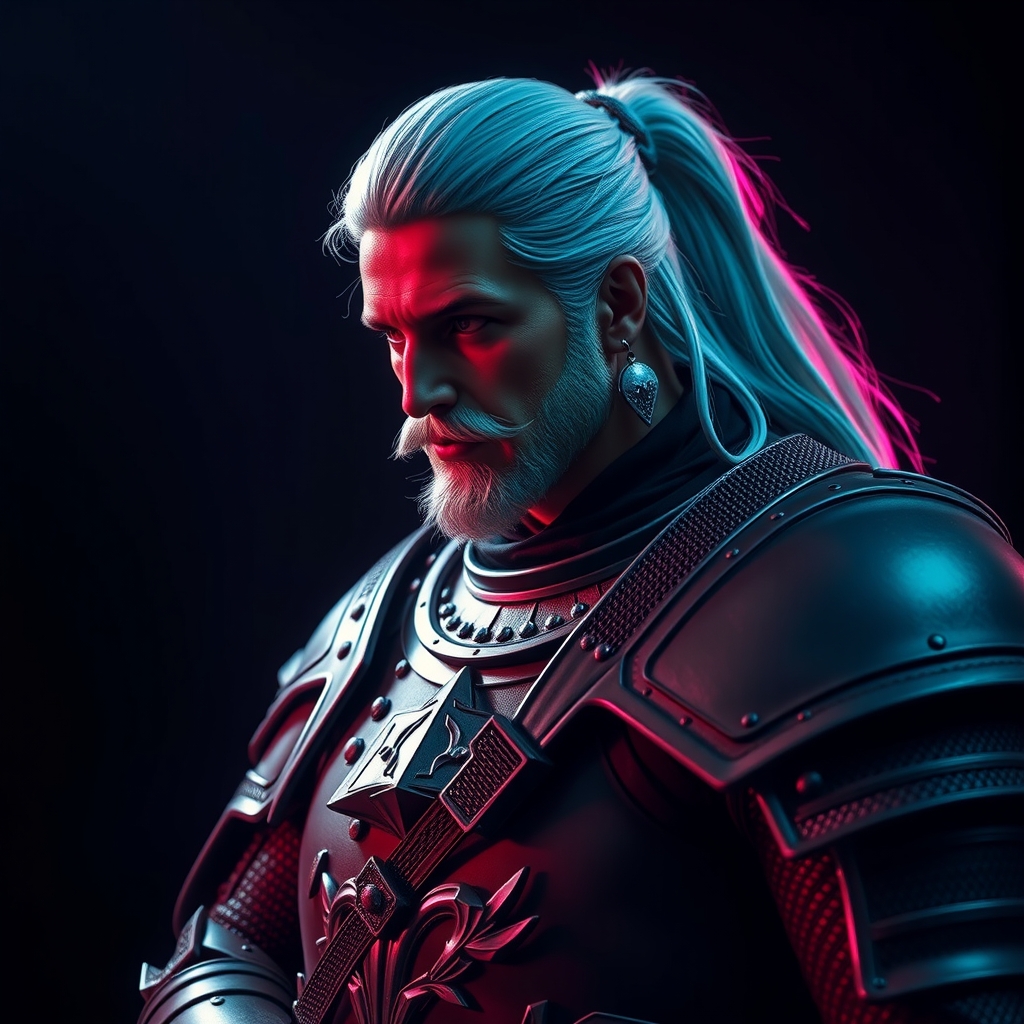
Geralt of Rivia's iconic armor from The Witcher series has become a staple of fantasy cosplay. The intricate details and weathered look of the armor make it a challenging yet rewarding project for cosplayers. In this guide, we'll walk you through the process of recreating Geralt's armor using 3D printing and resin casting.
Design and 3D Modeling
The first step in creating Geralt's armor is to obtain a 3D model of the armor pieces. You can find 3D models online or create your own using 3D scanning or modeling software. For this guide, we'll assume you have a 3D model of the armor pieces. Ensure the model is scaled correctly and manifold, with no gaps or overlapping faces. You can use software like Blender or MeshLab to edit and prepare the model for 3D printing.
3D Printing
Once you have a suitable 3D model, it's time to print the armor pieces. Choose a 3D printing technology that suits your needs, such as FDM, SLA, or SLS. For this guide, we'll focus on FDM (Fused Deposition Modeling) printing, as it's a popular and accessible method. When printing, use a suitable material, such as PLA or ABS, and adjust the print settings to achieve the desired level of detail and surface finish.
- Layer height: 0.2-0.3 mm for a balance between detail and print speed
- Infill density: 20-50% for a sturdy yet lightweight print
- Support material: Enable support material for overhanging features
Resin Casting and Finishing
After 3D printing, the armor pieces may require post-processing to achieve a smooth surface finish. Apply a primer and sand the pieces to smooth out any imperfections. For a more realistic look, you can use resin casting to create detailed, weathered textures. Mix and apply a resin, such as epoxy or polyurethane, to the armor pieces, and allow it to cure.
Weathering and Painting
To achieve a screen-accurate weathered look, use a combination of painting and weathering techniques. Apply a base coat and use washes or drybrushing to add depth and texture. You can also use reference images from the show to accurately replicate the color and weathering patterns.
- Base coat: Apply a uniform base color to the armor pieces
- Washes: Use thinned paint or ink to add shading and depth
- Drybrushing: Use a almost-dry brush to apply paint or texture
Assembly and Display
Once the armor pieces are complete, assemble them using a suitable adhesive, such as epoxy or super glue. Ensure the armor is securely attached to a harness or vest for comfortable wear. For display purposes, you can create a mannequin or use a dummy to showcase the armor.
Tips and Variations
To take your Geralt cosplay to the next level, consider adding LED lighting or movable parts to the armor. You can also experiment with different materials, such as foam or Worbla, for a more traditional cosplay approach.
For more information on 3D printing and resin casting, check out online resources like Thingiverse and YouTube tutorials.