
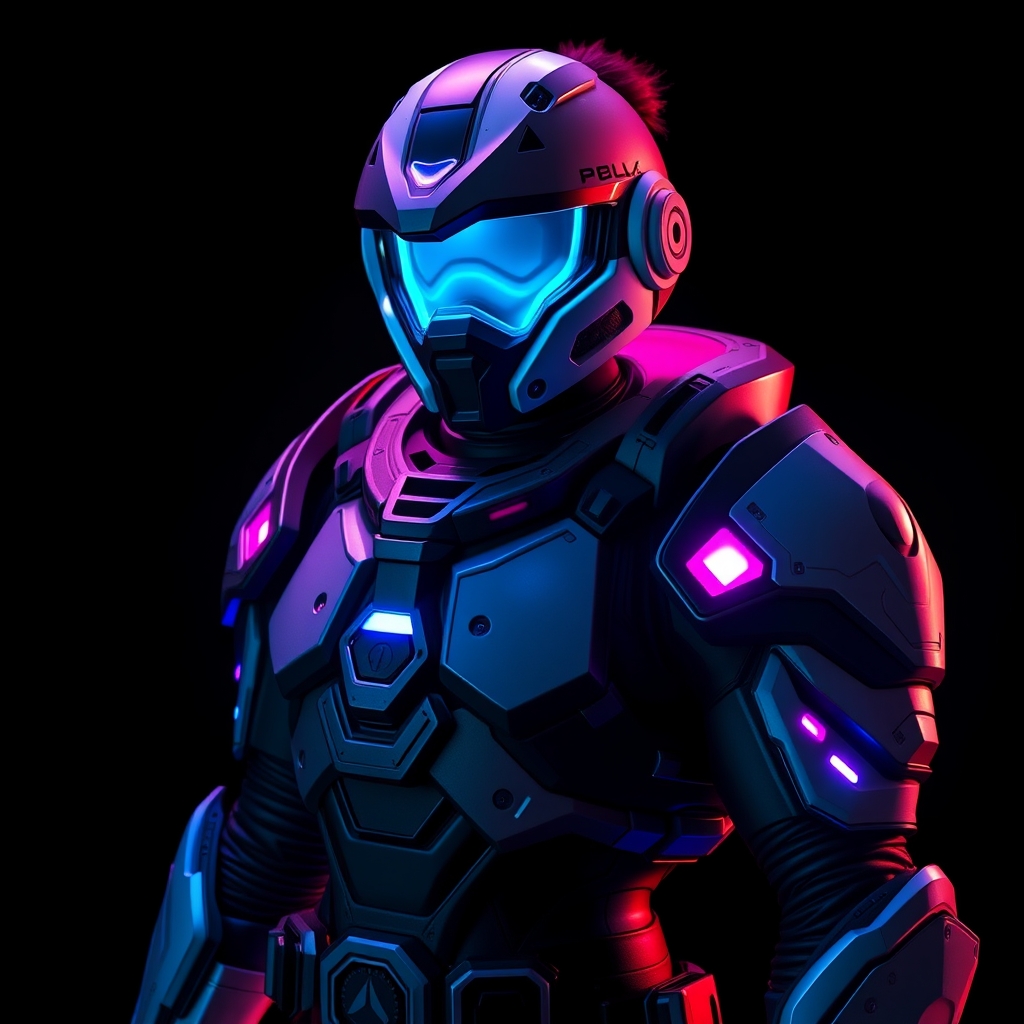
Introduction to Budget Cosplay
As a cosplayer, you're likely no stranger to the thrill of the hunt for unique and affordable materials to bring your favorite characters to life. When it comes to creating hyper-realistic Overwatch armor, the costs can quickly add up, but what if you could find a way to make it on a budget? In this article, we'll explore the art of transforming thrift store finds into stunning, high-quality cosplay armor, perfect for those looking to save their wallet without sacrificing their creative vision.
Thrifting for Cosplay Success
The key to creating amazing cosplay armor on a budget lies in finding the right materials at the right price. Thrift stores, second-hand shops, and garage sales can be a treasure trove of hidden gems just waiting to be repurposed. When thrifting for cosplay, keep an eye out for items with interesting textures, shapes, and structures that can be repurposed to create armor pieces. Some great items to look for include:
- Old helmets, hats, or headgear that can be modified to fit your character's design
- Plastic storage bins or containers that can be transformed into armor plates or chest pieces
- Foam or fabric scraps that can be used for detailing or creating accents
Case Study: Reimagining a Thrift Store Helmet as Reaper's Mask
For this example, we'll be using a thrift store helmet as the base for Reaper's iconic mask from Overwatch. Start by examining the helmet's shape and structure – can it be modified to fit the character's design? In this case, the helmet's curved shape and visor make it a perfect candidate for a Reaper cosplay.
Using a combination of hot glue, foam, and paint, we can transform the helmet into a hyper-realistic Reaper mask. Begin by cleaning and disassembling the helmet, then use a heat gun or hair dryer to shape and mold the foam into the desired shape. Attach the foam pieces using hot glue, and finish with a coat of paint and weathering effects.
Building and Shaping Armor Pieces
Once you've found your thrift store treasures, it's time to get creative with shaping and building your armor pieces. Here are some essential tools and techniques to get you started:
- Foam working: Invest in a good quality foam cutter or hot wire foam cutter to shape and trim foam pieces for your armor.
- Hot glue and epoxy: Use hot glue to attach foam or fabric pieces, and epoxy for bonding heavier materials like plastic or metal.
- Painting and finishing: Use acrylic paints or specialized cosplay paints to add color and weathering effects to your armor pieces.
Adding Details and Weathering Effects
To take your cosplay armor to the next level, it's all about the details. Use a combination of paint, markers, and weathering effects to add texture, scratches, and wear to your armor pieces. For a more realistic look, try adding:
- Scratches and scuffs using a weathering kit or a toothpick
- Dirt and grime using a mixture of paint and texture paste
- Metallic accents using metallic paint or markers
Conclusion and Tips for Success
Transforming thrift store finds into hyper-realistic Overwatch armor on a budget requires creativity, patience, and practice. Here are some final tips for success:
- Start small: Begin with simple projects and gradually work your way up to more complex armor pieces.
- Experiment and adapt: Don't be afraid to try new techniques or modify your design as you go.
- Join the cosplay community: Share your work, get feedback, and learn from other cosplayers to improve your skills.
With these tips and techniques, you'll be well on your way to creating stunning, high-quality Overwatch cosplay armor without breaking the bank. Happy thrifting and crafting!



