Introduction to the Kamehameha Effect
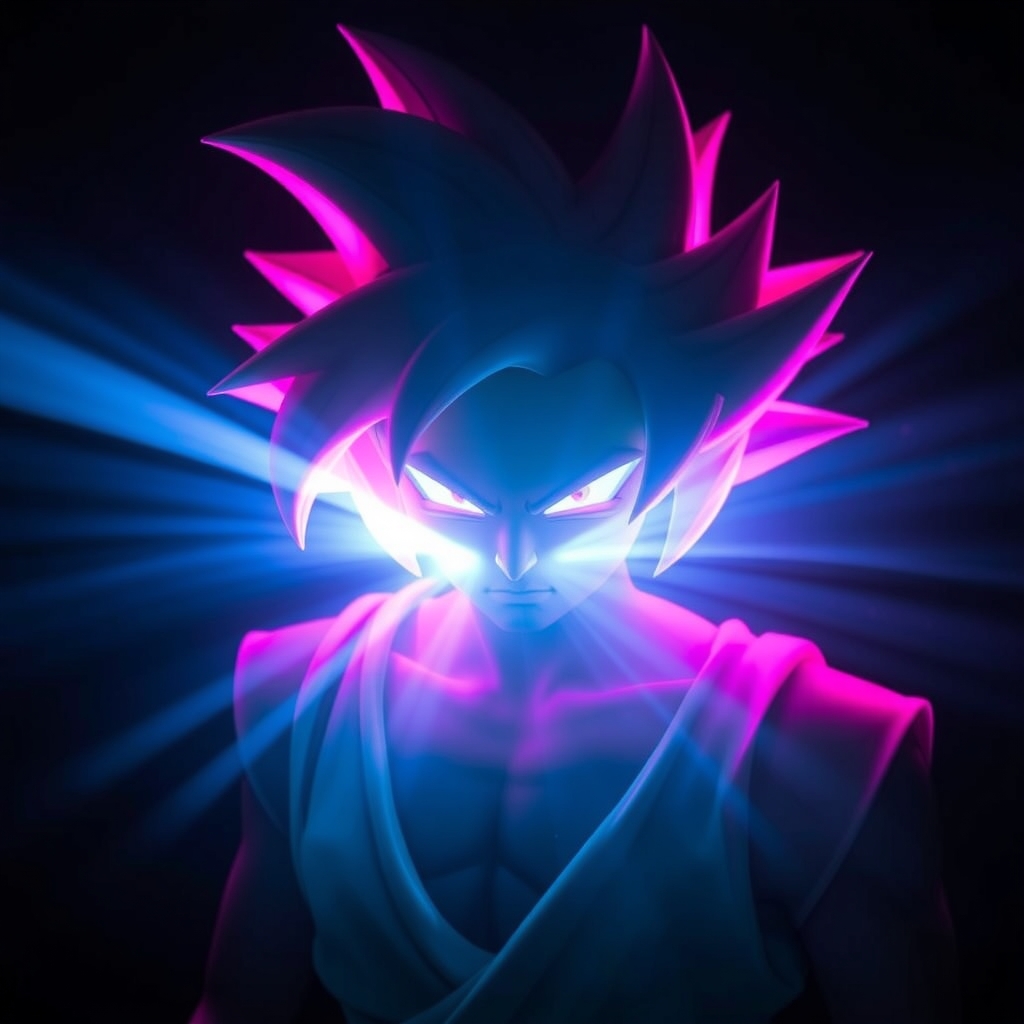
The Kamehameha is one of the most recognizable energy beams in anime history, made famous by Dragon Ball Z's Goku and other Z-Warriors. Recreating this iconic effect with LED lighting and acrylic can add a mesmerizing element to your cosplay. In this guide, we'll walk you through the process of crafting a radiant Kamehameha that will impress fellow fans and elevate your performance.
Materials and Tools Needed
- LED strip lights or individual LEDs
- Acrylic tubing or sheets
- Power source for LEDs (batteries or a USB connector)
- Wire and wiring tools (soldering iron, wire strippers)
- Adhesives (hot glue, epoxy)
- Paint and a paintbrush
- Scissors or a craft knife
- Clear coat or varnish
Designing the Kamehameha Structure
To achieve the characteristic Kamehameha shape, you'll need to design a structure that can support the LED lighting and acrylic components. You can use cardboard or foam to create a prototype, adjusting the shape and size until you're satisfied. Consider the weight and durability of your design, as it will need to be held or worn for extended periods.
For a more authentic look, study reference images of the Kamehameha from various angles. Note the beam's shape, size, and color gradient, which transitions from blue at the base to white at the tip.
Crafting the Acrylic Components
Cut the acrylic tubing or sheets into the required shapes and sizes for your Kamehameha design. If using tubing, you can bend it to create a curved shape or leave it straight for a more angular look. For a smooth finish, use a file or sandpaper to remove any rough edges.
To achieve the signature blue-to-white color gradient, you can paint the acrylic components with acrylic paint or use a combination of transparent and opaque materials. Apply a clear coat or varnish to protect the paint and give the acrylic a glossy finish.
Integrating LED Lighting
Choose your LED lighting setup based on the desired brightness, color, and flexibility. You can use a single color LED strip or individual LEDs in a combination of blue and white to achieve the desired gradient effect.
To create a smooth transition between colors, you can use a LED strip with a high density of lights or place individual LEDs close together. Experiment with different configurations to achieve the desired effect.
Wire the LEDs to a power source, ensuring that the connection is secure and won't be damaged during handling. You can hide the wiring within the Kamehameha structure or use a separate housing for the electronics.
Assembly and Finishing Touches
Assemble the Kamehameha components, attaching the acrylic parts to the structural base using adhesives. Apply a clear coat or varnish to protect the paint and give the entire piece a glossy finish.
Test the LED lighting to ensure it's working correctly and adjust as needed. You can add additional details, such as textured paint or decals, to enhance the overall appearance.
Tips for Performance and Display
When performing with your Kamehameha, consider using a handheld or wearable design that allows for easy manipulation. You can also add sensors or interactive elements to create a more immersive experience.
For display purposes, you can mount the Kamehameha on a stand or create a dedicated display case. Make sure to handle the prop with care, as the LED lighting and acrylic components can be fragile.
Conclusion
Crafting a radiant Kamehameha with LED lighting and acrylic requires patience, creativity, and attention to detail. By following these steps and experimenting with different techniques, you can create a show-stopping prop that will elevate your Dragon Ball Z cosplay and impress fellow fans.