## Introduction to LED-Lit Cosplay
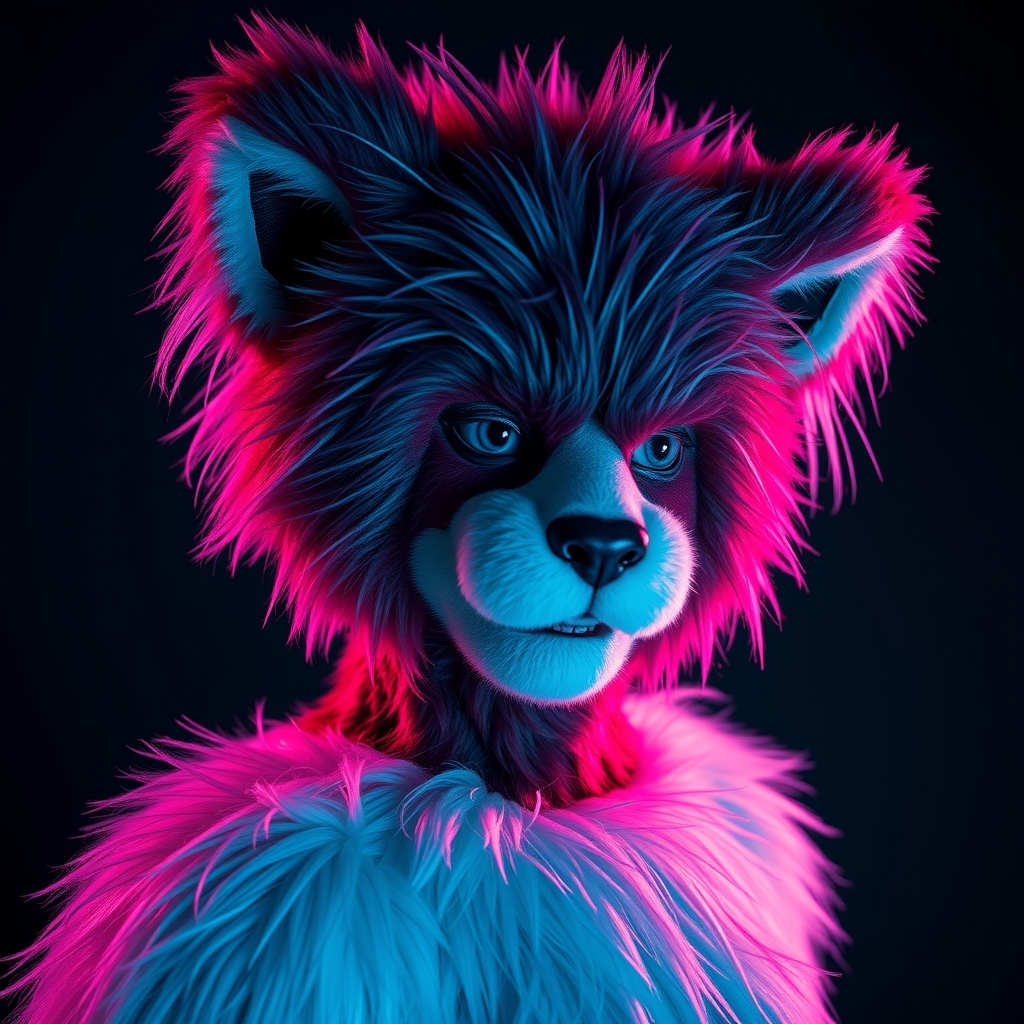
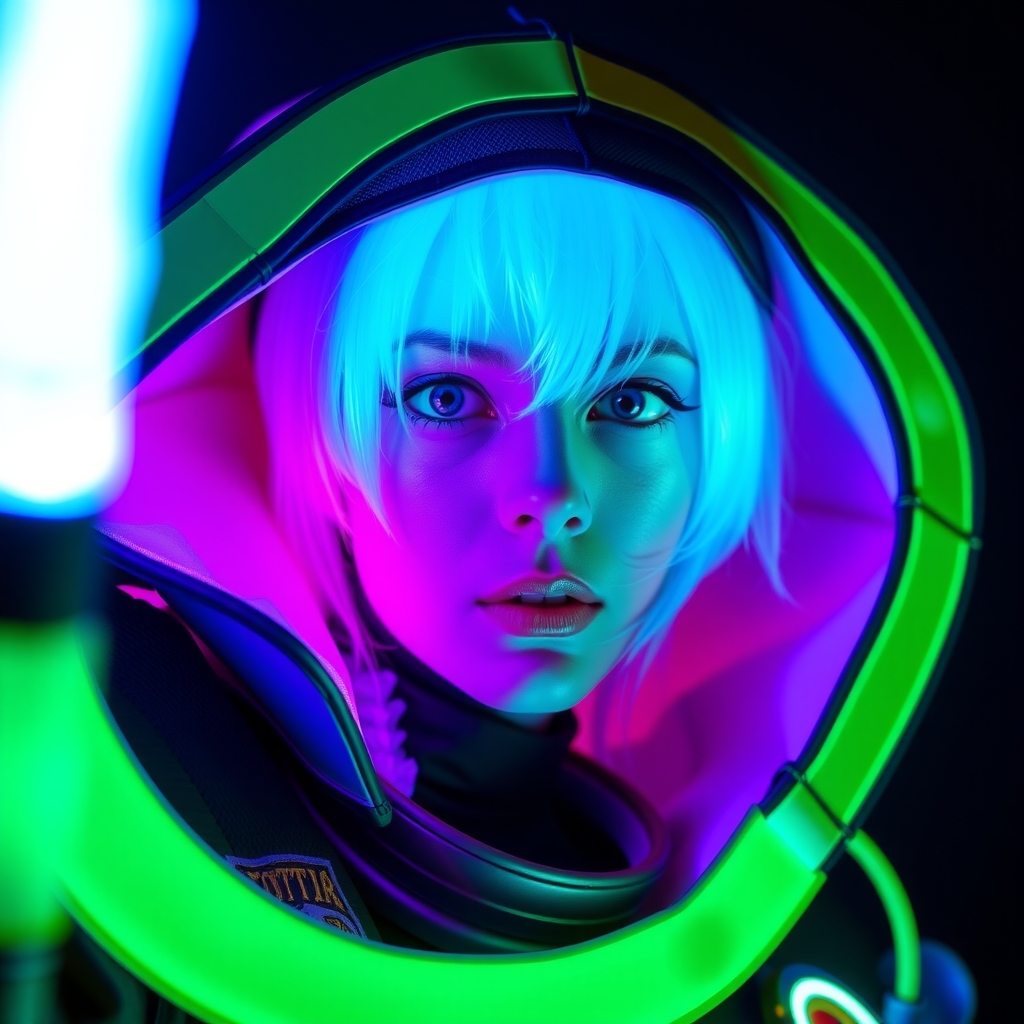
As cosplayers, we're always looking for ways to take our craft to the next level. One way to add an extra wow factor to your costume or prop is to incorporate LED lighting. Not only can LED lights add a mesmerizing glow, but they can also be used to create intricate patterns, animations, and effects. In this guide, we'll explore the basics of working with LED lights, Arduino, and circuitry to help you create stunning, radiant cosplay pieces.
## Understanding the Basics of LED Lighting
Before diving into the world of Arduino and circuitry, it's essential to understand the basics of LED lighting. LEDs, or Light Emitting Diodes, are semiconductors that emit light when an electric current passes through them. They're energy-efficient, durable, and come in a variety of colors.
When working with LEDs, it's crucial to consider the following factors:
* **Voltage**: LEDs require a specific voltage to function, usually between 2-3 volts. Exceeding this voltage can damage the LED. * **Current**: LEDs require a specific current to function, usually measured in milliamps (mA). Exceeding this current can also damage the LED. * **Color**: LEDs come in a range of colors, including RGB (red, green, blue) LEDs, which can be mixed to create a wide range of colors.
## Introduction to Arduino and Circuitry
Arduino is a microcontroller platform that allows you to create interactive electronic projects. It's perfect for cosplayers who want to add programmable effects to their costumes or props. Circuitry refers to the connections and pathways that allow electricity to flow through a circuit.
To get started with Arduino and circuitry, you'll need:
* **Arduino board**: A microcontroller board that can be programmed to interact with various components, including LEDs. * **Breadboard**: A prototyping board that allows you to build and test circuits without soldering. * **Jumper wires**: Wires that connect components on a breadboard. * **Resistors**: Components that regulate voltage and current in a circuit.
## Designing and Building LED-Lit Cosplay Pieces
Now that you understand the basics of LED lighting and Arduino, it's time to start designing and building your cosplay piece. Here are some steps to follow:
### Step 1: Plan Your Design
* Sketch out your design and consider the placement of LEDs, Arduino, and other components. * Think about the effect you want to achieve, such as a glowing sword or a pulsing LED strip.
### Step 2: Choose Your Components
* Select the LEDs, Arduino board, and other components you need for your project. * Make sure to choose components that are compatible with each other.
### Step 3: Build Your Circuit
* Use a breadboard to build and test your circuit. * Connect your LEDs, resistors, and Arduino board according to your design.
### Step 4: Program Your Arduino
* Use the Arduino IDE to write and upload code to your Arduino board. * Program your Arduino to control the LEDs and create the desired effect.
## Tips and Tricks for Cosplay
* **Use a battery pack**: Instead of relying on a USB connection, use a battery pack to power your circuit. This will give you more flexibility and freedom to move around. * **Add a switch**: Include a switch in your circuit to turn your LEDs on and off. This will help conserve battery life and prevent accidental turn-ons. * **Test and iterate**: Test your circuit and make adjustments as needed. Don't be afraid to experiment and try new things.
## Safety Precautions
When working with electronics, it's essential to take safety precautions to avoid injury or damage:
* **Use protective gear**: Wear protective gear, such as gloves and safety glasses, when working with electronics. * **Avoid short circuits**: Make sure to connect components correctly to avoid short circuits, which can damage your components or cause a fire. * **Follow proper soldering techniques**: When soldering, use proper techniques to avoid burns or fires.
## Conclusion
Creating LED-lit cosplay costumes and props can add an extra layer of excitement and realism to your craft. By understanding the basics of LED lighting, Arduino, and circuitry, you can create stunning, radiant pieces that shine bright under the night lights. Remember to plan your design carefully, choose compatible components, and test your circuit thoroughly. With practice and patience, you'll be creating breathtaking LED-lit cosplay pieces in no time.
## Additional Resources
For more information on working with LED lights, Arduino, and circuitry, check out the following resources:
* Arduino Official Website * SparkFun LED Tutorial * SparkFun Circuitry Tutorial