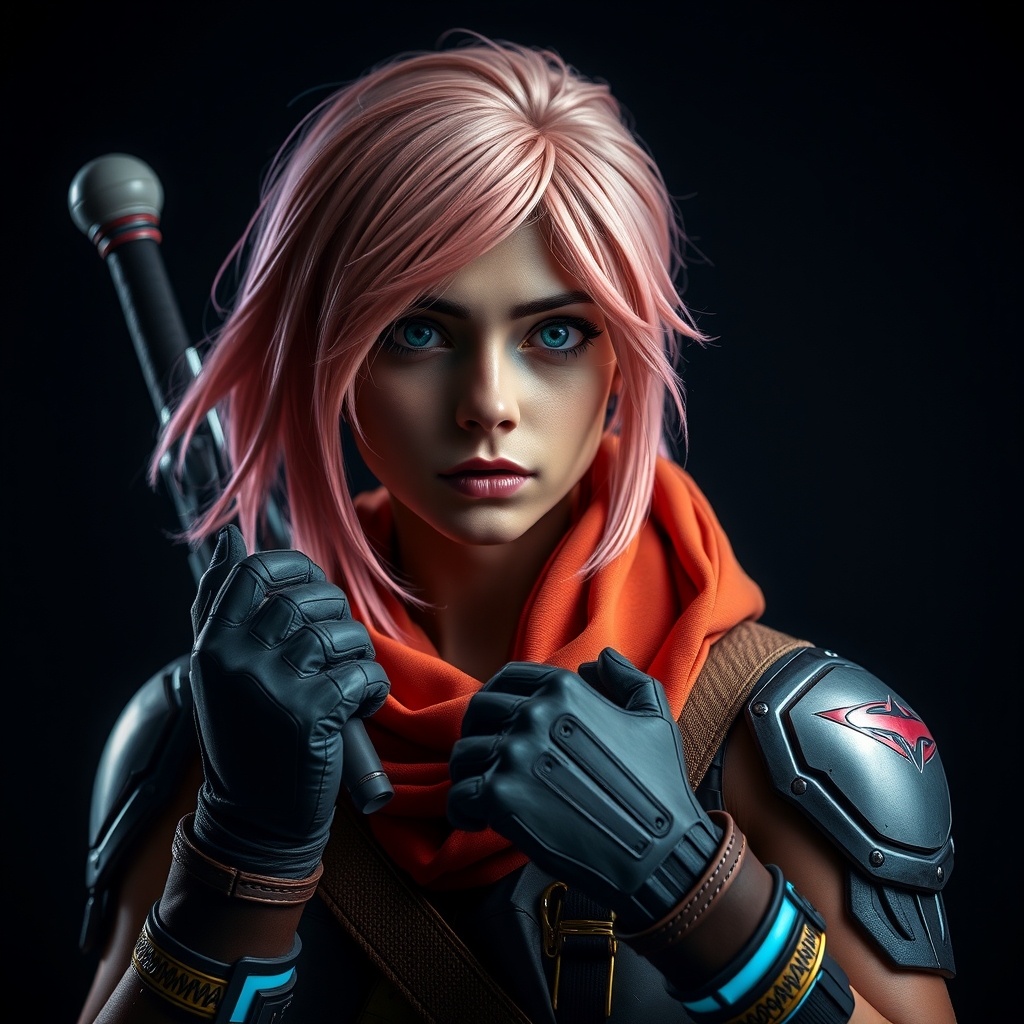
For years, the gold standard for gaming cosplay was foam. While EVA foam remains a powerhouse for its versatility and weight, the high-fidelity assets found in modern gaming—sharp bevels, complex interlocking gears, and perfectly symmetrical armor—can be difficult to replicate by hand. The emergence of accessible 3D scanning and printing has shifted the paradigm, allowing creators to move away from "best guess" sizing and toward a digital workflow that ensures a perfect fit and professional finish.
The Bridge Between Digital and Physical
The primary challenge in gaming cosplay is translation. A character model in a game engine is designed to look good from a distance and move according to pre-set animations; it is not designed to fit a human body in the physical world. When you simply download a file and print it, you often encounter "the gap"—where armor is either too tight to breathe in or so loose it shifts during movement.
By integrating 3D scanning, you create a digital twin of your own body. This allows you to "digital dress" your scan, scaling your armor pieces to your exact proportions before a single gram of filament is used. This process eliminates the tedious cycle of printing, testing, sanding, and re-printing.
Getting Started with Photogrammetry
You do not need an industrial-grade laser scanner to begin. Photogrammetry—the process of stitching together multiple photographs to create a 3D model—is available to anyone with a smartphone and a tripod. To get a usable scan for cosplay:
- Lighting is Critical: Use flat, diffused lighting. Avoid harsh shadows or bright highlights, as the software may interpret a shadow as a physical indentation in your body.
- Wear Form-Fitting Clothing: Baggy clothes obscure your actual silhouette. Wear leggings and a tight shirt to ensure the scan captures your true proportions.
- The Overlap Method: Take photos in a 360-degree circle, ensuring each photo overlaps the previous one by at least 60%. Capture the subject from three different heights: eye level, waist level, and a high angle looking down.
- Stay Still: Any movement during the process will result in "artifacts" or warped geometry in the final mesh.
Optimizing Models for the Printer
Once you have your body scan and your character model, the magic happens in the slicing and modeling software. To ensure your gaming armor is both realistic and wearable, focus on these three technical adjustments.
Wall Thickness and Weight
Solid 3D prints are heavy and uncomfortable. To keep your cosplay wearable for an entire convention day, use "shelling" or "hollowing." Instead of a solid block of plastic, create a shell with a wall thickness of 2mm to 4mm. This maintains structural integrity while significantly reducing the weight of large pieces like pauldrons or chest plates.
Orientation for Strength
3D prints are weakest along the layer lines. If you are printing a sword or a staff, do not print it standing vertically, as it will likely snap along a layer line upon the first impact. Print long, thin objects horizontally or at a slight angle, using supports to maintain the shape. This ensures the "grain" of the plastic runs the length of the prop, providing maximum durability.
Tolerances for Movement
Gaming armor often features overlapping plates. When designing these, remember to include a "tolerance gap." If two pieces are designed to fit perfectly flush in a digital environment, they will not fit in real life due to printer expansion and the thickness of the paint. Leave a 0.5mm to 1mm gap between interlocking parts to allow for smooth movement and paint buildup.
The Finishing Process: From Plastic to Prop
The biggest giveaway of a 3D-printed cosplay is the "layer lines." To achieve a realistic, gaming-inspired finish, you must move through a rigorous post-processing phase.
- Support Removal and Initial Sanding: Carefully remove supports using nippers. Start with a coarse grit sandpaper (around 80 to 120 grit) to knock down the largest ridges and bumps.
- Filler Priming: Use a high-build filler primer. This is a thick paint that fills in the microscopic gaps between layers. Spray in thin, even coats, allowing each to dry completely.
- Wet Sanding: Once the primer is dry, switch to wet sanding. Start with 220 grit and move up to 400 or 600. Wet sanding prevents the sandpaper from clogging and creates a surface that feels like polished metal or molded plastic.
- The Final Seal: Apply a final coat of primer or a sanding sealer before moving to your color coats. This ensures the paint adheres evenly and doesn't soak into the plastic unevenly.
Integrating Mixed Media
Total reliance on 3D printing can lead to a costume that feels rigid and "plastic." The most professional gaming cosplays use a hybrid approach. Use 3D printing for the "hard points"—the armor plates, buckles, and weaponry—and combine them with traditional textiles for the under-suit.
To attach 3D prints to fabric, avoid gluing the plastic directly to the cloth. Instead, embed magnets or heavy-duty snaps into the 3D model during the design phase. By creating a recessed pocket for a magnet in the armor and sewing a corresponding magnet into the fabric, you create a clean, detachable system that allows for easy dressing and undressing without damaging the costume.
Maintenance and Longevity
3D printed materials, particularly PLA, can warp if left in a hot car or under intense stage lights. If you are attending an outdoor event in the summer, consider using PETG or ASA filaments, which have higher heat resistance. Additionally, always apply a clear UV-resistant topcoat to your finished paint job. This prevents the colors from fading and protects the filler primer from chipping during the rigors of a convention floor.
By combining the precision of photogrammetry with the versatility of 3D printing and the tactile nature of traditional sewing, you can elevate your craft from a costume to a cinematic recreation. The goal is not just to look like the character, but to embody the scale and detail of the digital world in the physical one.