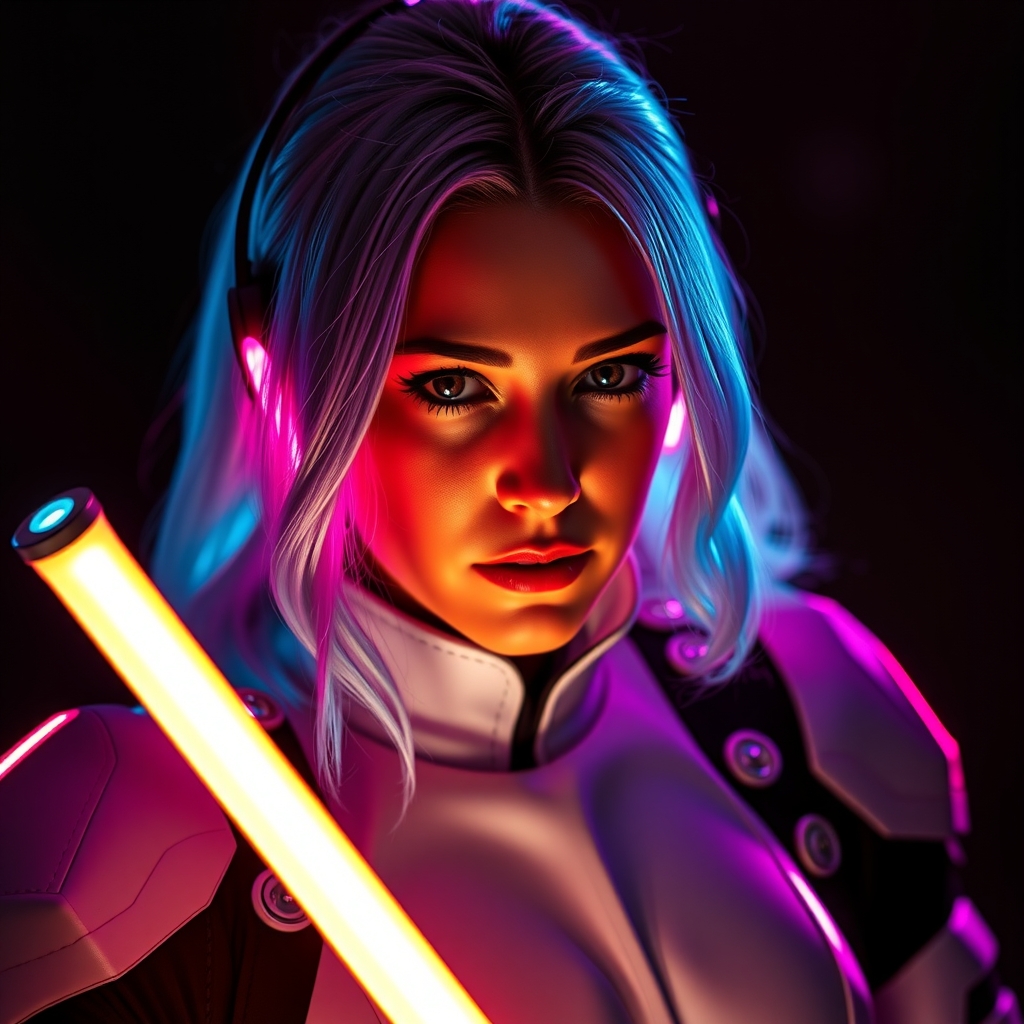
Lighting is one of the most effective ways to elevate a cosplay from a static costume to a dynamic prop. Whether it is the humming glow of a lightsaber, the pulsing energy of a magical staff, or the futuristic interface of a sci-fi helmet, integrated LEDs provide a level of polish that paint alone cannot achieve. However, for many builders, the jump from sewing and sculpting to basic electronics can be intimidating. Understanding the difference between light sources and how to power them safely is the key to a professional finish.
Choosing the Right Type of LED
Not all LEDs are created equal. Depending on your project's needs, you will likely choose between three primary formats: individual LEDs, LED strips, and addressable LEDs.
Individual LEDs (Discrete LEDs)
These are small, single-point light sources. They are ideal for small indicator lights on a gauntlet or pinpoint stars in a garment. Because they are small, they can be hidden easily, but they require individual wiring, which can become cumbersome if you need dozens of lights in one area.
Standard LED Strips (Analog)
Standard strips consist of a row of LEDs that all change color at the same time. If you buy a "RGB" strip, the entire strip will be red, then green, then blue. These are excellent for "underglow" effects or filling large translucent volumes where a uniform wash of color is desired.
Addressable LED Strips (Digital)
Addressable LEDs (such as WS2812B or NeoPixels) allow you to control every single LED on the strip independently. This is how cosplayers achieve "chasing" effects, rainbows, or loading-bar animations. While they require a microcontroller to operate, the visual impact is significantly higher for complex props.
Understanding Power and Resistance
One of the most common mistakes beginners make is connecting an LED directly to a battery. Doing this can result in the LED burning out instantly or, in some cases, the battery overheating.
The Role of Resistors
LEDs have a specific forward voltage. If the voltage from your battery is higher than what the LED can handle, you must use a resistor to limit the current. A resistor acts as a "brake" for the electricity, ensuring the LED receives only what it needs. You can use online LED calculators to determine the exact ohm value needed based on your battery voltage and the LED's specifications.
Battery Selection
Choosing a power source depends on the duration of your convention day and the power draw of your lights. Common choices include:
- Coin Cell Batteries: Best for single, low-power LEDs. They are tiny but run out quickly.
- AA/AAA Battery Packs: Reliable and easy to replace, though bulkier.
- LiPo (Lithium Polymer) Batteries: High capacity and rechargeable. These are the gold standard for complex builds but require a dedicated charger and careful handling to avoid safety risks.
- USB Power Banks: Convenient for 5V strips and easily rechargeable via standard cables.
Diffusion: The Secret to Professional Lighting
Raw LEDs are "point sources," meaning they look like harsh, bright dots. To get that soft, cinematic glow seen in professional movie props, you must diffuse the light.
Material Choices for Diffusion
Diffusion works by scattering the light as it passes through a medium. Depending on your prop material, try these options:
- Frosted Acrylic: The industry standard for hard props. It allows light through while hiding the individual LED beads.
- White EVA Foam: If you use a thin layer of white foam over your lights, it creates a soft, organic glow.
- Hot Glue: In a pinch, a thick layer of hot glue over an LED can act as a lens and diffuser.
- Polyfill or Cotton: Excellent for "cloud" or "energy" effects, as it traps light and creates a volumetric glow.
Placement Strategy
To avoid "hot spots" (areas where the LED is too visible), avoid placing the light directly against the surface of your prop. Create a small gap or a "light box" chamber. This allows the light to bounce around the interior of the prop before exiting, resulting in a more even distribution.
Installation and Wiring Best Practices
Wiring can quickly become a "spaghetti mess" if not managed correctly. Proper cable management ensures your prop doesn't fail halfway through a photoshoot.
Soldering vs. Breadboarding
While breadboards are great for testing a circuit, they are too unstable for a costume. Always solder your final connections. Use heat-shrink tubing over every soldered joint to prevent wires from touching and causing a short circuit, which could kill your LEDs or drain your battery instantly.
Wire Routing
Plan your wire paths before you glue your prop together. Use small plastic conduits or sew wires into the seams of your fabric. If you are working with a hard prop, create dedicated channels in the foam or plastic. Always leave a small amount of "slack" at joints or hinges so the wires don't snap when the prop moves.
The Importance of a Kill Switch
Never rely solely on unplugging the battery to turn off your lights. Install a physical toggle switch or push-button in an accessible location. This prevents you from having to dismantle part of your costume just to turn the lights off for the night.
Troubleshooting Common Issues
Even experienced builders encounter glitches. When your lights don't behave, check these three common culprits:
The "Dimming" Effect
If your lights start bright but fade quickly, your batteries are likely struggling to provide enough current. Check if you are using a battery with a high enough mAh (milliampere-hour) rating for the number of LEDs you have installed.
Flickering or Random Colors
In addressable LEDs, flickering is often caused by a "loose" ground wire or electromagnetic interference. Ensure all your connections are tight and that your data wire is as short as possible between the microcontroller and the start of the strip.
Overheating
High-density LED strips can generate significant heat, especially when enclosed in foam or plastic. If the prop feels hot to the touch, consider lowering the brightness in your code or adding small ventilation holes to allow heat to escape.