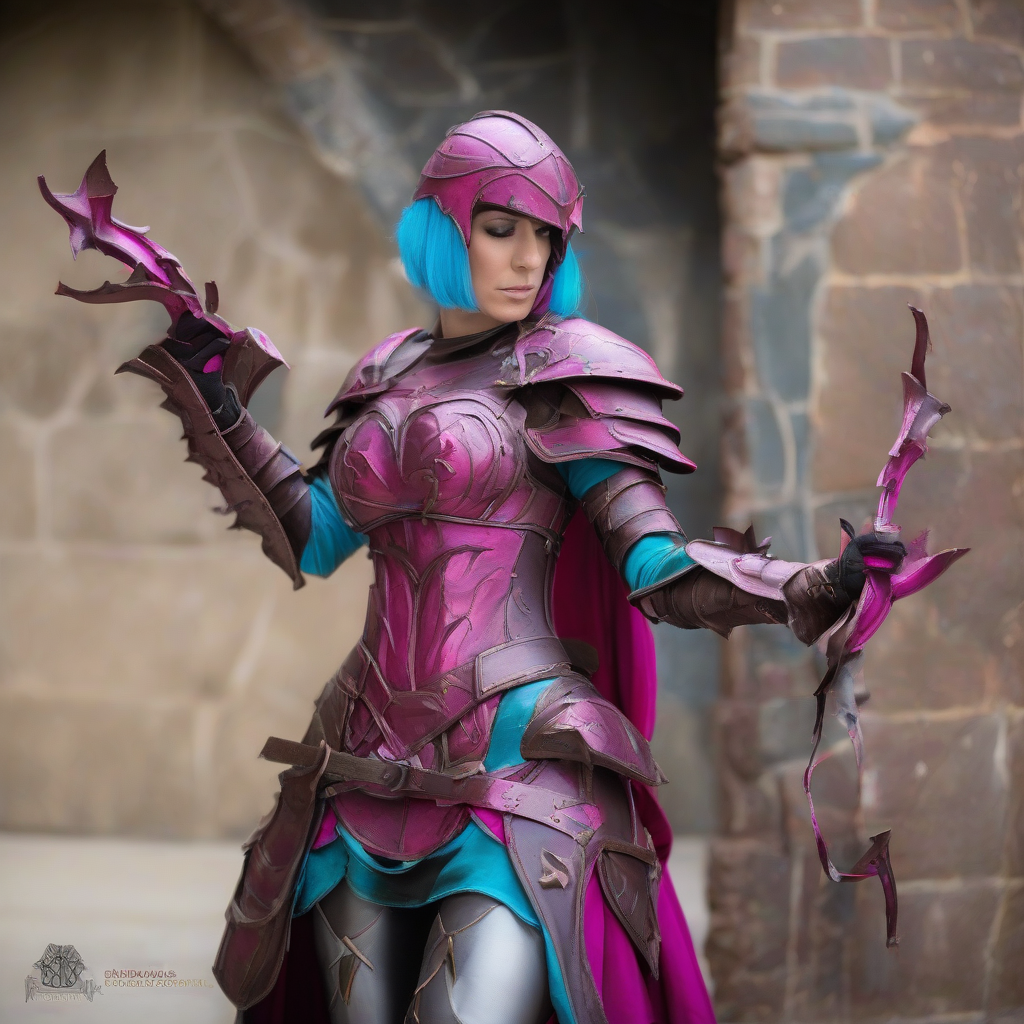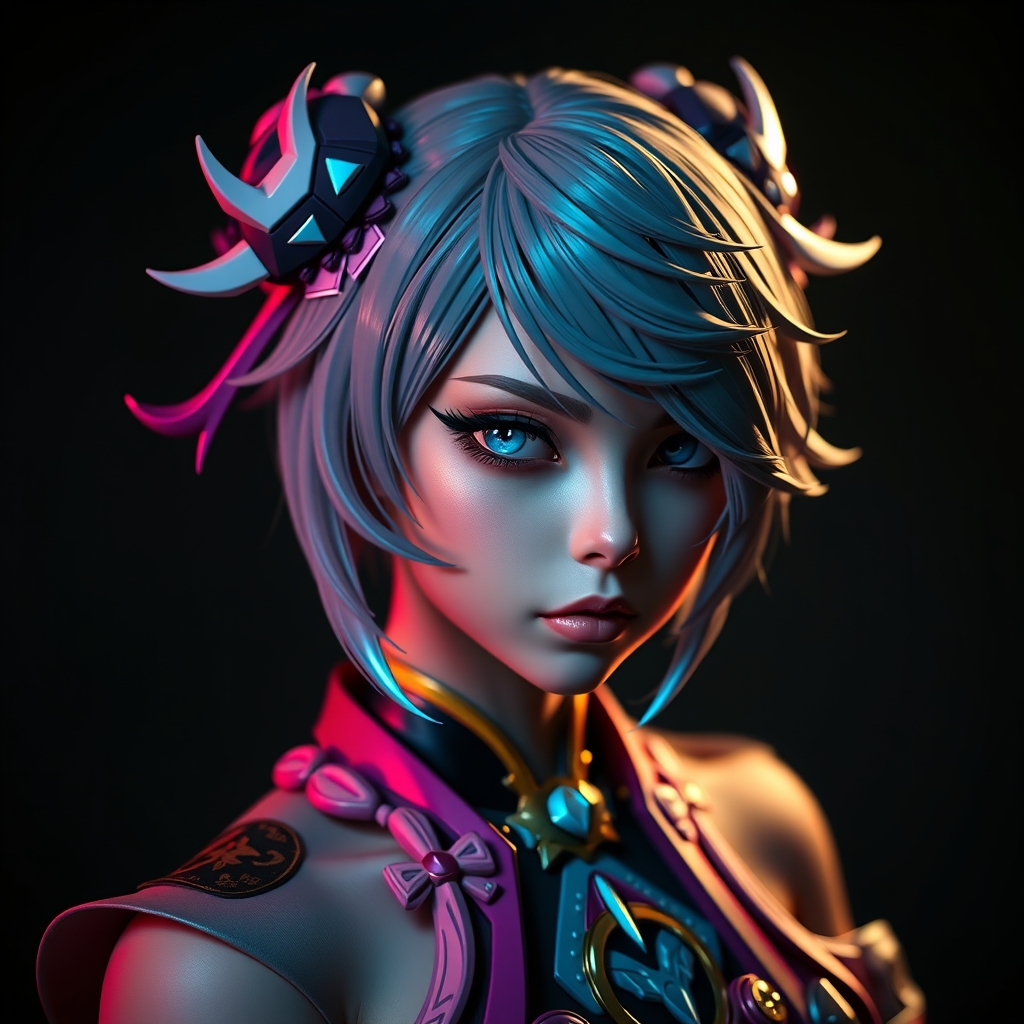
Genshin Impact is renowned for its "maximalist" character design. From the ornate gold filigree on Ningguang’s attire to the complex geometric visions and floating accessories of the Raiden Shogun, the game demands a level of precision that traditional foam and fabric often struggle to achieve. To capture the ethereal, polished look of Teyvat, cosplayers are increasingly turning to a hybrid workflow: combining 3D printing for structural accuracy and resin casting for durability and finish.
The Hybrid Workflow: Why Mix Printing and Casting?
Many builders make the mistake of choosing only one method. While FDM (filament) printing is great for large armor pieces, it often leaves visible layer lines that ruin the "jewelry" look of Genshin accessories. Conversely, printing every single small detail in resin can be expensive and brittle. The hybrid approach involves printing a high-detail "master" piece and then casting duplicates in a more durable or specialized resin.
This method is particularly useful for characters with symmetrical accessories—such as the matching earring ornaments or shoulder pauldrons. By printing one perfect master, you ensure total symmetry across your costume while reducing the total time spent on sanding and post-processing.
Choosing Your Material: PLA vs. Resin
- PLA (FDM Printing): Best for large, structural components like the base of a weapon or a large headpiece. However, it requires significant sanding and priming to hide the "steps."
- SLA/DLP (Resin Printing): Essential for the "small stuff." Use this for Visions, jewelry, and intricate buttons. The resolution allows for the microscopic detailing seen in the game's character models.
Step 1: Sculpting and Slicing for Detail
When designing for Genshin Impact, you must account for "visual weight." In-game models often have details that look great on a screen but can be too fragile in real life. When sculpting your accessories in software like ZBrush or Blender, slightly exaggerate the thickness of thin gold wires or floating gems.
Pro Tip: When slicing your model, orient your supports to avoid "pitting" on the visible surfaces. For accessories like the Vision housings, print the piece vertically to keep the circular edges crisp. If you are using a resin printer, ensure you use a "tough" or "ABS-like" resin; standard resin is often too brittle and will shatter if you accidentally bump your prop during a convention walk.
Step 2: Post-Processing the Master Piece
The secret to a professional-looking prop is not in the print, but in the finish. A 3D print is merely a rough draft. To prepare your piece for casting or final painting, follow this progression:
- Sanding: Start with 220 grit to remove support marks, then move to 400, 600, and finally 1000 grit wet-sanding. This removes the microscopic ridges that cause paint to look "grainy."
- Filling: Use a high-build primer or a UV-cure resin filler to plug any gaps or print voids.
- Polishing: For jewelry pieces, a light application of polishing compound can give the plastic a metallic sheen before you even apply paint.
Step 3: Creating the Mold and Casting
Once your master piece is flawless, it is time to cast. This is where you can introduce specialized materials, such as clear resins for the "gems" inside a Vision or metallic-infused resins for gold accents.
The Molding Process
Use a high-quality platinum-cure silicone for your molds. Because Genshin accessories are often complex and undercut, a two-part mold is usually necessary. Ensure you use a mold release agent to prevent the silicone from bonding to your 3D print, especially if you are using a resin print, as some resins can inhibit the curing of silicone.
Casting the Detail
When pouring your casting resin, use a vacuum chamber or a pressure pot if available. This removes air bubbles that can ruin the clarity of a gem or create pits in a gold ornament. For the iconic "glow" effect seen in Genshin accessories, consider using a translucent resin tinted with a drop of alcohol ink and embedding a small LED circuit at the base of the cast.
Step 4: Finishing Touches and Metallic Effects
The "Teyvat Gold" look is not achieved with a single coat of spray paint. To get that high-end, jewelry-grade finish, use a layering technique:
- The Base: Start with a gloss black primer. This creates a deep shadow that makes the gold pop.
- The Mid-Tone: Apply a metallic gold acrylic or enamel.
- The Highlight: Use a "bright gold" or silver paint for a light dry-brushing on the highest edges to simulate light reflecting off a polished surface.
- The Sealant: Finish with a high-gloss UV resin topcoat for gems and a satin varnish for metalwork. This protects the paint from chipping during the rigors of a convention.
Practical Tips for Convention Wear
Intricate accessories are beautiful but can be cumbersome. When attaching your resin-cast pieces to your costume, avoid using only hot glue, which can peel off the smooth surface of the resin. Instead, use E6000 industrial adhesive or mechanical fasteners like small magnets. Magnets are particularly effective for Genshin's "floating" accessories, allowing you to snap pieces into place and remove them easily for transport.
Finally, remember to weight your props. A solid resin piece can be surprisingly heavy. If you are crafting large ornaments for a character like Raiden Shogun, consider hollowing out the 3D model before printing to reduce the strain on your costume's fabric and your own posture throughout the day.