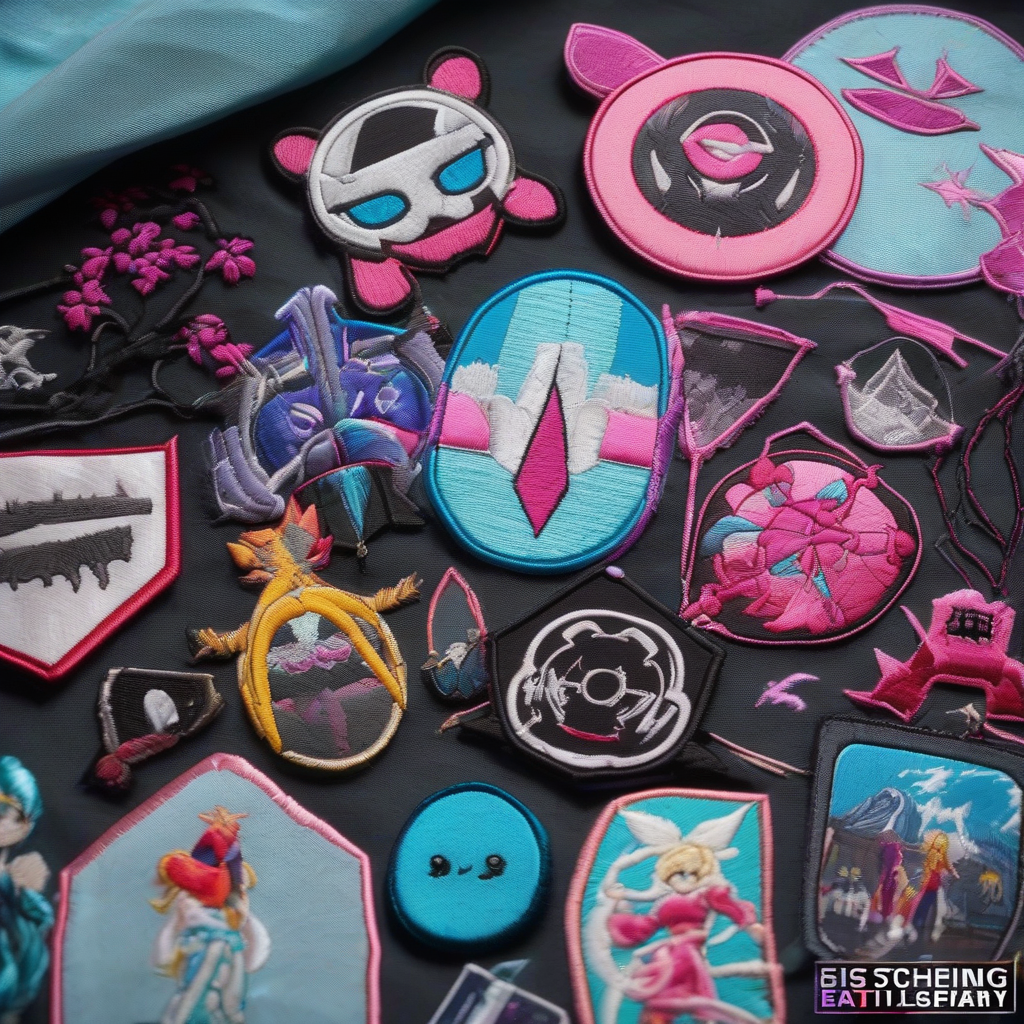
Introduction to Embroidered Patches in Cosplay
Embroidered patches have become an essential element in cosplay, adding a touch of realism and personality to costumes. Anime-inspired designs, in particular, are highly sought after for their vibrant colors and intricate details. However, many cosplayers and crafters assume that creating these patches requires specialized equipment and expertise. In this article, we'll demonstrate how to make stunning anime-inspired embroidered patches using simple household items and basic stitching techniques.
Gathering Materials and Tools
To get started, you'll need a few basic materials and tools that can be found in most households:
- Embroidery hoop (or a makeshift one using a wire hanger and a piece of cardboard)
- Thread (matching the colors of your design)
- Needle
- Scissors
- Stabilizing material (such as interfacing, cardboard, or even a piece of paper)
- Design template or pattern
You can use everyday items like old clothes, fabric scraps, or even plastic bags as a base for your patches.
Designing Your Patch
Anime-inspired designs often feature bold lines, vibrant colors, and intricate details. To create a design template, you can:
- Print out a reference image from the anime or manga you're cosplaying
- Draw inspiration from online tutorials or design communities
- Freehand your design directly onto the fabric using a pencil or a fabric marker
Keep in mind that simple designs work best for beginners, so don't be afraid to start with basic shapes and lines.
Basic Stitching Techniques for Embroidered Patches
Embroidered patches rely on a few fundamental stitches to create texture and dimension. Here are some basic stitches to get you started:
- Running Stitch: A simple stitch used for outlining designs and creating details
- Backstitch: A versatile stitch used for outlining designs, creating lines, and adding texture
- Satin Stitch: A smooth, shiny stitch used for filling in large areas
Practice these stitches on a scrap piece of fabric before working on your patch.
Step-by-Step Guide to Creating an Embroidered Patch
Now that you've gathered your materials and practiced basic stitches, it's time to create your embroidered patch:
- Stretch and secure your fabric in the embroidery hoop or makeshift frame
- Transfer your design template onto the fabric using a pencil or fabric marker
- Thread your needle and tie a knot at the end
- Begin stitching your design using a combination of running stitch, backstitch, and satin stitch
- Once you've completed your design, trim excess thread and sew a simple border around the patch
Tips and Variations for Mastering Embroidered Patches
As you gain more experience with embroidered patches, consider experimenting with different techniques and materials:
- Use metallic thread or yarn for added shine and texture
- Experiment with different fabrics, such as felt or cotton lace
- Add embellishments like beads or sequins for extra detail
- Try using a embroidery machine or pre-made embroidery patterns for more intricate designs
Remember to always keep your design simple and bold, as intricate details can be difficult to replicate with embroidery.
Conclusion and Resources
With these simple household items and basic stitching techniques, you can create stunning anime-inspired embroidered patches for your cosplay costumes. For more information and inspiration, check out online communities like Cosplay.com or DeviantArt, which feature a wealth of tutorials, designs, and resources for cosplayers and crafters.