
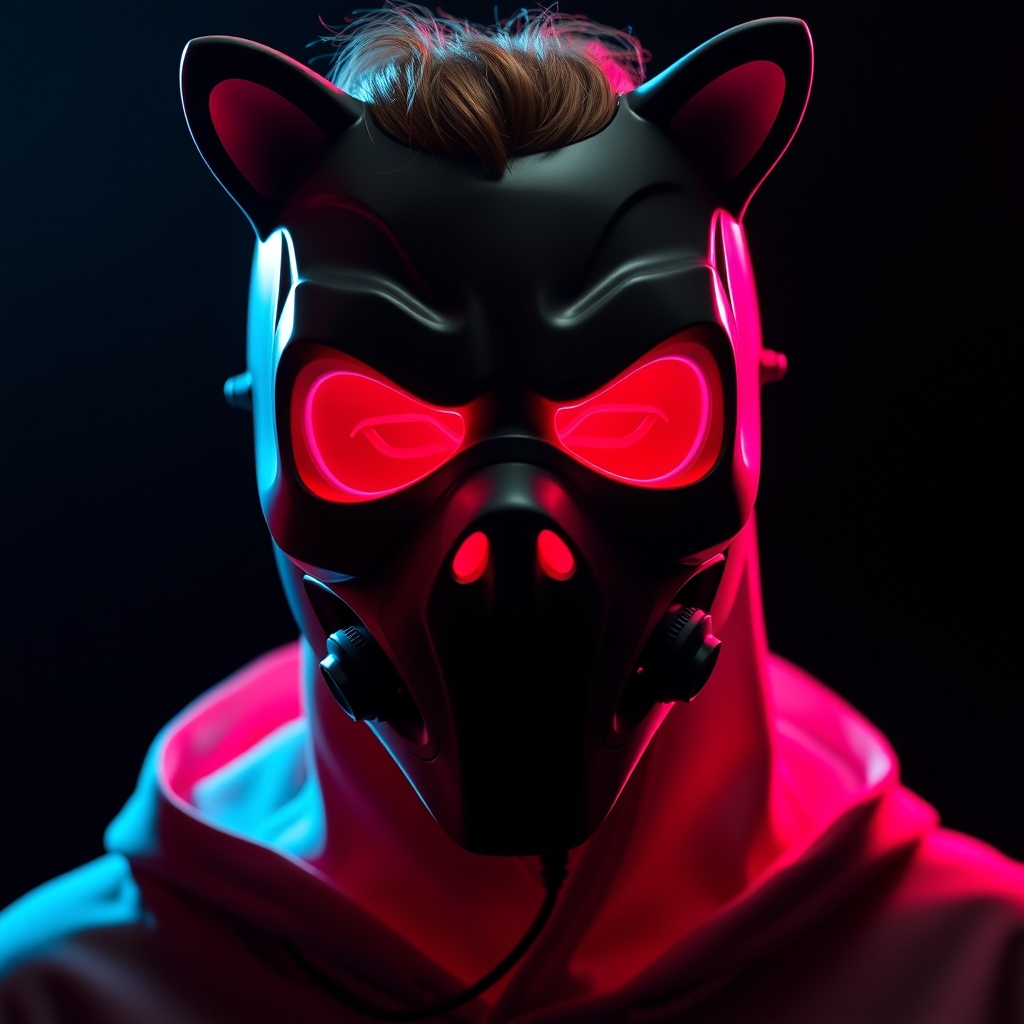
Introduction
Creating a hyper-realistic cosplay mask is a challenging but rewarding experience. With the advancements in resin casting and 3D printing technologies, cosplayers and prop makers can now achieve unprecedented levels of detail and realism. In this guide, we'll walk you through the step-by-step process of creating a stunning cosplay mask using these techniques.
Planning and Design
Before starting your project, it's essential to plan and design your mask. Research the character's appearance, study their facial structure, and gather reference images. Consider the materials and techniques you'll use, as well as the level of detail you want to achieve.
Sketch out your design and create a prototype using clay, paper mache, or digital tools. This will help you visualize the final product and make any necessary adjustments.
Resin Casting: A Traditional Approach
Resin casting is a popular method for creating cosplay masks. It involves creating a mold, pouring resin into it, and allowing it to cure.
- Materials needed: silicone mold material, resin, hardener, and a mixing cup.
- Step-by-Step Process:
- Create a master pattern using clay or wax.
- Apply a release agent to the pattern.
- Mix and apply the silicone mold material.
- Allow the mold to cure and harden.
- Mix and pour the resin into the mold.
- Allow the resin to cure and harden.
- Remove the mask from the mold and sand it.
3D Printing: A Modern Approach
3D printing is a rapidly growing technology in the cosplay community. It allows for the creation of complex geometries and intricate details.
- Materials needed: 3D printer, 3D modeling software, and a computer.
- Step-by-Step Process:
- Create a 3D model of your mask using software like Blender or ZBrush.
- Slice the model into layers using a 3D printing software.
- Print the mask using a 3D printer.
- Post-process the mask by sanding and painting.
Finishing Touches
Once you've created your mask using resin casting or 3D printing, it's time to add the finishing touches.
Apply a coat of primer and paint to achieve a realistic skin tone. Add details such as eyebrows, eyelashes, and lip texture using a small brush.
Finally, attach a harness or straps to secure the mask to your head. You can use materials like foam, fabric, or Worbla for this purpose.
Tips and Best Practices
Here are some tips and best practices to keep in mind when creating a hyper-realistic cosplay mask:
- Use high-quality materials and tools.
- Pay attention to detail and accuracy.
- Test and iterate on your design.
- Practice safety when working with resin and 3D printing.
For more information on resin casting and 3D printing, check out the following resources:



