Introduction to Modular Armor
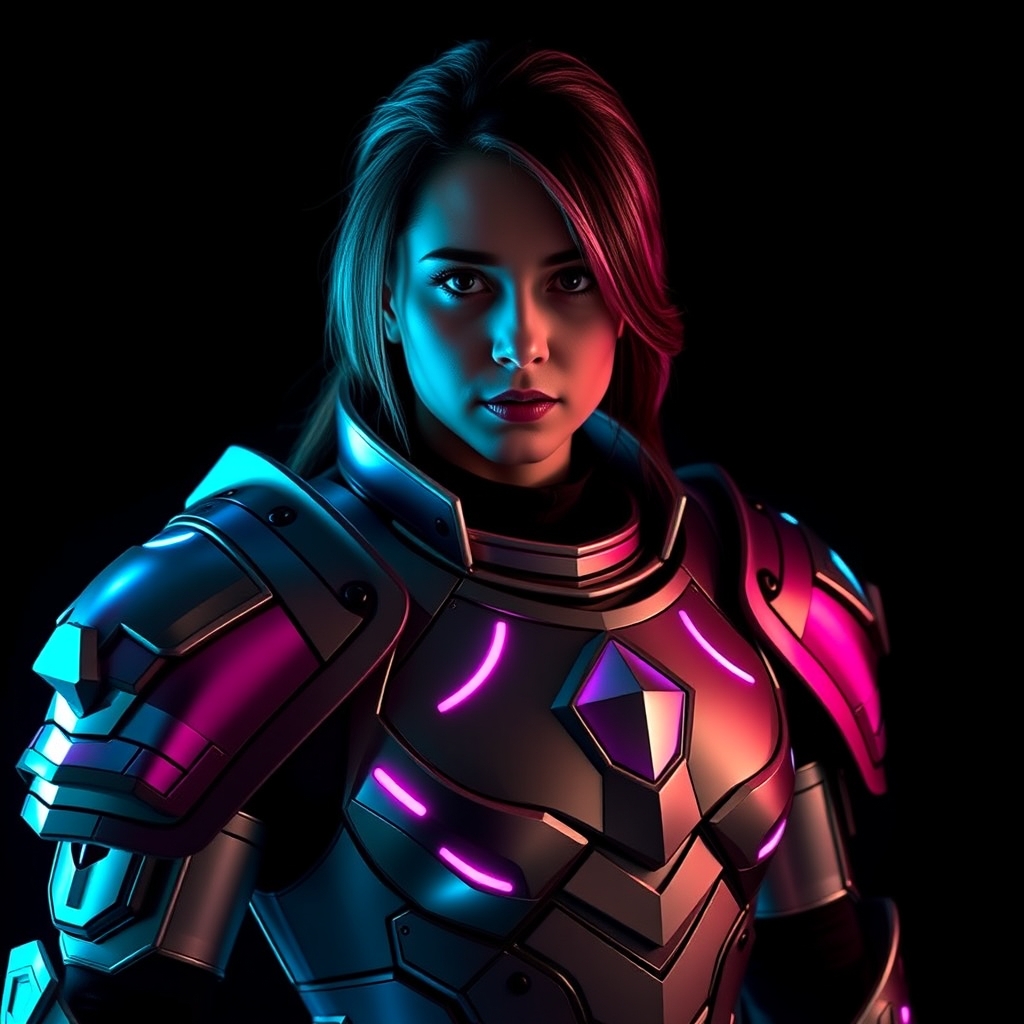
Modular armor is a staple of fantasy and science fiction, offering a versatile and visually striking way to create complex cosplay pieces. By breaking down a large armor set into smaller, interlocking components, cosplayers can achieve a more detailed and articulated look. In this guide, we'll explore how to create modular armor using Worbla and 3D printing, two popular tools in the cosplay crafting community.
Designing Your Modular Armor
Before you begin crafting your modular armor, it's essential to design your pieces. Consider the character's armor style, the materials you'll be using, and the level of detail you want to achieve. You can use computer-aided design (CAD) software or 3D modeling programs like Blender to create your designs.
When designing your pieces, keep in mind the following factors:
- Scale: Ensure your pieces are proportional to the character's body and the overall armor set.
- Interlocking mechanism: Plan how your pieces will connect and articulate, using techniques like magnets, hinges, or snap fits.
- Weight and durability: Consider the weight and fragility of your pieces, especially if you'll be wearing them for extended periods.
3D Printing Your Modular Armor Pieces
Once you have your design, it's time to 3D print your modular armor pieces. You can use a variety of 3D printing materials, such as PLA, ABS, or resin, depending on your desired level of detail and durability.
When 3D printing, keep in mind:
- Layer height: Adjust your layer height to achieve the desired level of detail.
- Infill density: Balance infill density with weight and durability considerations.
- Support material: Use support material when necessary to prevent print failures.
Working with Worbla
Worbla is a popular thermoplastic material used in cosplay crafting. It offers a versatile way to add detail, texture, and strength to your 3D printed pieces.
To work with Worbla, follow these steps:
- Prepare your 3D printed piece: Clean and sand your piece to ensure a smooth surface.
- Cut and shape Worbla: Use a heat gun or Worbla-specific tools to cut and shape your Worbla sheets.
- Apply Worbla: Use a heat gun to melt and apply Worbla to your 3D printed piece.
Assembling Your Modular Armor
With your 3D printed and Worbla-covered pieces, it's time to assemble your modular armor. Use a combination of adhesives, magnets, and mechanical fasteners to connect your pieces.
When assembling, consider:
- Alignment: Ensure your pieces align properly to achieve a seamless fit.
- Strength: Use sufficient adhesives or fasteners to secure your pieces.
- Articulation: Test your pieces to ensure they articulate smoothly and comfortably.
Conclusion and Tips
Mastering modular armor requires patience, creativity, and practice. By combining 3D printing and Worbla, you can achieve intricate, wearable pieces that elevate your cosplay game.
Additional tips:
- Test and iterate: Test your pieces and make adjustments as needed.
- Reference and research: Study reference images and research different techniques to improve your craft.
- Join the community: Share your work and learn from others in the cosplay crafting community.
For more information on Worbla and 3D printing, check out the following resources:
- Worbla official website: https://www.worbla.com/
- 3D printing communities: https://www.reddit.com/r/3DPrinting/