Introduction to Cosplay Horns
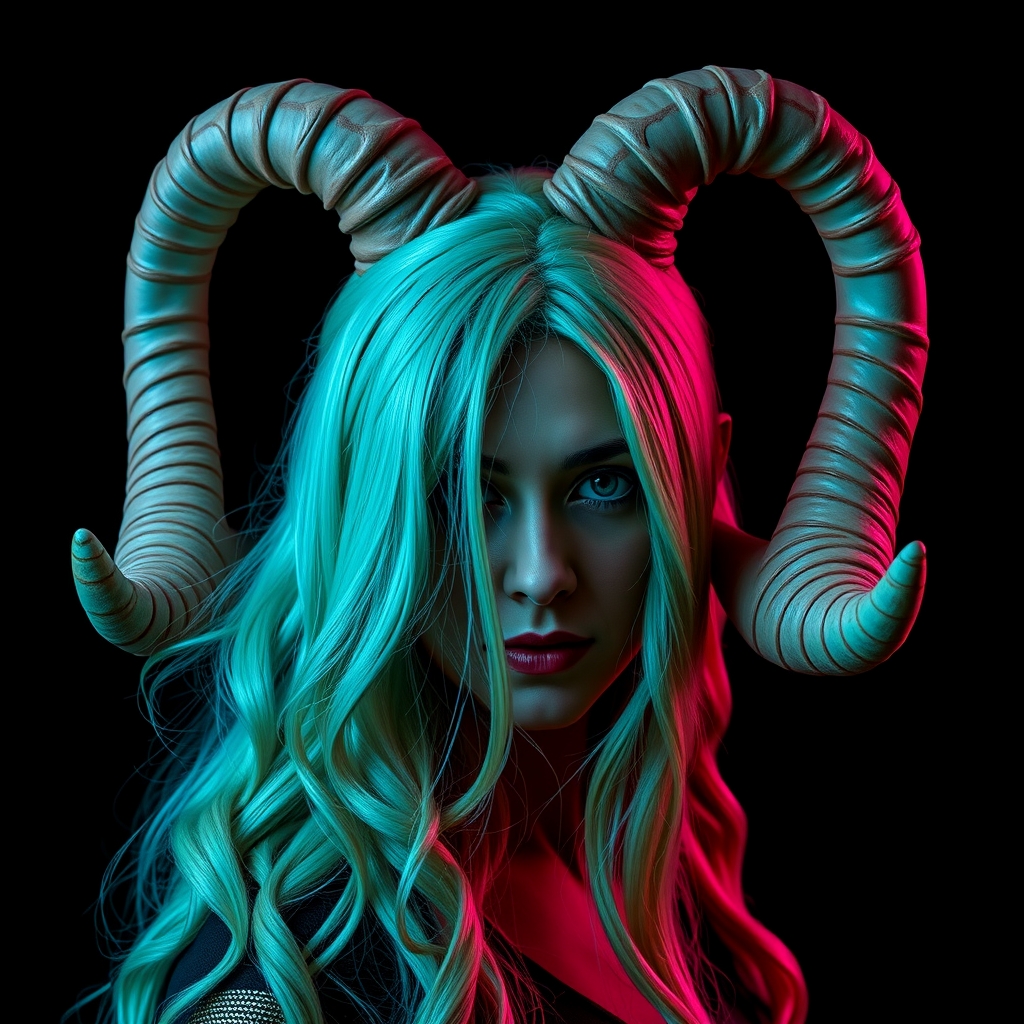
Cosplay horns are a staple feature for many mythical and fantasy characters, from dragons and demons to elves and mythological creatures. While they may seem intimidating to create, with the right materials and techniques, you can craft realistic and durable horns that will take your cosplay to the next level. In this guide, we'll explore the process of creating stunning cosplay horns using Worbla and thermoplastic.
Materials and Tools Needed
To create realistic cosplay horns, you'll need the following materials and tools:
- Worbla or thermoplastic sheets
- Heat gun or hair dryer
- Thermoplastic mold or shape
- Wire armature (optional)
- Adhesives (hot glue, epoxy, or contact cement)
- Paint and primer (acrylic or spray paint)
- Sandpaper and files
- Protective gear (gloves, safety glasses)
Preparing the Design and Pattern
Before you begin crafting your horns, it's essential to have a clear design and pattern in mind. Research your character's horn shape, size, and texture to ensure accuracy. You can use reference images or create a mockup using paper or cardboard. Consider the following factors:
- Horn shape and curvature
- Size and scale
- Texture and pattern
- Attachment method (headband, headpiece, or individual horns)
Creating the Horn Shape with Worbla or Thermoplastic
Worbla and thermoplastic are ideal materials for creating cosplay horns due to their durability, flexibility, and moldability. To create the horn shape:
- Cut out the Worbla or thermoplastic sheet to the desired shape and size.
- Apply heat using a heat gun or hair dryer to soften the material.
- Shape and mold the material into the desired horn shape.
- Allow the material to cool and harden.
For more complex horn shapes, you can use a thermoplastic mold or shape to achieve the desired curvature and texture.
Adding a Wire Armature for Stability
For larger or more elaborate horn designs, a wire armature can provide added stability and support. To create a wire armature:
- Cut and shape a wire (aluminum or copper) to the desired shape and size.
- Wrap the wire with a thin layer of Worbla or thermoplastic to secure it in place.
- Apply additional layers of Worbla or thermoplastic to build up the horn shape.
Finishing and Painting the Horns
Once the horn shape is complete, it's time to add a finish and paint. To achieve a realistic look:
- Sand the horns to smooth out any rough edges or bumps.
- Prime the horns using a primer or base coat.
- Apply paint using acrylic or spray paint, matching the character's color scheme.
- Add additional details, such as texture or shading, using a small brush or makeup.
Attaching the Horns to Your Cosplay
The final step is to attach the horns to your cosplay. You can use various methods, including:
- Headbands or headpieces
- Adhesives (hot glue, epoxy, or contact cement)
- Velcro or magnets
- Elastic or straps
Choose a method that is secure, comfortable, and easy to remove.
Conclusion and Tips
Crafting realistic cosplay horns with Worbla and thermoplastic requires patience, creativity, and practice. Remember to:
- Research and plan your design carefully
- Use protective gear when working with heat and materials
- Experiment with different materials and techniques
- Practice makes perfect – don't be discouraged by setbacks or failures
With these techniques and materials, you'll be well on your way to creating stunning, realistic cosplay horns that will elevate your character's mythical presence.