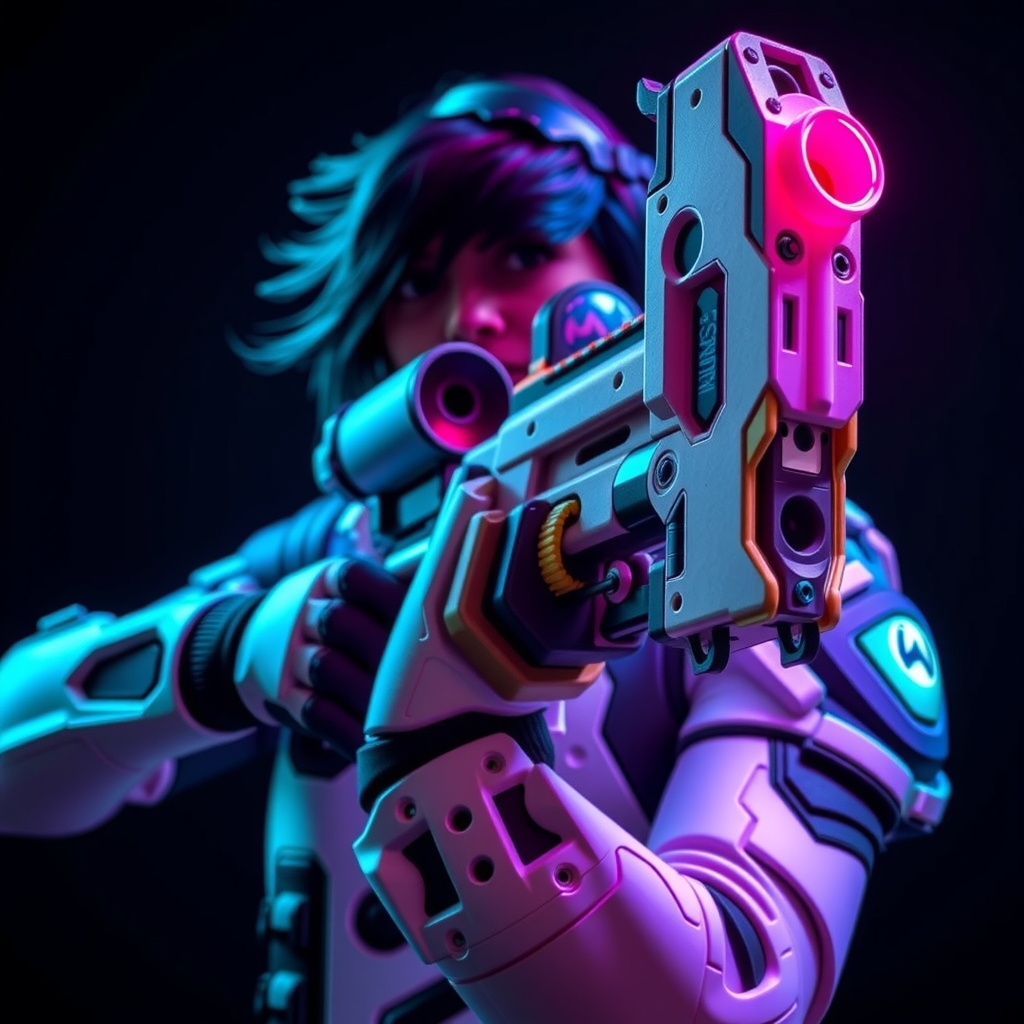
Introduction to Prop-Making with Foam and Worbla
Creating intricate props like those found in Overwatch requires a combination of creativity, skill, and the right materials. Foam and Worbla are popular choices among cosplayers and prop-makers due to their versatility, durability, and ease of use. In this guide, we'll walk you through the process of crafting Overwatch's complicated guns using foam and Worbla, covering the essential tools, techniques, and tips to help you achieve a professional finish.
Choosing the Right Materials
When it comes to prop-making, selecting the right materials is crucial. For this project, you'll need:
- High-density foam (such as Worbla's Thermoplastic or EVA foam)
- Worbla (a thermoplastic material)
- Adhesives (hot glue, epoxy, or contact cement)
- Paint and finishing materials (acrylic paint, primer, and a sealant)
- Power tools (such as a Dremel or a jigsaw)
- Hand tools (sandpaper, files, and clippers)
Designing and Pattern-Making
Before you begin crafting your prop, it's essential to have a solid design and pattern. You can either create your own design or use reference images from the game. For accuracy, use a 3D modeling software or drawing program to create a detailed blueprint of your prop. Consider the following:
- Scale: Ensure your prop is proportional to the character and the game's art style.
- Details: Include intricate details, such as textures, vents, and engravings, to enhance realism.
- Functionality: Consider how you'll assemble and disassemble the prop, if needed.
Cutting and Shaping Foam
Once you have your design and pattern, it's time to cut and shape your foam. Use a combination of power tools and hand tools to achieve the desired shape:
- Cut out the main body of the prop using a jigsaw or a Dremel.
- Use sandpaper and files to smooth out the edges and refine the shape.
- Add details, such as vents or engravings, using a Dremel or a craft knife.
Working with Worbla
Worbla is a versatile thermoplastic material that can be molded, shaped, and thermoformed. To work with Worbla:
- Preheat your Worbla to the recommended temperature (usually around 150°C to 200°C).
- Apply the Worbla to the foam, using a heat gun or a thermometer to control the temperature.
- Shape and mold the Worbla to create intricate details, such as textures or panels.
Assembly and Finishing
Once you've crafted the individual components of your prop, it's time to assemble and finish:
- Use adhesives to bond the foam and Worbla components together.
- Apply a primer and paint to achieve the desired color and finish.
- Seal your prop with a clear coat to protect it from damage and wear.
Tips and Tricks
To achieve a professional finish and ensure durability, keep the following tips in mind:
- Use reference images to ensure accuracy and attention to detail.
- Test and iterate on your design and pattern before committing to final materials.
- Work in a well-ventilated area, and use protective gear when working with power tools and adhesives.
- Consider adding electronics, such as LED lights or moving parts, to enhance the prop's realism and functionality.
By following these steps and techniques, you'll be able to create intricate and accurate Overwatch props using foam and Worbla. With practice and patience, you'll be able to craft props that rival those found in the game, and take your cosplay to the next level.