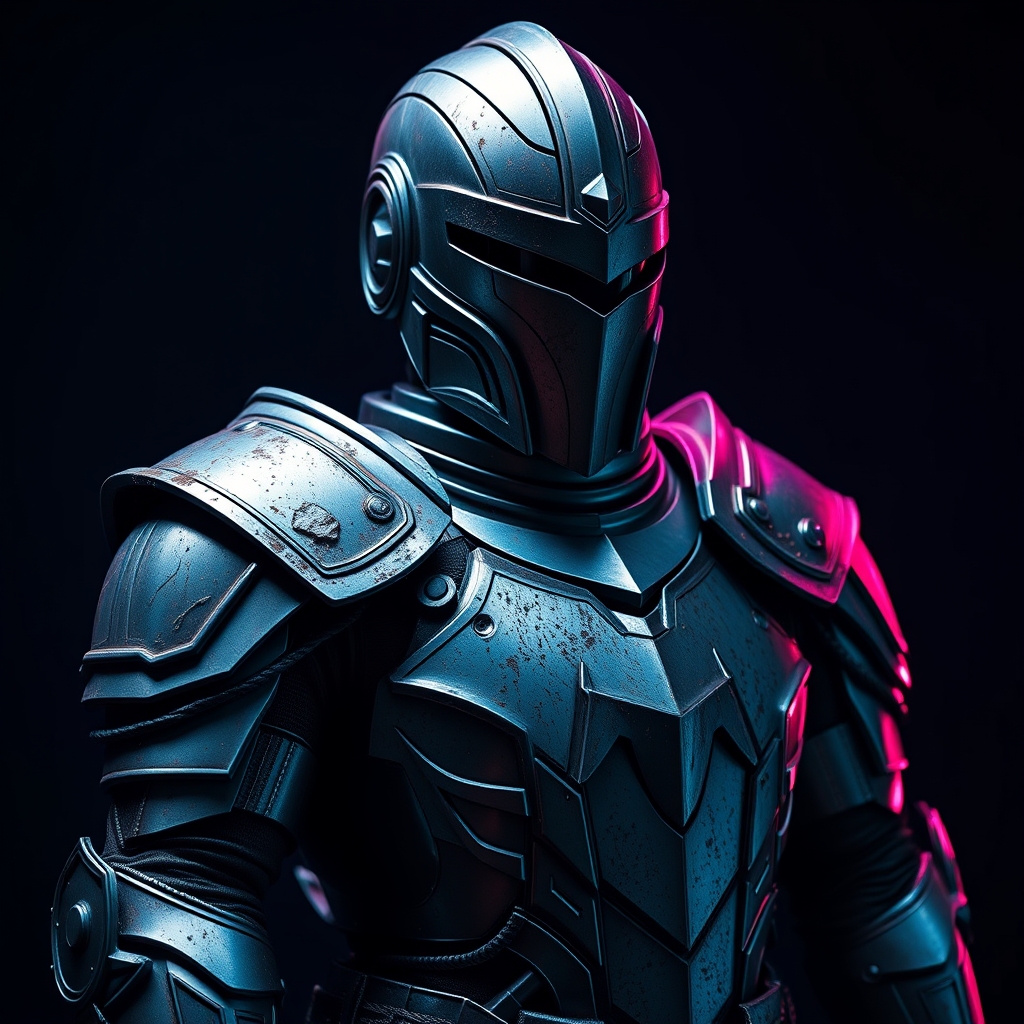
Introduction to Weathering
Weathering is a crucial aspect of creating realistic cosplay armor. It adds depth, character, and a sense of history to your prop, transforming it from a mere replica into a battle-worn masterpiece. In this guide, we'll explore the techniques and materials needed to achieve hyper-realistic weathering effects using acrylic paints and washes.
Materials and Tools
To get started, you'll need the following materials:
- Acrylic paints (various colors)
- Water
- Palette or mixing surface
- Paintbrushes (various sizes)
- Washes (thinned acrylic paint or specialized wash products)
- Palette knife or similar tool for mixing
- Reference images of weathered armor or props
Preparing Your Armor
Before you begin weathering, make sure your armor is complete and primed. If your armor is made of a material that can be sanded, lightly sand it to create a smooth surface for painting. Remove any dust or debris with a soft brush or cloth.
If your armor has a glossy finish, you may need to apply a primer or a coat of matte varnish to help the paint adhere. This step is crucial for achieving a realistic, worn look.
Basic Weathering Techniques
There are several basic techniques to master when creating weathering effects:
- Layering: Build up layers of paint and wash to achieve a gradual, worn look.
- Blending: Mix colors on your palette or directly on the armor to create smooth transitions between shades.
- Highlighting: Use lighter shades to accentuate raised areas and create a sense of volume.
- Shadowing: Apply darker shades to recessed areas to create depth and dimension.
Creating Realistic Washes
Washes are a crucial element in weathering, as they help to create a sense of grime and wear. To create a wash, mix a small amount of acrylic paint with water on your palette. The consistency should be thin, but not transparent.
Apply the wash to recessed areas or areas where you want to suggest wear and tear. Use a brush to gently guide the wash into crevices and corners, allowing it to flow naturally.
Advanced Weathering Techniques
Once you've mastered the basics, you can move on to more advanced techniques:
- Edge highlighting: Use a fine brush to apply lighter shades to the edges of raised areas, creating a sense of wear and tear.
- Rust and corrosion: Mix orange and brown shades to create a rust effect, applying it to areas where metal would corrode.
- Chipping and flaking: Use a small brush to apply paint in small, irregular patches, suggesting chipped or flaked paint.
Tips and Tricks
Here are a few final tips to help you achieve hyper-realistic weathering effects:
- Reference, reference, reference: Collect reference images of weathered armor, props, and machinery to inspire your work.
- Experiment and iterate: Don't be afraid to try new techniques and adjust your approach as needed.
- Less is more: Weathering effects can quickly become overpowering. Start with subtle applications and build up gradually.
By following these steps and techniques, you'll be able to create hyper-realistic weathering effects for your cosplay armor, adding a new level of depth and realism to your prop.