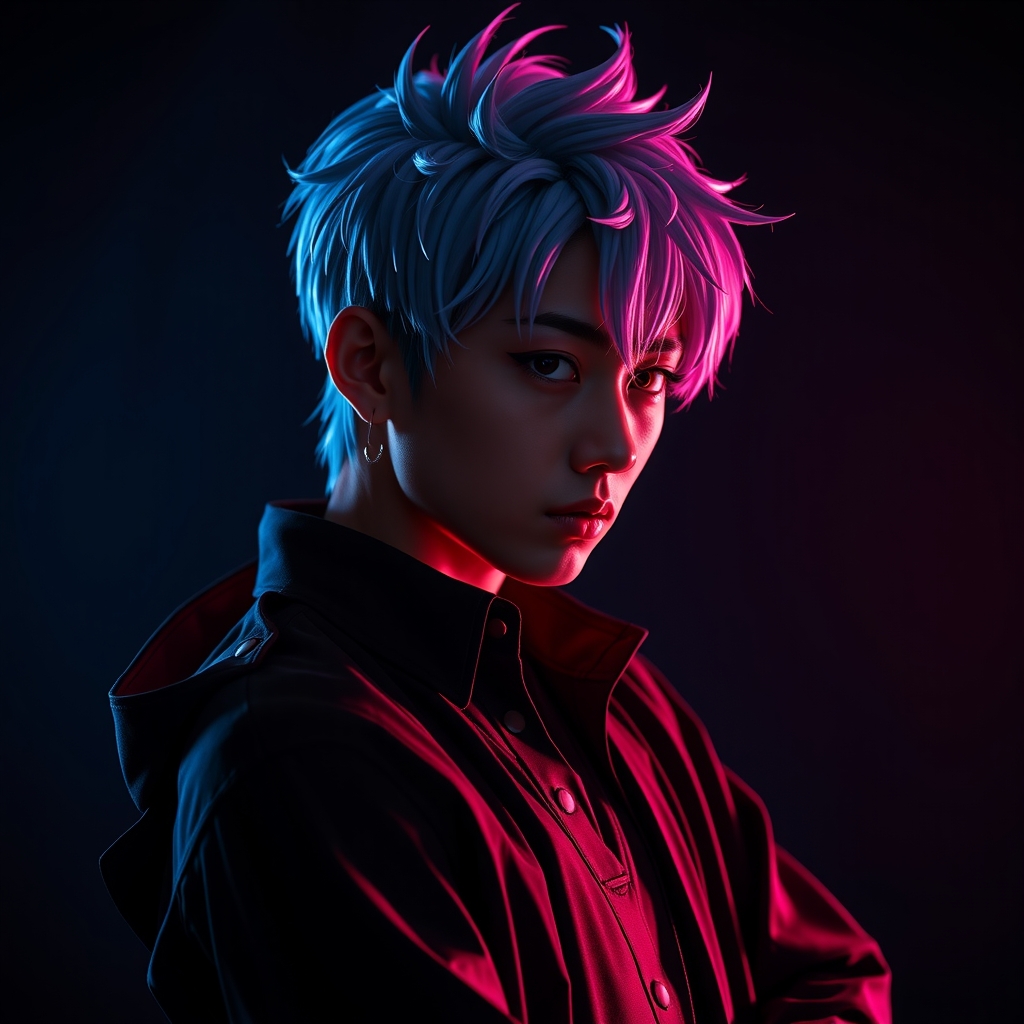
Translating the aesthetic of Jujutsu Kaisen into the real world requires a balance between minimalist design and precise tailoring. Unlike high-fantasy series with ornate armor or sprawling gowns, the characters in this series primarily wear modified school uniforms and streetwear. However, the simplicity of these designs is deceptive; the impact of a high-quality Jujutsu Kaisen cosplay lies in the silhouette, the weight of the fabric, and the subtle details that suggest a world of supernatural combat.
Understanding the Jujutsu High Silhouette
The signature look of the Jujutsu High students is defined by a structured, dark navy or black uniform. To avoid looking like you are wearing a generic school costume, you must focus on the "stiffness" of the garment. The uniforms are designed to look durable and professional, meaning they should hold their shape even when the wearer is moving.
When selecting fabric, avoid thin polyester or lightweight cottons. Instead, opt for heavy-weight twill, wool blends, or a high-density gabardine. These fabrics provide the necessary structure for the high collars and sharp shoulder lines. If you are working with a lighter fabric, consider interfacing the collar, cuffs, and plackets with a heavy-duty fusible interfacing to ensure they remain crisp throughout a convention day.
Tailoring the Customizations
One of the hallmarks of the series is how each character modifies their uniform to suit their personality. To achieve an authentic look, focus on these specific tailoring adjustments:
- The High Collar: The iconic standing collar should be reinforced. If it flops over, the silhouette is lost. Use a stiff interfacing or even a thin layer of buckram inside the collar stand.
- The Button Detail: The gold buttons are a focal point. Rather than using plastic buttons, seek out metallic buttons with a matte or brushed finish to avoid a "costumey" shine.
- Fit and Proportion: Depending on the character, the fit varies from oversized and slouchy to razor-sharp and tailored. Ensure your measurements reflect the character's specific build—tapering the waist for a more athletic look or adding volume to the sleeves for a more relaxed vibe.
Recreating Cursed Spirit Textures
Cosplaying Cursed Spirits or transformed humans requires a shift from tailoring to sculptural work. The challenge here is recreating organic, often unsettling textures that look natural under convention lighting.
For skin-like textures that appear mutated or scarred, liquid latex and tissue paper are foundational tools. By layering tissue paper with liquid latex, you can create "skin folds" and ridges. Once dry, these can be painted with alcohol-based paints, which are preferred over water-based paints because they bond to the latex and resist smudging during long hours of wear.
Working with Organic Shapes
For larger protrusions or horns, EVA foam is the most versatile medium. Start with a high-density foam for the core structure and use a heat gun to mold the shapes. To move away from the "flat" look of foam, apply a layer of lightweight spackle or wood filler over the surface. Once sanded smooth, this removes the cellular texture of the foam, allowing you to paint it to look like bone, muscle, or chitin.
The Art of the Cursed Tool
Props in this series range from traditional weaponry to abstract objects. The goal is to make these items look like they have been used in combat, rather than appearing as brand-new toys.
For blades or staffs, a combination of PVC pipe for the core and EVA foam for the blade is a safe and effective method. To achieve a metallic finish without the weight of steel, use a high-quality silver spray paint followed by a "weathering" process. Weathering involves applying a dark wash—watered-down black or brown acrylic paint—into the crevices of the prop and wiping the surface clean. This creates the illusion of grime and wear, suggesting the tool has seen many battles.
Integrating Special Effects
To simulate the glow of Cursed Energy, consider integrating LED strips or EL wire into your props or clothing. For a more subtle effect, use UV-reactive paints. When viewed under certain lighting, these paints will "pop," mimicking the ethereal nature of cursed techniques without requiring bulky battery packs.
Wig Styling for Dynamic Movement
The hair in this series is often gravity-defying and highly stylized. To achieve these looks, you cannot rely on the wig as it comes out of the package. You will need to employ "spiking" techniques to create the sharp, angular shapes characteristic of the art style.
- The Base: Start with a heat-resistant synthetic wig. This allows you to use a flat iron or curling iron to set the initial direction of the hair.
- Sectioning: Divide the hair into sections. Use a strong-hold hairspray (such as Got2b Glued) and a blow dryer to "freeze" the spikes in place.
- The "Pinch" Method: For very sharp points, pinch the ends of the hair fibers together with a small amount of glue or heavy-duty gel, then blow-dry them into a point.
- Volume: If the character has significant volume at the crown, tease the roots of the wig or add a small piece of foam padding underneath the wig cap to lift the hair away from the scalp.
Final Touches: Makeup and Expression
The final layer of any Jujutsu Kaisen cosplay is the makeup. Whether you are portraying a human or a spirit, the focus should be on the eyes and the skin tone.
For human characters, use a matte setting powder to eliminate shine, as the series' aesthetic is generally muted and gritty. If the character has specific markings or scars, use a fine-tipped eyeliner or a cosmetic brush with a deep plum or brown shade. Avoid using pure black for scars, as this can look unnatural; instead, layer deep reds and browns to create depth and a "healed" appearance.
For characters with more supernatural traits, contouring is key. Use a darker shade of contour powder under the cheekbones and around the eye sockets to create a more sunken, intense look. This enhances the "battle-worn" aesthetic and adds a layer of psychological depth to the costume, moving it from a simple outfit to a full character portrayal.