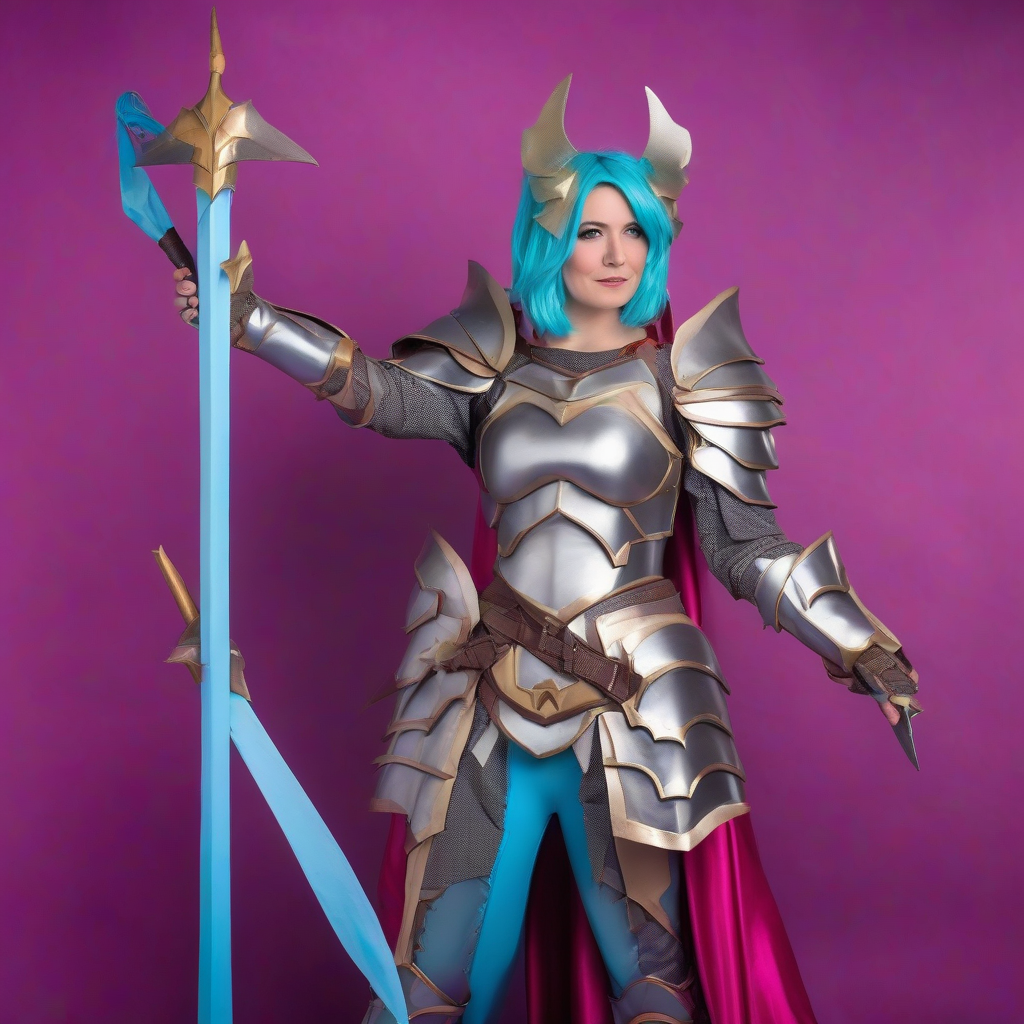
Introduction to Foam Crafting
Foam crafting has become a staple in the cosplay community, allowing creators to produce intricate, detailed, and lightweight armor pieces that are both durable and comfortable to wear. With the right techniques and materials, you can achieve professional-looking results without breaking the bank or sacrificing mobility. In this guide, we'll cover the basics of foam crafting and provide you with a solid foundation for creating your own stunning cosplay armor.
Choosing the Right Foam
Not all foams are created equal, and selecting the right type is crucial for your project. There are several types of foam commonly used in cosplay, each with its own unique characteristics:
- EVA Foam (Ethylene-Vinyl Acetate): A popular choice for cosplay armor, EVA foam is soft, flexible, and easy to work with. It's available in various densities and can be used for both prop making and costume construction.
- PU Foam (Polyurethane): A more rigid and durable option, PU foam is often used for creating detailed, textured pieces. It's more challenging to work with than EVA foam but produces impressive results.
- Expanded Polypropylene (EPP) Foam: A lightweight, impact-resistant foam ideal for creating complex shapes and designs. EPP foam is more expensive than EVA or PU foam but offers exceptional durability.
When selecting a foam, consider the look and feel you want to achieve, as well as your skill level and budget.
Essential Tools and Materials
To get started with foam crafting, you'll need a few essential tools and materials:
- A heat gun or hair dryer for shaping and molding foam
- A craft knife or foam cutter for cutting and trimming foam
- Adhesives, such as hot glue, epoxy, or contact cement
- Sandpaper and files for smoothing and detailing
- Paint and primer for finishing and adding color
Basic Foam Crafting Techniques
Mastering basic foam crafting techniques will help you achieve professional-looking results. Here are a few essential skills to get you started:
- Cutting and Shaping: Use a craft knife or foam cutter to cut out your foam pieces. Apply heat to shape and mold the foam into desired forms.
- Adhesives and Bonding: Choose the right adhesive for your project and apply it carefully to avoid bubbles or weak bonds.
- Sanding and Smoothing: Use sandpaper and files to smooth out rough edges and surfaces.
- Painting and Finishing: Apply primer and paint to achieve a durable, long-lasting finish.
Tips and Tricks for Working with Foam
Here are a few additional tips to keep in mind when working with foam:
- Always work in a well-ventilated area, and use protective gear when necessary.
- Use a pattern or template to ensure accurate cuts and shapes.
- Test your adhesives and materials on scrap foam before applying them to your project.
- Be patient and take your time – foam crafting can be a slow and iterative process.
Creating Complex Armor Pieces
Once you've mastered basic foam crafting techniques, you can move on to creating complex armor pieces. Here are a few tips for taking your skills to the next level:
- Use a combination of foam types to achieve different textures and effects.
- Experiment with different adhesives and bonding techniques to create strong, durable joints.
- Pay attention to detail and take your time when shaping and smoothing complex pieces.
Conclusion and Next Steps
With these fundamental skills and techniques under your belt, you're ready to start creating your own stunning cosplay armor. Remember to practice patience, experiment with different materials and techniques, and continually challenge yourself to improve. Happy crafting!