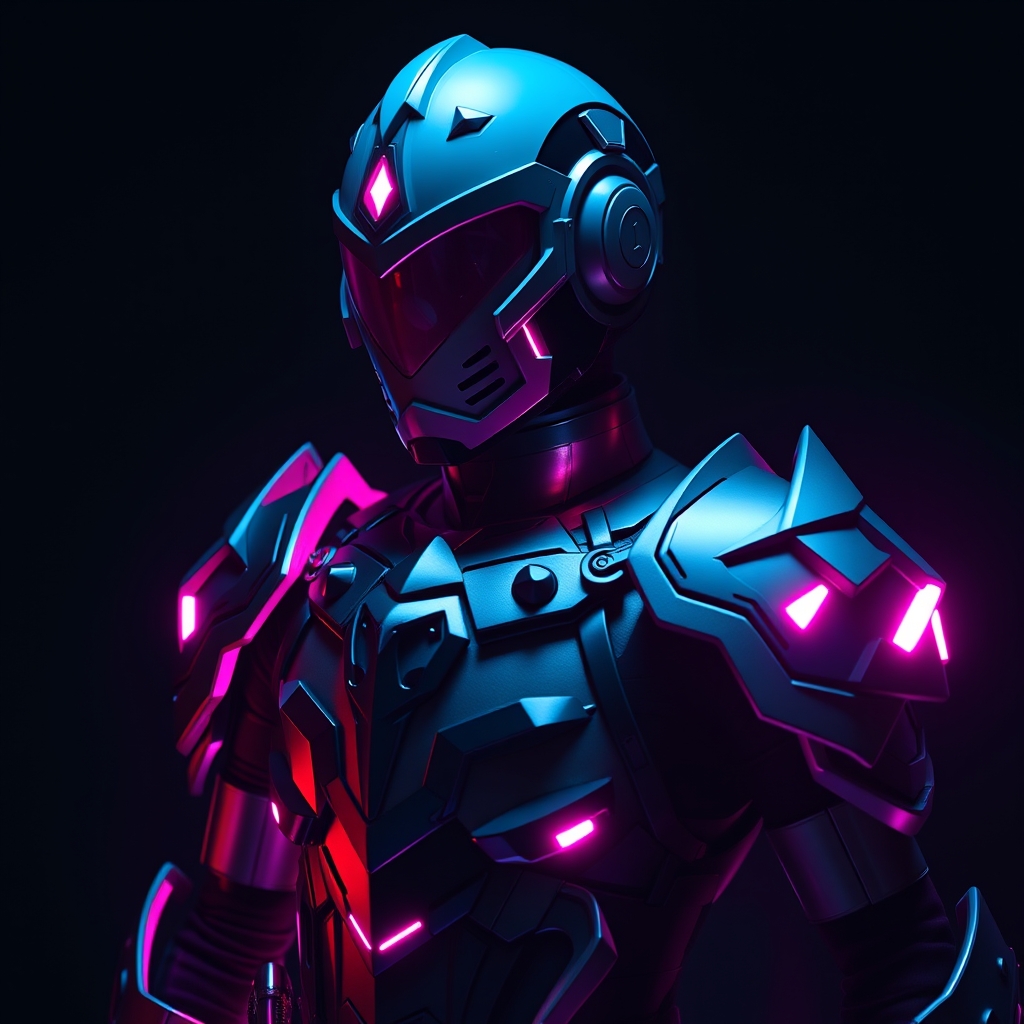
Introduction to Modular Armor
Modular armor is a game-changer for cosplayers who want to create versatile and interchangeable pieces for their costumes. By designing and 3D printing individual components, you can mix and match different parts to create multiple looks and configurations. In this guide, we'll walk you through the process of creating modular armor pieces using 3D printing and magnets.
Designing Your Modular Armor Pieces
Before you start 3D printing, it's essential to design your modular armor pieces. You can use computer-aided design (CAD) software like Tinkercad, Blender, or Autodesk Fusion 360 to create your designs. Consider the following factors when designing your pieces:
- Scale: Ensure your pieces are proportional to your body or the character you're cosplaying.
- Interchangeability: Design pieces with compatibility in mind, so they can be easily swapped out.
- Magnet placement: Plan where you'll place the magnets to ensure secure and easy attachment.
3D Printing Your Modular Armor Pieces
Once you have your designs, it's time to 3D print your modular armor pieces. Choose a 3D printing technology that suits your needs, such as Fused Deposition Modeling (FDM) or Stereolithography (SLA). Make sure to calibrate your 3D printer and adjust the print settings for optimal results.
For FDM printing, consider using materials like PLA or ABS for durability and ease of post-processing. For SLA printing, use resin materials for high-detail prints.
Post-Processing and Sanding
After printing, your pieces may require post-processing to achieve a smooth finish. Use sandpaper or a Dremel to remove layer lines and smooth out rough edges. Apply primer and paint to achieve the desired color and texture.
Adding Magnets for Interchangeability
Magnets are the key to making your modular armor pieces interchangeable. Choose strong neodymium magnets that can securely hold the pieces together. You can attach magnets using epoxy or hot glue.
- Drill holes for the magnets, making sure they're centered and evenly spaced.
- Apply epoxy or hot glue to the magnet and attach it to the piece.
- Test the magnet's strength and adjust as needed.
Assembling and Testing Your Modular Armor
Once you've printed, post-processed, and added magnets to your pieces, it's time to assemble and test them. Start by attaching the pieces to a base layer or harness to ensure a secure fit.
Test the interchangeability of your pieces, making adjustments as needed to achieve a seamless fit.
Conclusion and Tips for Mastery
Mastering the art of modular armor requires patience, practice, and attention to detail. Here are some final tips to help you improve your skills:
- Experiment with different materials and printing techniques.
- Design with functionality and aesthetics in mind.
- Join online communities or forums for feedback and inspiration.
With these steps and tips, you'll be well on your way to creating stunning, interchangeable cosplay pieces with 3D printing and magnets.