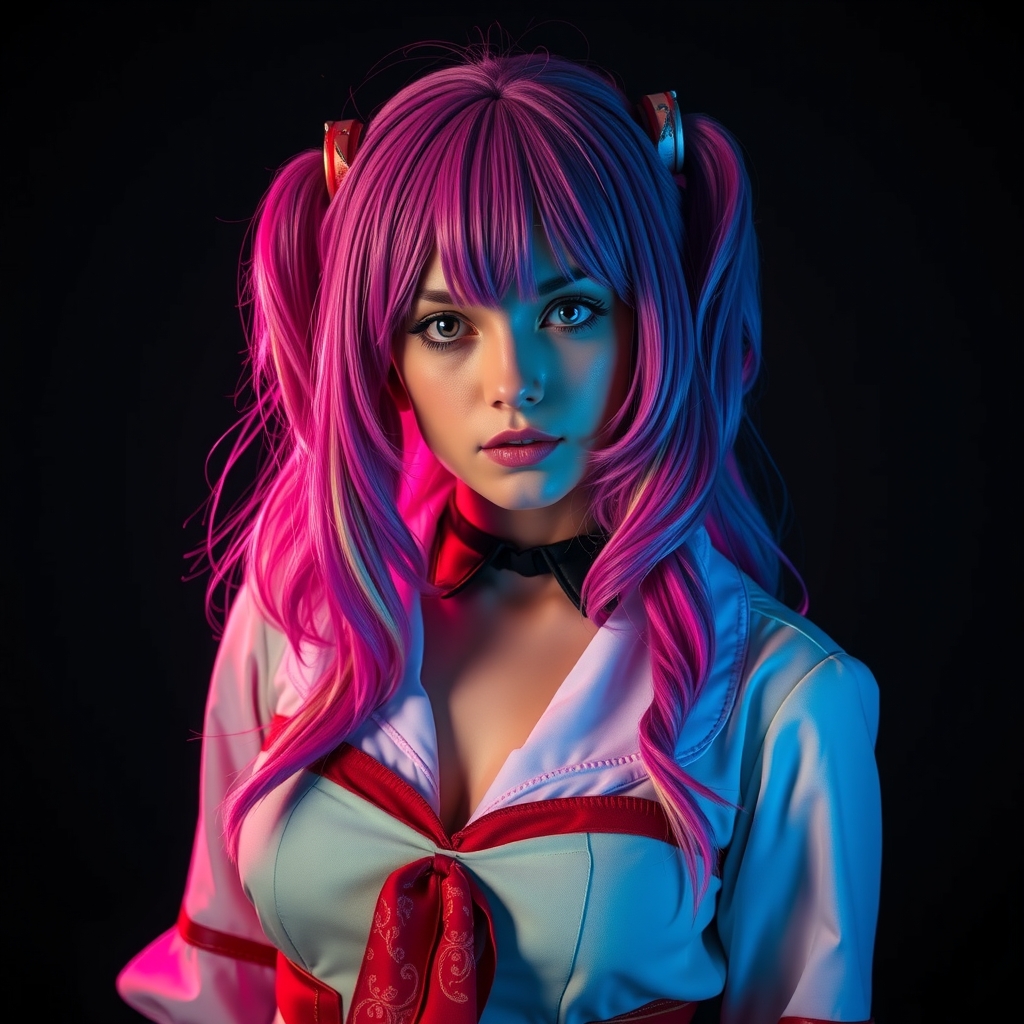
In the world of cosplay, there is a distinct difference between a "costume photo" and a "character portrait." We have all seen those viral images—the ones where the cosplayer seems to possess an otherworldly glow, a timeless quality, and an intensity in their gaze that draws the viewer in. Often, commenters react with awe at the "transparency" or the "youthful radiance" of the subject. While genetics and skincare play a role, these results are primarily the product of intentional technical choices in posing, lighting, and digital refinement.
Achieving this "atmospheric" look requires moving beyond simple documentation of a costume. It requires a collaborative effort between the cosplayer and the photographer to manipulate the environment and the camera's perception of skin and light. Here is a comprehensive guide on how to recreate this high-end aesthetic.
The Power of Dynamic Posing: The "Armrest Straddle" and Beyond
Posing is not just about looking "cute" or "cool"; it is about creating lines and angles that guide the viewer's eye. The "armrest straddle" or leaning pose mentioned in high-engagement social media posts is effective because it breaks the verticality of the human body, creating a more intimate and relaxed composition.
Creating Depth and Dimension
- Avoid Flatness: Never stand completely square to the camera. Slight angles in the shoulders and hips create a more three-dimensional feel.
- The Lean: By leaning forward or draping an arm over a prop (like a chair armrest), you create a sense of proximity. This makes the viewer feel as though they are in the same space as the character, increasing the emotional impact of the image.
- Hand Placement: To maintain that "ethereal" quality, keep hands relaxed. Avoid clenched fists or rigid fingers. Soft, open palms or lightly touching the face can enhance the feeling of delicacy and grace.
Lighting for "Transparency" and Glow
When people describe a cosplayer as having "transparency" (a common term in East Asian beauty and photography standards), they are usually referring to a soft, diffused light that minimizes harsh shadows and creates a luminous quality on the skin.
Softening the Light Source
Harsh, direct sunlight or a bare flash creates deep shadows that emphasize pores and wrinkles, which works against the "timeless" look. To achieve a glow, use the following techniques:
- Large Softboxes: Use the largest light modifier available. A large softbox mimics the effect of an overcast sky, wrapping light around the subject and filling in shadows.
- Backlighting: Position a light source behind the cosplayer to create a "rim light." This separates the subject from the background and gives the hair a glowing halo effect, which is essential for a fantasy or ethereal aesthetic.
- Bounce Lighting: Instead of pointing a light directly at the face, bounce it off a white wall or ceiling. This creates a gentle, omnidirectional light that smooths out skin textures.
Capturing the "Sucking-In" Gaze
The eyes are the focal point of any portrait. To achieve a gaze that feels "absorbent" or magnetic, you need to focus on both the physical performance and the camera settings.
The Technical Approach to Eyes
To make the eyes pop, the photographer should use a wider aperture (low f-stop, such as f/1.8 or f/2.8). This creates a shallow depth of field, blurring the background and forcing the viewer's entire attention onto the iris of the eye. Ensure the focus point is locked precisely on the pupil.
The Performance of the Gaze
A "magnetic" look isn't just about staring; it's about the tension in the face. Try the "smize" technique—smiling with the eyes while keeping the lips neutral. Relax the jaw and slightly part the lips to create a look of vulnerability and openness, which complements the "transparent" aesthetic.
Post-Processing for a Timeless Finish
The final "magic" often happens in the editing suite. The goal is not to over-edit to the point of looking like a plastic doll, but to refine the color palette to evoke a specific mood.
Color Grading and Skin Tones
- Lifting the Blacks: Using the "Curves" tool in software like Lightroom or Photoshop, slightly lift the black point of the image. This creates a "matte" or "filmic" look that softens the overall contrast.
- Cooling the Shadows: Adding a hint of blue or teal to the shadows while keeping the highlights warm creates a professional, cinematic color contrast.
- Selective Brightening: Use a radial filter to slightly brighten the eyes and the center of the face. This mimics the effect of a spotlight and draws the viewer's eye toward the most expressive parts of the image.
Frequency Separation
Professional editors use a technique called "Frequency Separation" to handle skin. This allows them to smooth out skin tones (low frequency) without destroying the actual skin texture (high frequency). This prevents the "blurry" look of cheap filters and maintains the realism of the skin while removing distracting blemishes.
Integrating the Environment
Finally, the background must support the subject. A cluttered background distracts from the "transparency" of the cosplayer. Choose neutral colors or environments that complement the character's palette. If the character is ethereal, a minimalist interior or a soft-focus natural setting works best. When the background is simplified, the "glow" of the subject becomes the primary narrative of the photograph.
By combining these elements—relaxed, intimate posing; diffused, wrapping light; a focused, emotive gaze; and a refined color grade—any cosplayer can move beyond a simple costume showcase and create a piece of art that captures a timeless, atmospheric essence.