
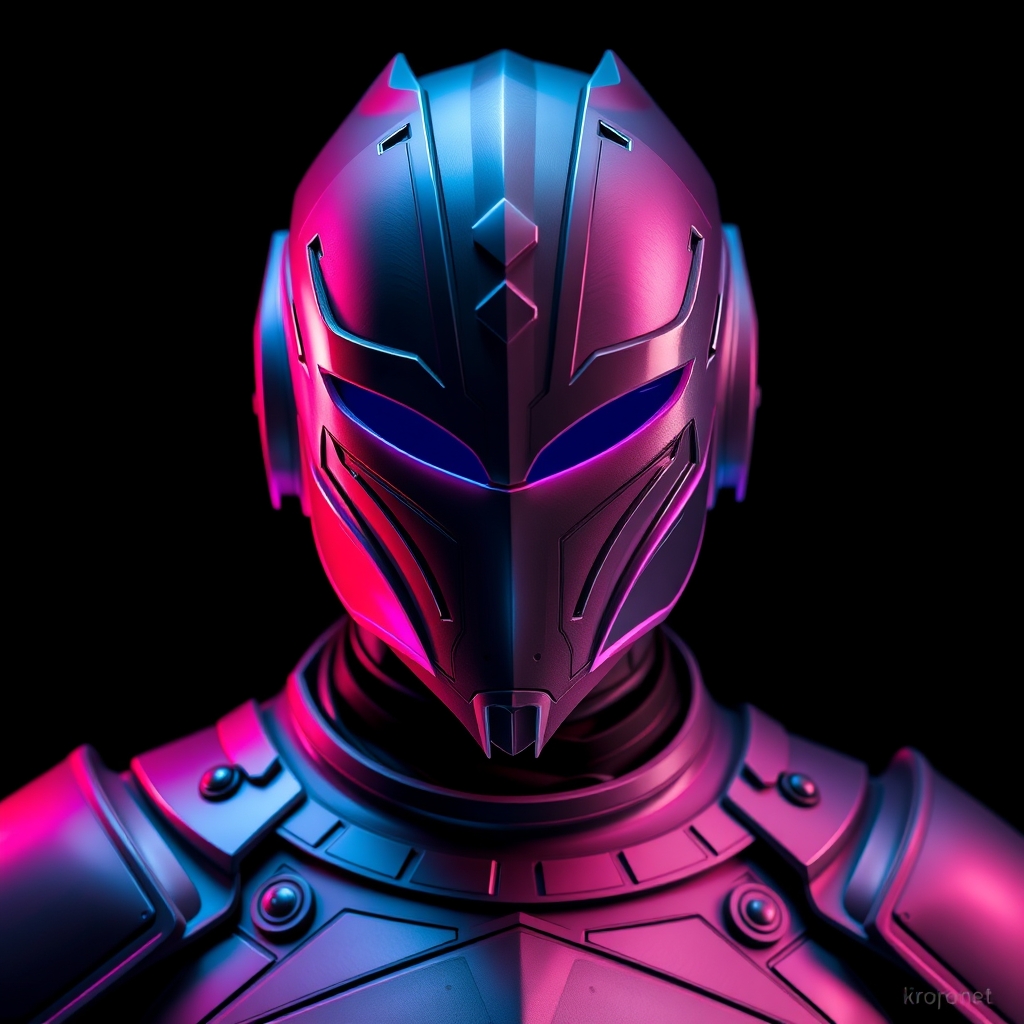
Introduction to Worbla and Thermoforming
Worbla is a type of thermoplastic material widely used in cosplay and prop-making for creating durable, detailed, and lightweight armor pieces. Thermoforming is the process of shaping Worbla using heat, and it requires some skill and practice to master. In this guide, we'll walk you through the basics of working with Worbla and provide a step-by-step tutorial on thermoforming cosplay armor.
Preparing Your Workspace and Tools
Before starting your Worbla project, make sure you have a well-ventilated workspace and the necessary tools. You'll need:
- A heat source: A heat gun or a toaster oven is ideal for thermoforming Worbla.
- A Worbla sheet: You can purchase Worbla sheets in various thicknesses and sizes online or at craft stores.
- A mold or shape: This can be a pre-made mold or a shape you create using materials like cardboard, foam, or 3D printing.
- Thermometer: This helps you monitor the temperature of your heat source.
- Gloves and safety glasses: Protect yourself from heat and debris.
Understanding Worbla Types and Thicknesses
Worbla comes in different types and thicknesses, each suitable for specific projects. The most common types are:
- Worbla Thermoplastic: A versatile and easy-to-work-with material.
- Worbla Arkemide: A high-temperature-resistant material ideal for projects that require durability.
Worbla sheets come in various thicknesses, ranging from 0.5 mm to 3 mm. Thicker sheets are more suitable for creating armor pieces that require structure and durability.
Step-by-Step Thermoforming Guide
Now that you're prepared, let's dive into the thermoforming process.
- Cutting Your Worbla Sheet: Cut your Worbla sheet to the desired size using scissors, a craft knife, or a laser cutter.
- Heating and Softening: Use your heat source to soften the Worbla sheet. For a heat gun, hold it 6-8 inches away from the sheet and move it slowly back and forth. For a toaster oven, set the temperature to 150°F - 200°F (65°C - 90°C) and place the sheet inside.
- Forming and Shaping: Once the Worbla sheet is soft and pliable, carefully place it over your mold or shape. Use a heat-resistant tool or your hands (with gloves) to shape and smooth out the material.
- Cooling and Setting: Allow the Worbla to cool and set. This can take anywhere from a few minutes to several hours, depending on the thickness of the material.
- Trimming and Finishing: Use a craft knife or sandpaper to trim excess material and smooth out any rough edges.
Tips and Tricks for Achieving Professional Results
To take your Worbla armor pieces to the next level, consider the following tips:
- Use a temperature-controlled heat source to avoid overheating or underheating your Worbla.
- Experiment with different Worbla thicknesses and types to achieve the desired effect.
- Add details and textures using paint, markers, or other materials before or after thermoforming.
- Use a sealant or primer to protect your Worbla armor piece from damage and extend its lifespan.
Conclusion and Resources
Mastering the art of Worbla takes time and practice, but with this guide, you're well on your way to creating stunning and durable cosplay armor pieces. For more information and inspiration, check out online communities like Cosplay.com or Thingiverse.com, which offer tutorials, templates, and resources for cosplayers and prop-makers.



