Introduction to Wraith's Respirator
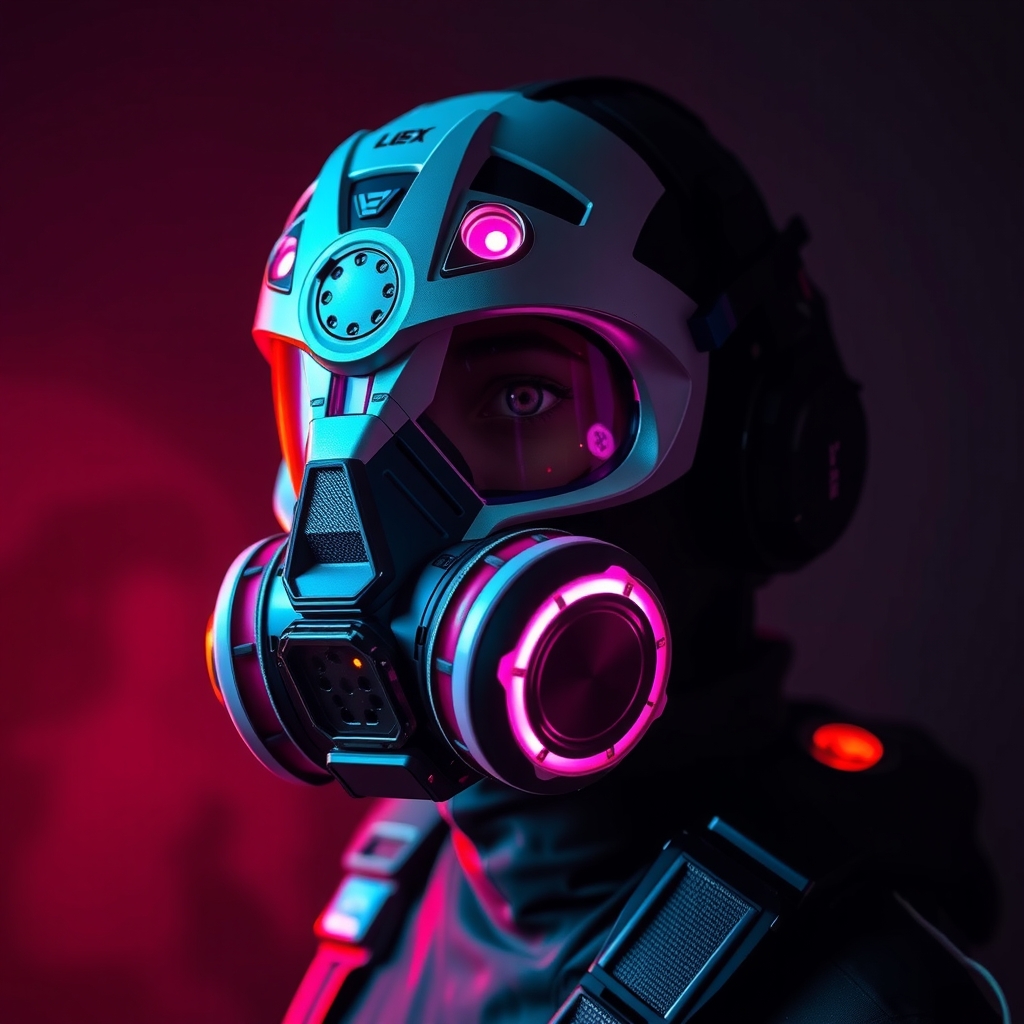
Wraith, a popular character from the hit game Apex Legends, is known for her mysterious persona and distinctive voice, but perhaps most iconic is her respirator mask. This prop is essential for any Wraith cosplay, offering not just an aesthetic element but also a functional piece that adds depth to the character's enigmatic appearance. In this guide, we'll walk through the process of creating a detailed and accurate replica of Wraith's respirator, suitable for cosplayers of all skill levels.
Materials and Tools Needed
Before starting your project, gather the necessary materials and tools. You'll need:
- 3D modeling software (for designing or modifying the respirator model)
- 3D printer (for printing the respirator parts)
- Resin or ABS plastic (for casting or printing the parts)
- Sandpaper and files (for smoothing and shaping)
- Paint and primer (specifically designed for plastics or resins)
- Airbrush (for detailed painting and layering)
- Electronics (for LED lighting, if desired)
- Glue and adhesives (suitable for the materials used)
Designing and 3D Printing the Respirator
The first step in creating Wraith's respirator is to obtain or design a 3D model. You can find various models online, shared by the 3D printing and cosplay communities, or create your own based on reference images from the game. Ensure the model is scaled correctly and suitable for your needs. Once you have your model, use a 3D printer to print the parts. Depending on the complexity and size, this might require multiple prints and some post-processing to assemble the pieces.
Crafting and Assembly
After printing, the parts will likely need sanding and filing to smooth out any layer lines or imperfections. If you're using resin, be cautious, as it can be brittle and prone to breaking. Assemble the parts using glue or adhesives suitable for your materials. For a more authentic look, you can add details such as screws, bolts, or textures using paint, markers, or additional resin applications.
Painting and Finishing
Painting the respirator is crucial for achieving Wraith's signature look. Start with a primer to ensure the paint adheres well to the surface. Then, use layers of paint to build up the color, finishing with a matte or semi-gloss coat to match the in-game appearance. If your design includes LED lighting, now is the time to integrate it, ensuring it's secure, powered appropriately, and does not overheat.
Adding Electronics for LED Lighting
For an added level of realism, incorporating LED lighting can enhance the respirator's appearance. Plan your electronics carefully, considering power sources (such as batteries), wiring, and the LEDs' placement. Make sure the electronics are secure and won't damage the prop or pose a risk during wear. Diffusers or translucent materials can be used to soften the light and achieve a more natural glow.
Final Touches and Wearability
To ensure the respirator is wearable and comfortable, consider adding straps or a harness. This could be as simple as elastic bands or as complex as a custom-built harness, depending on your design and comfort needs. Ensure that the respirator is not too heavy or cumbersome and that it can be securely fastened.
Conclusion
Crafting Wraith's respirator is a rewarding project that requires patience, creativity, and attention to detail. By following these steps and continually referencing the character's appearance in Apex Legends, you'll be able to create a stunning and accurate cosplay prop. Whether you're a seasoned cosplayer or just starting out, this project offers a chance to develop new skills and showcase your love for the game.