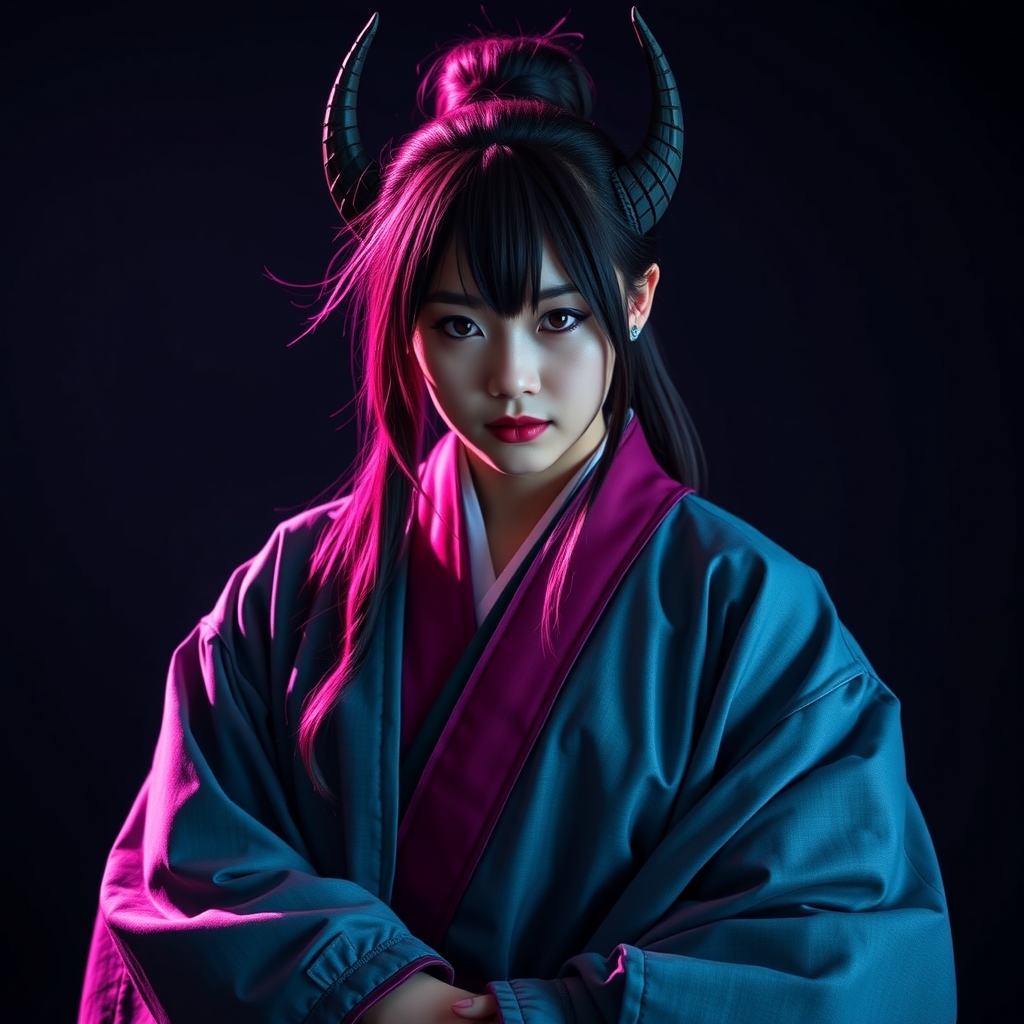
Understanding the Demon Slayer Aesthetic
The visual identity of Demon Slayer: Kimetsu no Yaiba is defined by a striking contrast between traditional Japanese attire and exaggerated, modern graphic design. To successfully recreate these characters, a builder must balance the structural requirements of a historical kimono with the bold, saturated colors of the anime. The core of every Slayer's outfit is the combination of the gakuran-style uniform and the haori, the outer hip-length kimono jacket.
The challenge lies in the fabrics. While the uniforms are dark and structured, the haori are often lightweight and feature complex, repeating geometric patterns. Achieving a professional look requires moving beyond basic store-bought fabrics and focusing on textile choice and pattern placement.
Selecting the Right Fabrics
The uniform worn by the Demon Slayer Corps is designed for mobility and durability. To mimic the look of the dark gakuran, avoid thin polyester blends which can look shiny under convention lights. Instead, opt for a heavyweight cotton twill or a polyester-cotton blend. These fabrics hold a crease well, which is essential for the sharp lines of the trousers and the structured collar of the jacket.
For the haori, the goal is drape and breathability. A lightweight cotton poplin or a high-quality satin-finish polyester works best. If you are creating a character with a complex pattern, such as Tanjiro’s checkers or Zenitsu’s triangles, you have two primary options: finding a printed fabric or creating the pattern yourself. For those using printed fabrics, ensure the scale of the print matches the character's proportions; oversized prints can make a cosplayer look smaller, while tiny prints can lose their impact from a distance.
Constructing the Haori and Uniform
The haori is a T-shaped garment, making it one of the most accessible projects for beginner sewists. However, the secret to a high-end haori is in the hem and the sleeve drape. Avoid using a simple narrow hem; instead, use a wide, blind-stitched hem to give the bottom of the garment weight, allowing it to swing naturally as you move.
When constructing the uniform jacket, pay close attention to the collar. The Demon Slayer uniform features a stiff, stand-up collar. To achieve this, you must use heavy-duty interfacing. Without proper reinforcement, the collar will collapse, ruining the silhouette of the character. Sew the interfacing directly into the collar fabric before attaching it to the neckline of the jacket.
For the hakama-style trousers, the key is the volume. These are not standard pants; they are wide-legged and tapered at the ankle. To ensure they don't look like oversized pajamas, use a heavy-duty elastic or a traditional tie-waist and ensure the taper at the ankle is tight enough to stay tucked into the leg wraps (kyahan).
The Art of Leg Wraps (Kyahan)
The leg wraps are often overlooked but are vital for the authentic "Slayer" silhouette. These are long strips of fabric wrapped from the ankle to just below the knee. To prevent them from sliding down during a long day at a convention, use hidden safety pins or a small strip of Velcro at the top and bottom of the wrap. For added texture, use a fabric with a slight weave or a matte finish to contrast against the smooth fabric of the trousers.
Weaponry: Crafting the Nichirin Sword
The Nichirin sword is the centerpiece of any Demon Slayer cosplay. Because these blades vary in color and shape, the construction method should prioritize safety and visual impact over realism.
The Core: For a lightweight yet sturdy blade, use a PVC pipe or a wooden dowel as the internal spine. This prevents the sword from bending or snapping. For the blade itself, high-density EVA foam (5mm to 10mm) is the industry standard. Sandwich the core between two layers of foam and use contact cement for a permanent, seamless bond.
Shaping and Sanding: Once the foam is glued, use a sharp hobby knife to bevel the edges of the blade. To get that razor-sharp anime look, use a sanding block or a Dremel tool to smooth the transition from the flat of the blade to the edge. This is where the "craft" happens; a smooth, sanded edge looks like metal, while a rough edge looks like foam.
Painting for Impact: To achieve the metallic sheen, start with a flexible primer (such as Plasti Dip) to seal the foam. If you don't seal the foam, the paint will soak in and leave a matte, patchy finish. Apply your base color using acrylics or spray paint, and finish with a clear gloss varnish on the edge of the blade to simulate the reflective quality of steel.
Advanced Detailing and Finishing Touches
To elevate a cosplay from "costume" to "craft," focus on the small details that the eye catches up close. This includes the buttons on the uniform, the texture of the belt, and the accessories.
- Buttons: Replace generic plastic buttons with brass or antique gold metal buttons. This adds a layer of historical authenticity and weight to the jacket.
- The Belt: The white belt worn by the Corps should be made of a heavy canvas or webbing. Avoid thin ribbons, as they will wrinkle and fold awkwardly under the weight of the jacket.
- Footwear: Traditional zori sandals are essential. If you are attending an outdoor event, consider modifying the soles of the zori with rubber sheets. This provides grip and prevents the traditional straw soles from wearing down on pavement.
Managing the Weight and Heat
Wearing multiple layers of heavy fabric and carrying a prop sword can be exhausting. To manage heat, consider sewing small mesh panels into the underarms of the uniform jacket where they are hidden by the haori. Additionally, ensure your haori is made of a breathable natural fiber like cotton if you plan to wear it in warm weather. For the sword, keep the hilt balanced by adding a small amount of weight to the pommel; this prevents the sword from feeling "top-heavy" and reduces wrist strain during posing.