
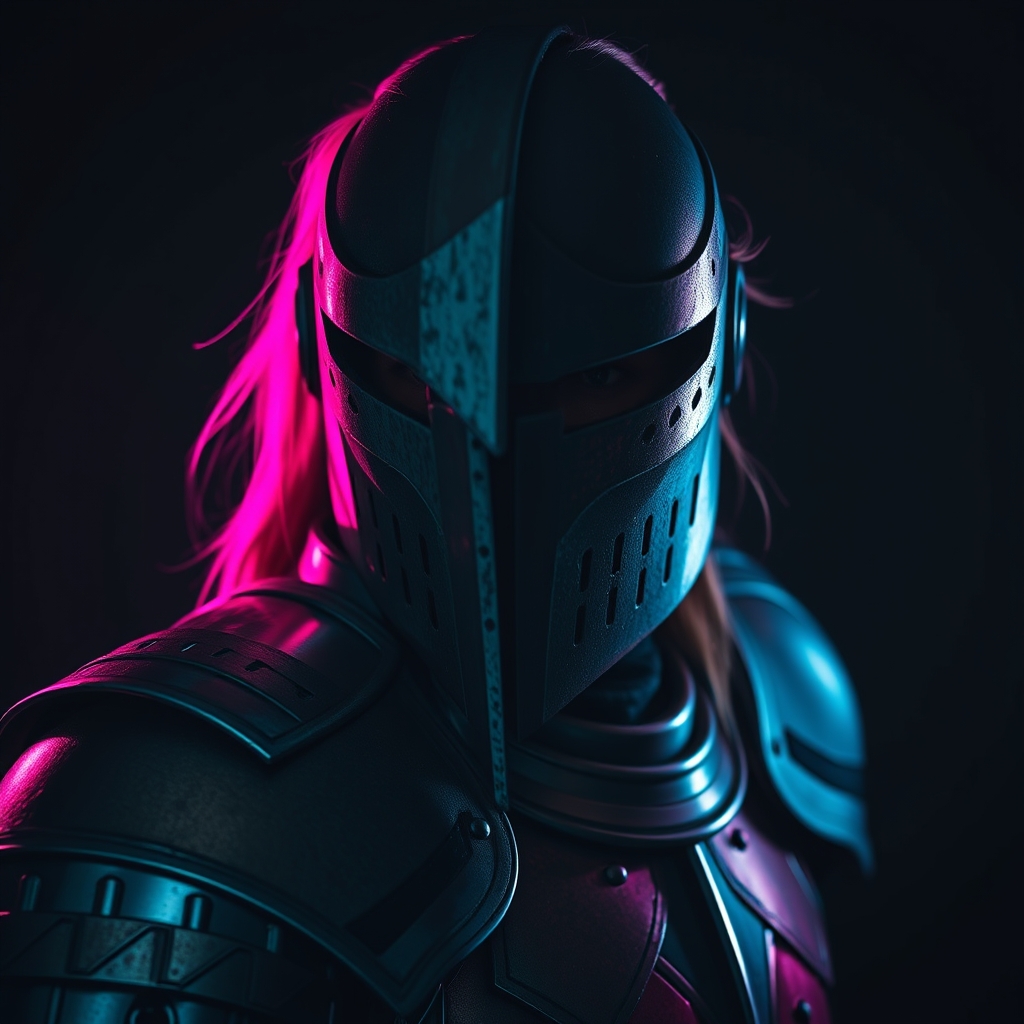
Introduction to Weathering
Weathering is the process of adding wear and tear to a cosplay armor piece to give it a realistic, battle-worn look. It's a crucial step in creating an immersive and believable costume. With the right techniques and materials, you can transform a smooth, pristine armor piece into a worn and weathered masterpiece. In this guide, we'll focus on using acrylic paint and varnish to achieve stunning weathering effects.
Preparing Your Armor for Weathering
Before you start weathering, make sure your armor piece is complete and primed. If you're using a resin or 3D printed piece, apply a coat of primer to create a smooth surface for painting. If you're using a metal or plastic piece, clean it thoroughly with soap and water to remove any dirt or oils.
It's also essential to have the right tools and materials on hand. You'll need:
- Acrylic paints in various colors (earth tones, metallics, and washes)
- Varnish (matte and gloss)
- Paintbrushes (various sizes)
- A palette or painting surface
- A well-ventilated workspace
Basic Weathering Techniques
There are several basic weathering techniques to get you started:
- Edge wear: Use a light brown or gray paint to add wear to edges and raised details. This will give your armor a worn, battered look.
- Panel lining: Use a fine brush to add dark lines between panels or along seams. This will create a sense of depth and dimensionality.
- Battle damage: Use a metallic paint to add scratches, dents, or gashes to your armor. You can also use a chipping medium to create flaked paint effects.
Advanced Weathering Techniques
Once you've mastered the basics, it's time to move on to more advanced techniques:
Washes and Drybrushing
Washes and drybrushing are two techniques that can add depth and texture to your armor.
A wash is a thin layer of transparent paint that's applied to recessed areas to create shadows and depth. Mix a small amount of paint with water or a medium to achieve the right consistency. Apply the wash with a brush, allowing it to flow into recessed areas.
Drybrushing involves dragging a almost-dry brush across your armor to pick up paint and create textured, rough effects. Use a light touch and gentle strokes to avoid applying too much paint.
Using Varnish to Enhance Weathering Effects
Varnish is a versatile tool that can be used to enhance and protect your weathering effects.
A matte varnish can be used to tone down shiny areas and create a more realistic, worn look. Apply it with a brush or spray bottle, depending on the desired effect.
A gloss varnish can be used to add highlights and create a sense of moisture or oil on your armor. Apply it sparingly with a small brush to avoid overpowering your weathering effects.
Tips and Tricks
Here are a few final tips to keep in mind:
- Start small and build up your weathering effects gradually. It's easier to add more paint or varnish than it is to remove it.
- Experiment with different techniques and materials to find what works best for you and your armor.
- Reference real-world armor and weathered surfaces to get inspiration and ideas for your weathering effects.
By following these techniques and tips, you'll be able to create stunning, realistic weathering effects on your cosplay armor using acrylic paint and varnish. Happy weathering!



