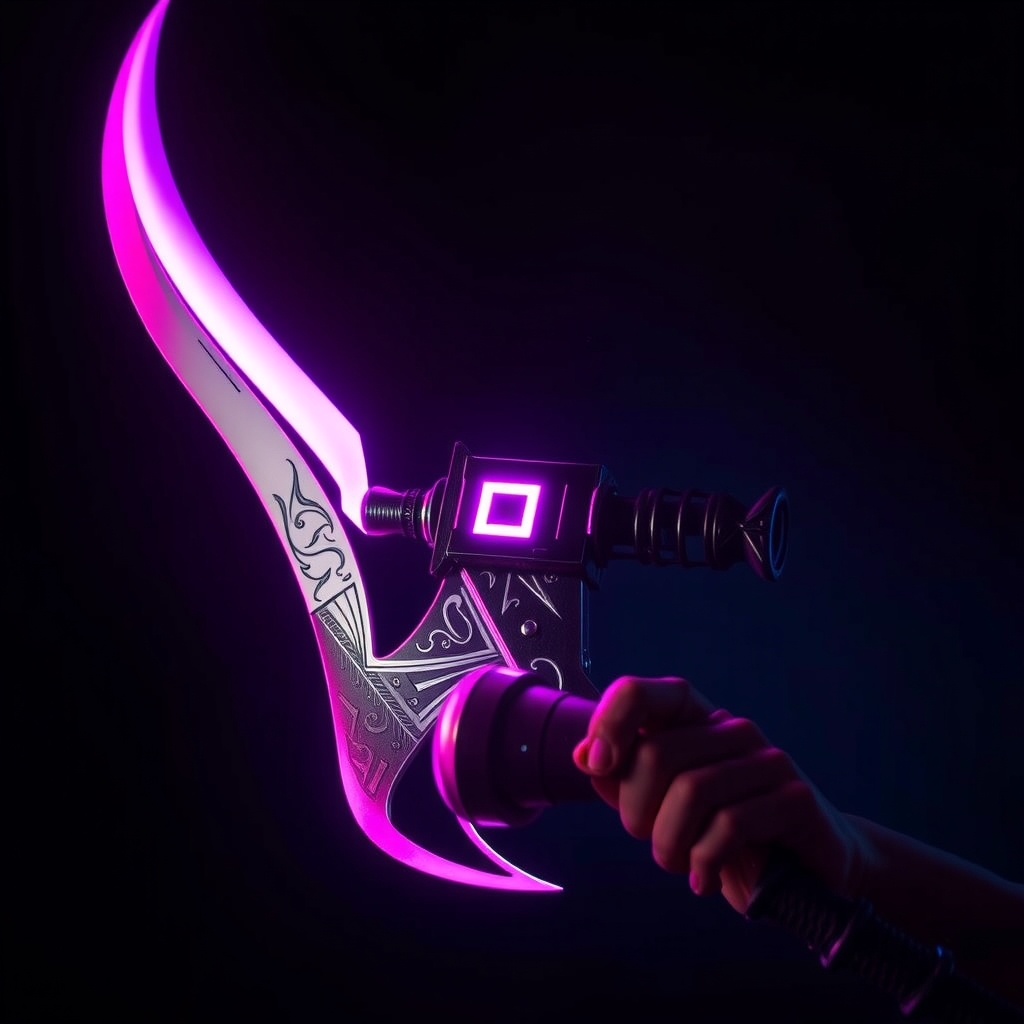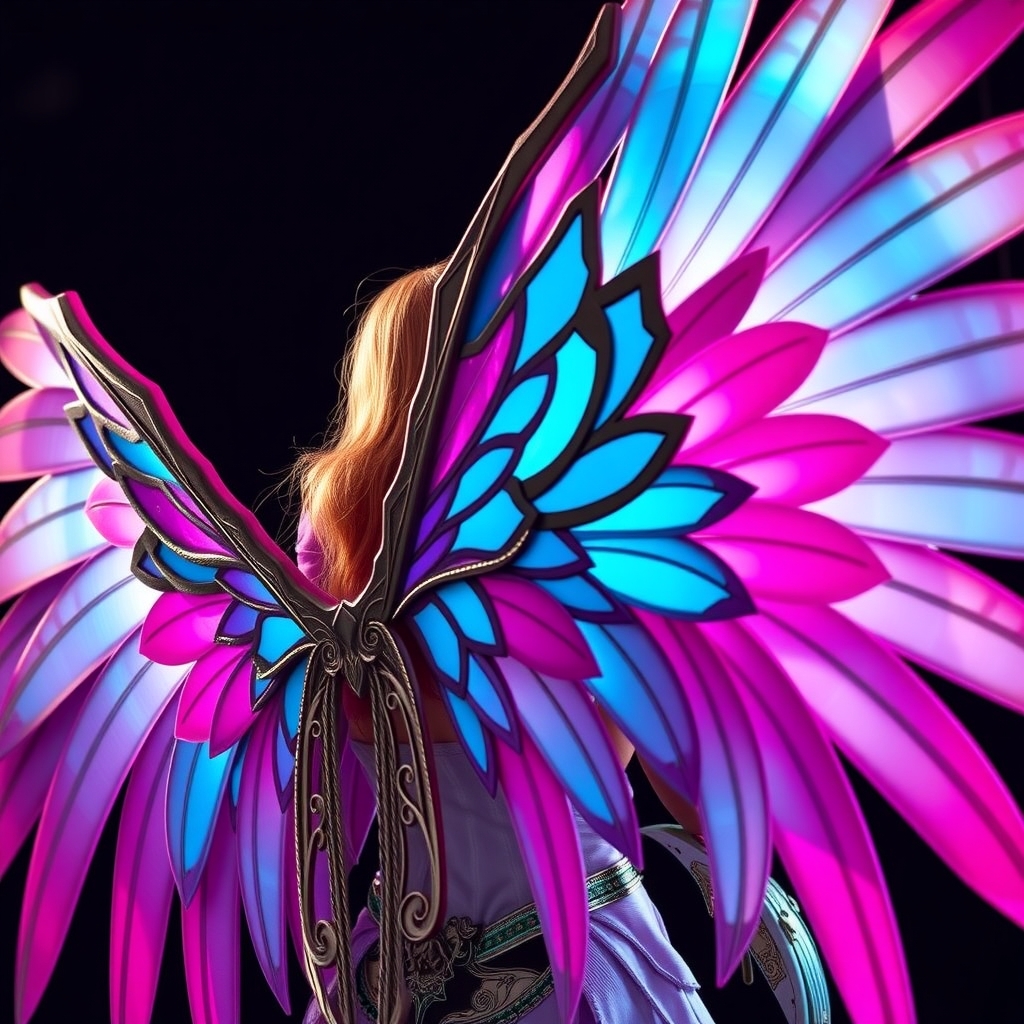
Introduction to Fusion
As cosplayers, we're constantly pushing the boundaries of creativity and innovation. One of the most exciting developments in recent years has been the integration of 3D printing and traditional crafting techniques. By merging these two worlds, you can unlock a vast array of possibilities for creating intricate, detailed, and durable cosplay props. In this guide, we'll explore the art of fusion, covering the benefits, challenges, and practical applications of combining 3D printing with traditional crafting.
Understanding the Benefits of Fusion
So, why combine 3D printing with traditional crafting? The answer lies in the unique strengths of each approach. 3D printing offers unparalleled precision, speed, and complexity, allowing you to create intricate designs and geometries with ease. Traditional crafting, on the other hand, provides a level of tactile control, texture, and nuance that's often difficult to replicate with 3D printing alone. By merging these techniques, you can:
- Enhance the durability and stability of your props
- Add intricate details and textures
- Expand your creative possibilities
- Streamline your production process
Choosing the Right Tools and Materials
Before you begin, it's essential to select the right tools and materials for your project. For 3D printing, you'll need:
- A reliable 3D printer (e.g., FDM, SLA, or SLS)
- A suitable 3D modeling software (e.g., Blender, Tinkercad, or Fusion 360)
- A range of 3D printing materials (e.g., PLA, ABS, or resin)
For traditional crafting, you may need:
- Hand tools (e.g., sandpaper, files, or chisels)
- Adhesives and bonding agents (e.g., epoxy, super glue, or hot glue)
- Various materials (e.g., wood, foam, or fabric)
Designing for Fusion
When designing your prop, it's crucial to consider how 3D printing and traditional crafting will work together. Here are some key tips:
- Keep it simple: Don't overcomplicate your design – 3D printing and traditional crafting can be combined in subtle yet powerful ways.
- Consider the materials: Think about how your chosen materials will interact and affect the final product.
- Leave room for finishing: Make sure to leave enough space for sanding, painting, and other finishing touches.
Case Study: Creating a Prop Replica
Let's walk through a practical example of merging 3D printing and traditional crafting. Suppose you want to create a prop replica from a popular anime series. You could:
Design and 3D print the main structure of the prop, using a durable material like PLA or ABS.
Use traditional crafting techniques to add intricate details, such as wood or foam textures, or fabric wrapping.
Apply a finish, like paint or varnish, to protect the prop and enhance its appearance.
Common Challenges and Solutions
As with any creative endeavor, challenges will arise. Here are some common issues and solutions:
- Adhesion issues: Use suitable adhesives and bonding agents to ensure a strong bond between 3D printed and traditionally crafted components.
- Material mismatch: Select materials that work well together, considering factors like texture, density, and thermal expansion.
- Post-processing difficulties: Plan ahead for finishing touches, using techniques like sanding, painting, or applying a clear coat.
Conclusion and Future Directions
Merging 3D printing and traditional crafting techniques offers boundless opportunities for cosplay prop making. As you experiment with fusion, you'll discover new ways to push the boundaries of creativity and innovation. Remember to:
Stay flexible and adapt to challenges as they arise.
Continuously learn and improve your skills in both 3D printing and traditional crafting.
Share your experiences and knowledge with the cosplay community, inspiring others to explore the art of fusion.