Introduction to 8-Bit Cosplay
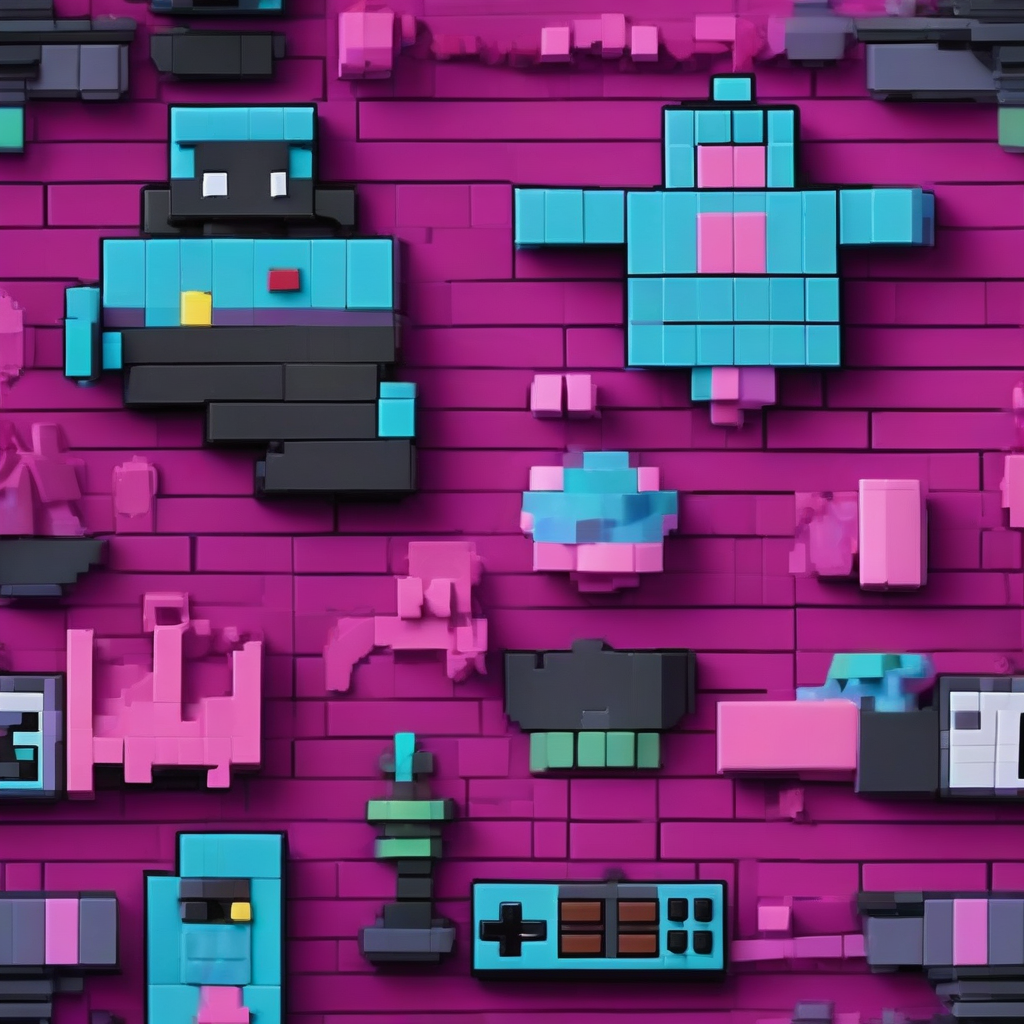
The 8-bit era of video games is a beloved and iconic part of gaming history, with its pixelated characters, chiptune music, and retro aesthetic. For cosplayers, this era offers a wealth of inspiration for creating nostalgic and visually striking costumes and accessories. In this guide, we'll explore how to create 8-bit inspired cosplay accessories using 3D printing and painting techniques.
Designing Your 8-Bit Accessory
Before you start 3D printing and painting, you'll need to design your accessory. Look to classic 8-bit games such as Super Mario Bros., The Legend of Zelda, and Pac-Man for inspiration. Consider what type of accessory you want to create, such as a pixelated sword, a retro-style video game controller, or a set of 8-bit inspired buttons.
Use 3D modeling software such as Blender or Tinkercad to create a digital model of your design. Keep in mind that 8-bit graphics are characterized by their low resolution and pixelated aesthetic, so try to capture this look in your design. You can also use online resources such as pixel art generators and 8-bit texture packs to help you achieve an authentic retro look.
3D Printing Your Design
Once you have a digital model of your design, you can 3D print it using a variety of materials, such as PLA, ABS, or resin. For a more authentic 8-bit look, consider using a 3D printer with a high layer resolution, such as 0.1mm or 0.2mm. This will help to create a smooth and detailed surface that can be easily painted.
- Choose a 3D printing material that is suitable for your design and the level of detail you want to achieve.
- Adjust the layer resolution and infill density to achieve the desired level of detail and strength.
- Consider using a 3D printing support material, such as PVA or HIPS, to help create complex geometries and overhangs.
Painting Your 8-Bit Accessory
Painting is a crucial step in creating an 8-bit inspired cosplay accessory. To achieve an authentic retro look, use a combination of bright, bold colors and subtle shading and texture. Consider using acrylic paints, such as Vallejo or Citadel, which offer a wide range of colors and can be easily mixed and blended.
- Prepare your 3D printed part by sanding and priming it with a coat of primer.
- Use a small brush to paint on the details, such as pixels, buttons, and screens.
- Apply a coat of varnish to protect the paint and give it a glossy finish.
Tips and Tricks
To take your 8-bit inspired cosplay accessory to the next level, consider the following tips and tricks:
- Use a combination of matte and glossy finishes to create a visually interesting and dynamic look.
- Add subtle texture and wear and tear to your accessory to give it a more authentic and battle-worn look.
- Consider adding LED lights or other electronic components to create a more interactive and immersive experience.
Conclusion
Creating 8-bit inspired cosplay accessories using 3D printing and painting techniques is a fun and rewarding way to pay homage to the retro gaming era. With these tips and techniques, you can create nostalgic and visually striking accessories that are sure to impress at your next cosplay event. So why not give it a try and pixelate your cosplay game?
For more information on 3D printing and painting, check out online resources such as Thingiverse and Maker's Muse.