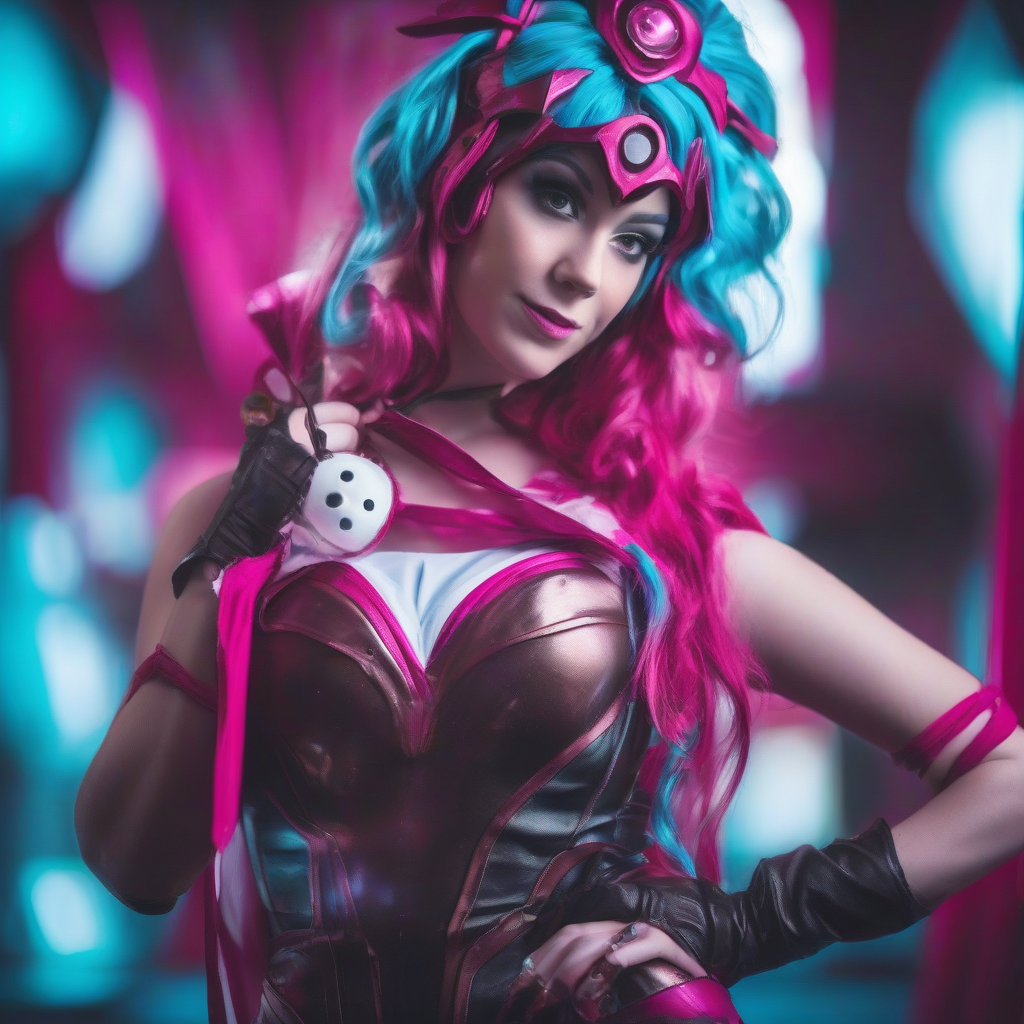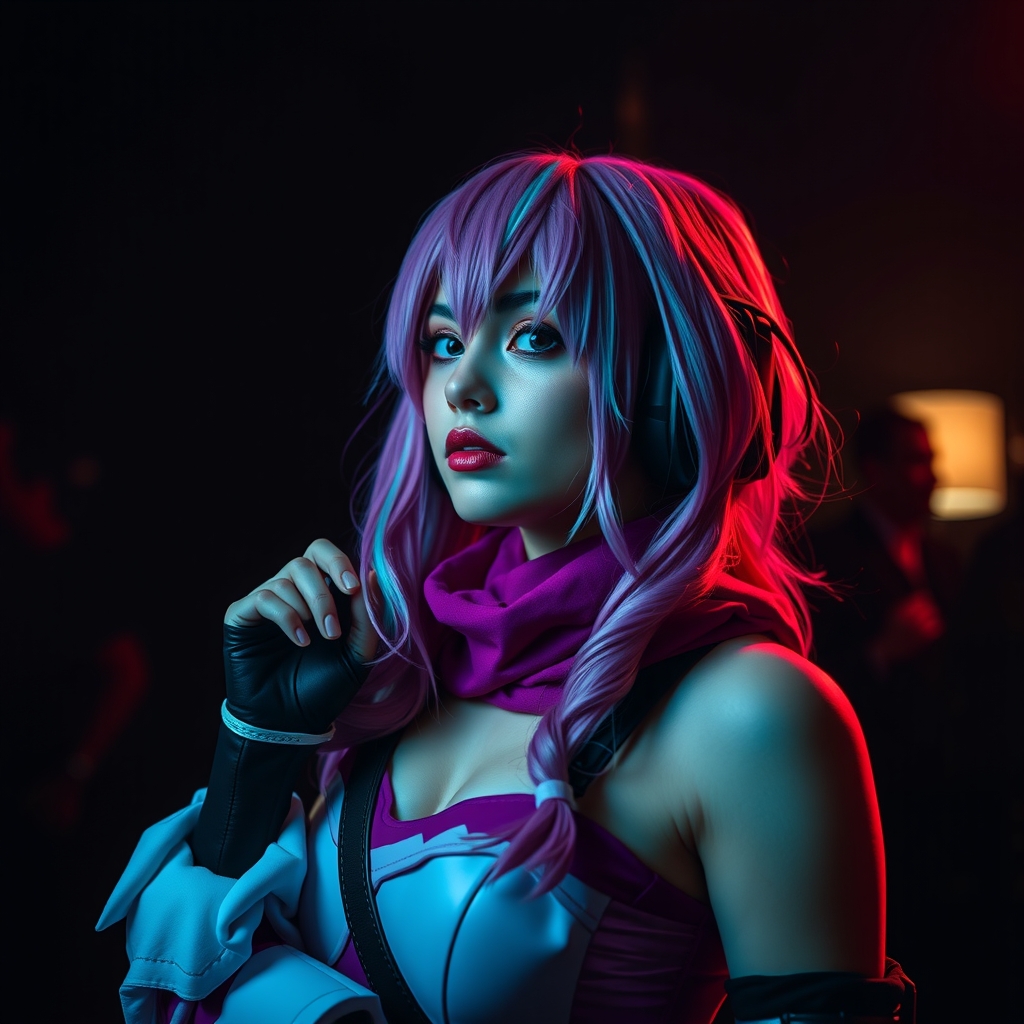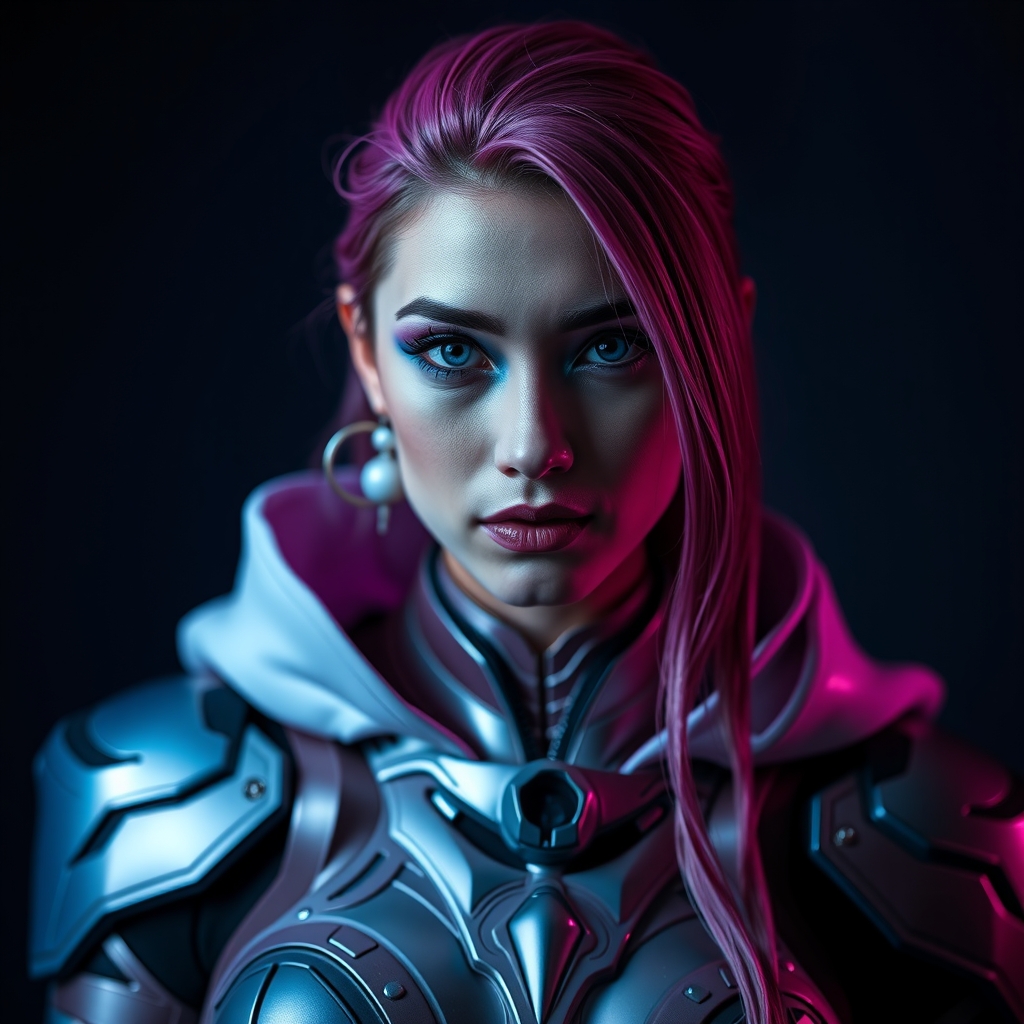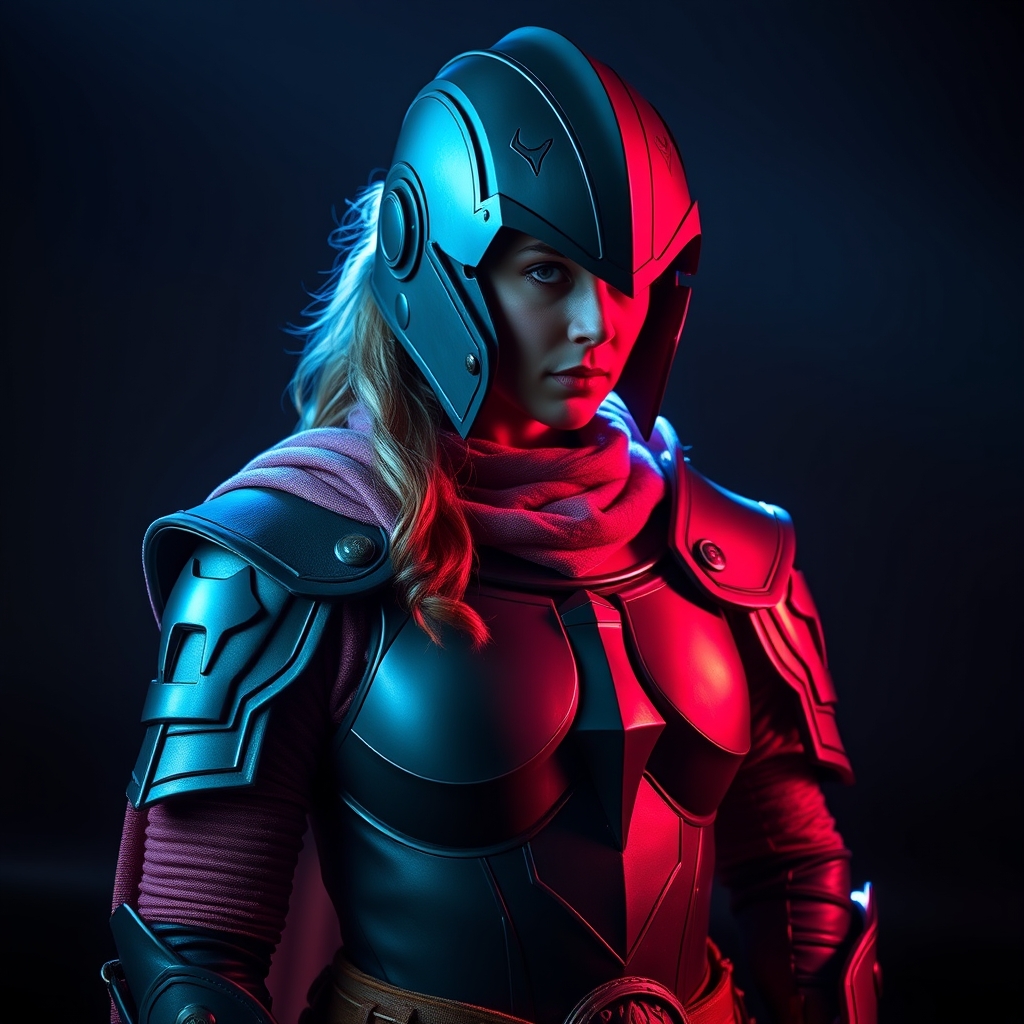
Introduction to Retro RPG Style
The 1980s was a magical time for tabletop role-playing games, with Dungeons & Dragons (D&D) being at the forefront of the hobby. The game's early editions featured fantastical creatures, magical spells, and heroic characters, all brought to life through the imaginations of players and the descriptive storytelling of game masters. One of the most iconic aspects of D&D's early days is the artwork and illustrations that adorned its rulebooks, character sheets, and accessories. These retro illustrations often featured heroic warriors clad in fantastical armor, sparking the imagination of players and inspiring their own creative endeavors.
Materials and Tools Needed
To create 80s-inspired D&D armor, you'll need a few key materials and tools. For this project, we'll be using:
- Worbla, a thermoplastic material ideal for creating durable and detailed props
- A 3D printer, for printing intricate armor pieces
- A heat gun or Worbla heat gun, for shaping and molding Worbla
- A cutting tool, such as a hobby knife or scissors, for trimming excess Worbla
- A sanding tool, for smoothing out rough edges
Designing Your Armor
Before you begin crafting your armor, you'll need to design the pieces you want to create. You can find inspiration online, in D&D rulebooks, or by creating your own unique designs. For this project, we'll be focusing on creating a set of plate armor inspired by the illustrations of 80s D&D artwork.
Use computer-aided design (CAD) software or a 3D modeling program to create detailed models of your armor pieces. You can also use online resources, such as 3D model repositories or community-created designs, to find pre-made models to print and modify.
3D Printing Your Armor Pieces
Once you have your design files ready, it's time to print your armor pieces using a 3D printer. For this project, we'll be using a resin or filament printer, depending on the desired level of detail and durability.
When printing, make sure to use a suitable material for your armor pieces, taking into account factors such as weight, flexibility, and durability. You may also want to consider adding supports or rafts to your prints, to ensure they adhere properly to the print bed and can be easily removed.
Shaping and Molding Worbla
With your 3D printed armor pieces in hand, it's time to add a layer of Worbla for a more durable and detailed finish. Begin by heating your Worbla using a heat gun or Worbla heat gun, until it becomes pliable and can be molded into shape.
Gently press the Worbla onto your 3D printed armor pieces, smoothing out any wrinkles or air bubbles. Use a combination of heat and pressure to shape the Worbla into the desired form, adding details such as rivets, bolts, or texture as needed.
Finishing Touches
Once your Worbla has cooled and hardened, it's time to add the finishing touches to your armor pieces. Use a sanding tool to smooth out any rough edges or burrs, and apply a coat of paint or primer to prepare the surface for additional details.
You can add additional details, such as metallic paint, weathering effects, or decals, to give your armor a more authentic look. Finally, assemble your armor pieces into a complete set, and attach any necessary straps, buckles, or fasteners.
Conclusion and Tips
Creating 80s-inspired D&D armor using Worbla and 3D printing is a fun and rewarding project for cosplayers and prop makers. With a little creativity and patience, you can bring the nostalgic world of retro RPGs to life.
Some additional tips to keep in mind:
- Experiment with different Worbla colors and textures to achieve a unique look
- Consider adding LED lights or glow-in-the-dark details for an extra touch of magic
- Don't be afraid to modify or combine different armor pieces to create a truly unique design
For more information on Worbla and 3D printing, check out the following resources:
- Worbla official website: https://www.worbla.com/
- 3D printing community forums: https://www.reddit.com/r/3DPrinting/