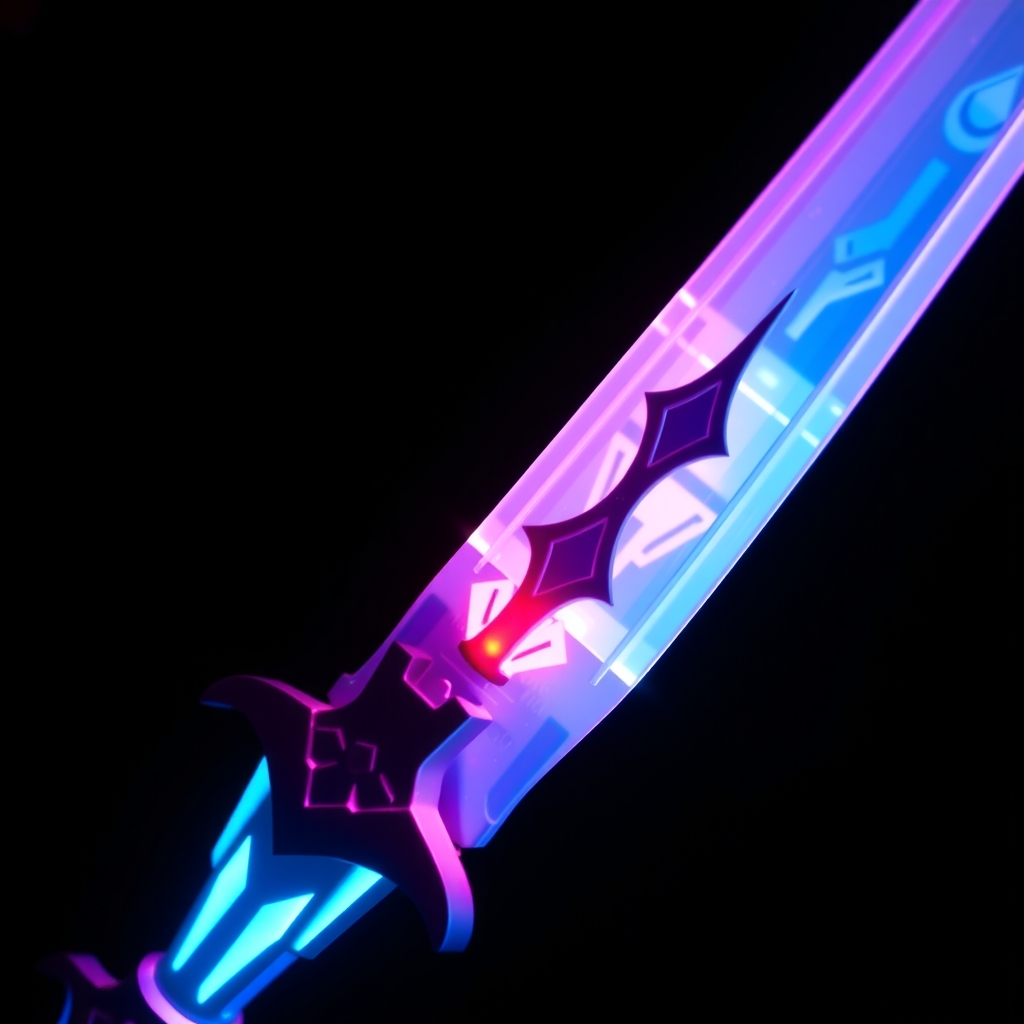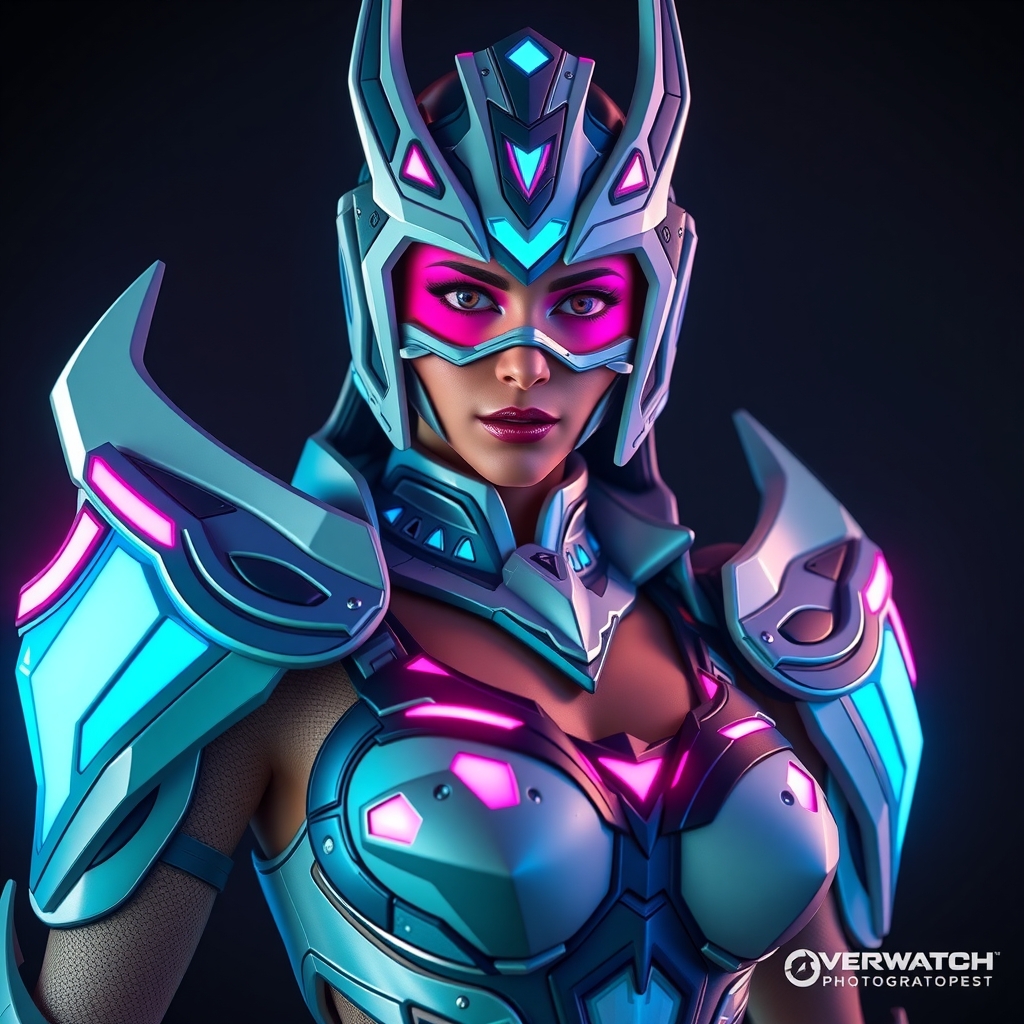
Introduction to 3D Printed Cosplay
3D printing has revolutionized the world of cosplay, allowing creators to produce intricate and complex designs with unprecedented precision. However, 3D printed parts often require post-processing to achieve a smooth finish, suitable for painting and display. In this guide, we'll walk you through the essential techniques for transforming rough 3D printed pieces into stunning cosplay components.
Understanding 3D Printing Layers and Texture
Before diving into post-processing, it's essential to understand the nature of 3D printed surfaces. Most 3D printing technologies, such as Fused Deposition Modeling (FDM) and Stereolithography (SLA), produce parts with visible layer lines. These layers can create a rough texture, making it challenging to achieve a smooth finish.
The layer thickness, print orientation, and material used can significantly impact the surface texture. For example, FDM prints with thicker layers (around 0.3mm) will have more pronounced layer lines than those with thinner layers (around 0.1mm).
Preparing Your 3D Printed Parts
Before starting the post-processing workflow, ensure your 3D printed parts are:
- Clean: Remove any support materials, debris, or residue using a soft brush, compressed air, or a gentle cleaning solution.
- Dry: Allow the parts to dry completely, especially if they were washed or exposed to moisture.
- Stable: Ensure the parts are not warped or deformed, as this can affect the post-processing and painting process.
Sanding and Filling: The Foundation of Smooth Finishes
Sanding and filling are crucial steps in achieving a smooth surface. Start with coarse-grit sandpaper (around 120-150) and work your way up to finer grits (220-320). This will help remove layer lines, bumps, and imperfections.
For more significant imperfections or holes, use a filler material specifically designed for plastics or resins. Apply the filler according to the manufacturer's instructions and allow it to dry before sanding.
Priming and Painting: Bringing Your Cosplay to Life
Once your parts are sanded and filled, it's time to prime and paint. Choose a primer suitable for your material and apply it according to the manufacturer's instructions. This will help create a uniform base coat and improve paint adhesion.
Select acrylic or enamel paints specifically designed for plastics or resins, and apply thin coats, allowing each layer to dry before adding additional coats. Use a paintbrush or airbrush to achieve the desired finish.
Tips and Tricks for Achieving Smooth Finishes
Here are some additional tips to help you achieve smooth finishes on your 3D printed cosplay pieces:
- Use a dust mask or respirator when sanding to avoid inhaling particles.
- Work in a well-ventilated area, especially when using chemicals or paints.
- Apply multiple thin coats of primer and paint, rather than a single thick coat.
- Use a clear coat or varnish to protect the paint and give it a glossy finish.
Conclusion
Mastering the art of 3D printed cosplay post-processing and painting takes time and practice, but with the right techniques and materials, you can achieve stunning results. By following this guide, you'll be well on your way to creating smooth, professional-looking finishes that will elevate your cosplay game.
For more information on 3D printing and cosplay crafting, check out these resources: