Introduction to Winged Wonders
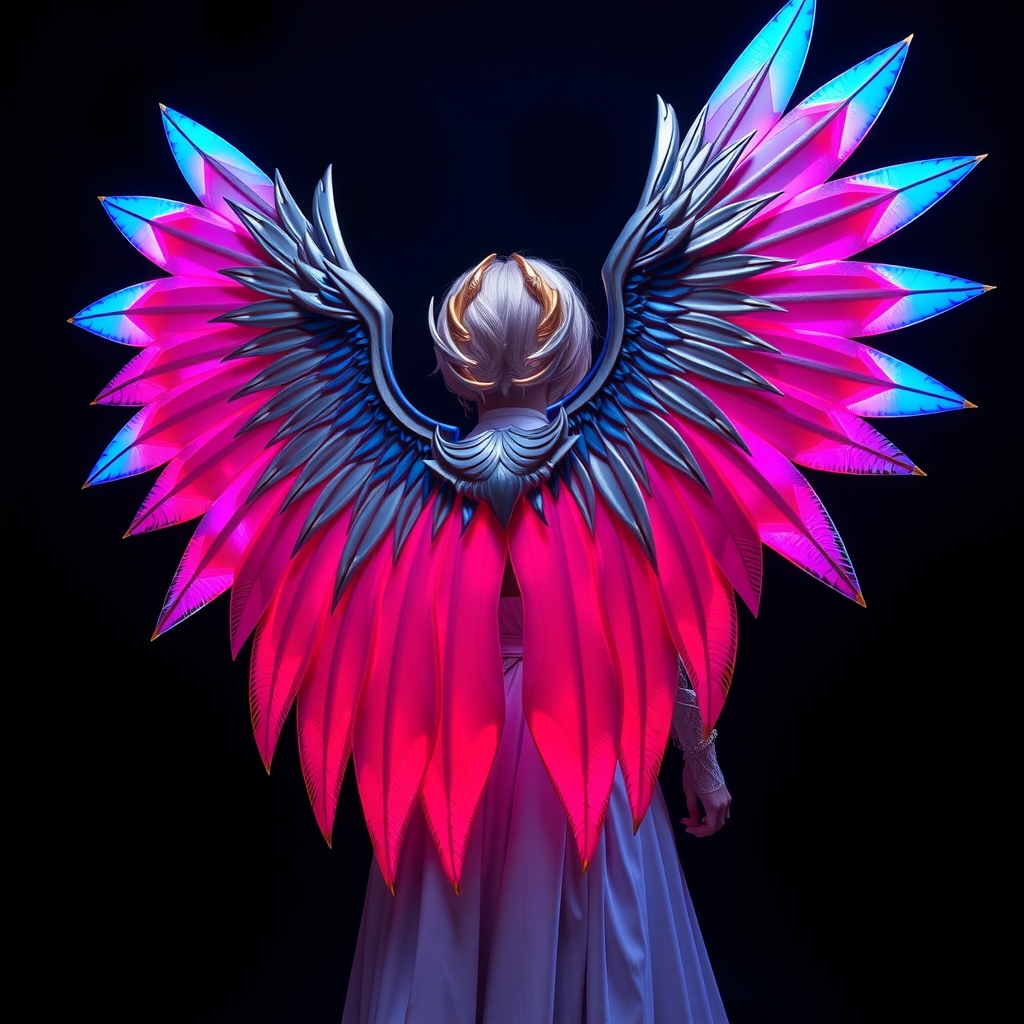
Crafting majestic wings for Dragon Age cosplay requires a combination of creativity, skill, and attention to detail. In this guide, we'll walk you through the process of creating stunning, illuminated wings using Worbla and LED lighting. Whether you're a seasoned cosplayer or a newcomer to the world of prop-making, this tutorial will provide you with the knowledge and confidence to take your cosplay to new heights.
Materials and Tools
Before we begin, make sure you have the following materials and tools at your disposal:
- Worbla thermoplastic sheets (various colors)
- LED strip lighting (color temperature: 6500K-8000K)
- Power source (batteries or USB-rechargeable)
- Wire (20-22 AWG)
- Hot glue gun
- Heat gun or hair dryer
- Thermometer
- Ruler or measuring tape
- Pencil or marker
Designing Your Wings
Before you start crafting, it's essential to have a clear design concept in mind. Study reference images of the Dragon Age character's wings, taking note of their shape, size, and color scheme. You can also experiment with different shapes and designs to create a unique look.
Once you have a solid design, create a template or pattern to use as a guide. You can use paper or cardboard to create a rough template, or opt for a more precise digital tool like Adobe Illustrator.
Cutting and Shaping the Worbla
Using your template, cut out the wing shapes from the Worbla thermoplastic sheets. Make sure to leave a small margin around the edges to allow for trimming and shaping.
Apply heat to the Worbla using a heat gun or hair dryer, carefully shaping the material to create a smooth, curved surface. Use a thermometer to monitor the temperature, ensuring it stays within the recommended range (around 150°F to 200°F).
Adding LED Lighting
Cut the LED strip lighting to the desired length, leaving a small excess for wiring. Use hot glue to secure the LEDs to the Worbla, making sure to space them evenly and avoid any visible wires.
Connect the LEDs to the power source, using wire to create a secure and stable connection. Test the LEDs to ensure they're working correctly and adjust as needed.
Assembly and Finishing Touches
Using hot glue, attach the wing's structural components (such as ribs or supports) to the Worbla surface. Make sure these components are secure and won't compromise the wing's stability.
Apply a finish coat of Worbla or a compatible sealant to protect the wing from damage and enhance its appearance. You can also add additional details, such as texture or paint, to create a more realistic look.
Attaching the Wings to Your Cosplay
The final step is to attach the wings to your cosplay. You can use a variety of methods, such as:
- Backpack-style harness: Create a wearable harness using straps or a backpack frame, securing the wings to your back.
- Shoulder mounts: Attach the wings to your shoulders using a sturdy bracket or clip.
- Arm mounts: Mount the wings to your arms using a hinge or pivot point, allowing for greater mobility.
Choose the method that works best for your cosplay and make any necessary adjustments to ensure a secure and comfortable fit.
Conclusion
Crafting majestic wings for Dragon Age cosplay using Worbla and LED lighting requires patience, creativity, and attention to detail. By following this step-by-step guide, you'll be able to create stunning, illuminated wings that will elevate your cosplay to new heights. Happy crafting!