Introduction to Morrigan's Wings
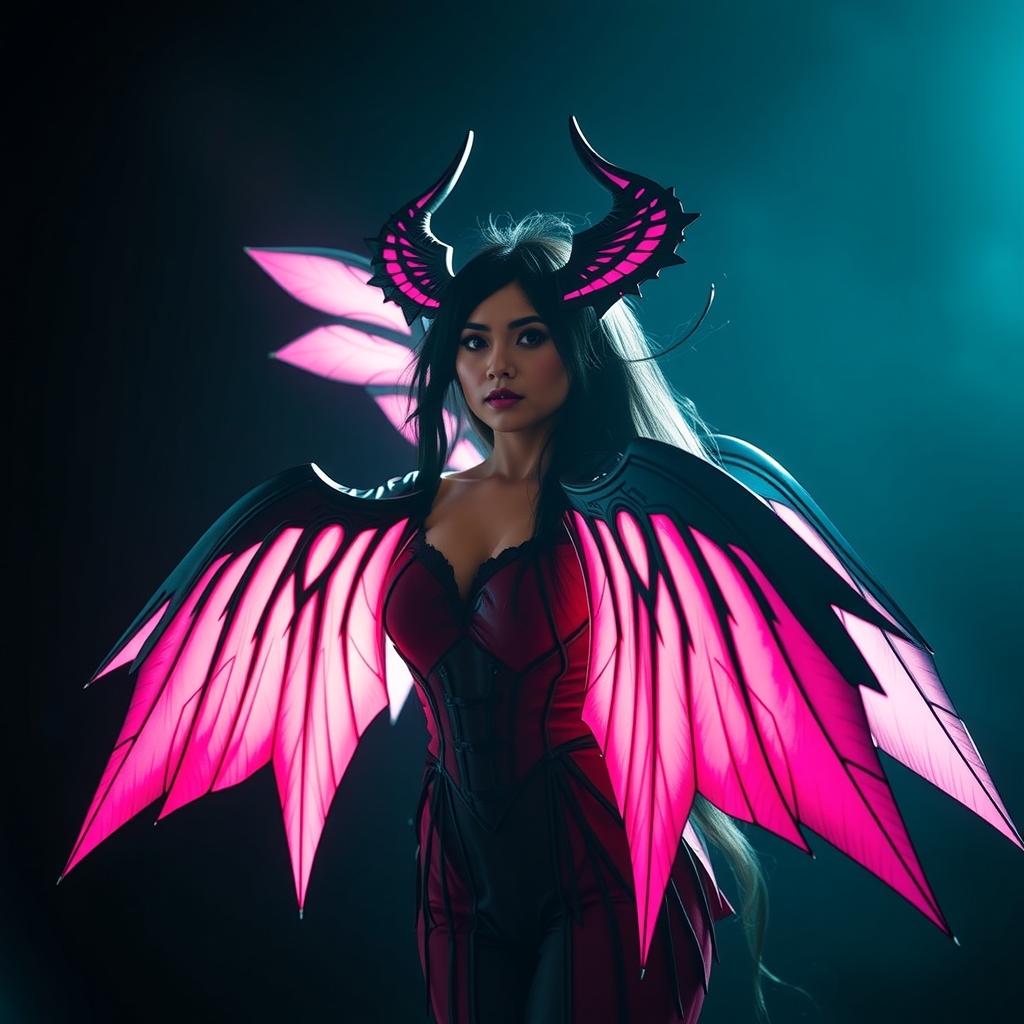
Morrigan Aensland, the iconic vampire from the Darkstalkers series, is known for her striking appearance, which includes her impressive wings. For cosplayers looking to bring this character to life, crafting her wings can be a daunting task. However, with the right materials and techniques, it's possible to create a stunning and accurate replica. In this guide, we'll walk you through the process of creating Morrigan's wings using Worbla and thermoplastic.
Materials and Tools Needed
- Worbla thermoplastic sheets (various thicknesses)
- Thermoplastic mold or shape
- Heat gun or lamp
- Wire (for armature)
- Wire cutters and pliers
- Glue (hot glue or epoxy)
- Paint and primer (optional)
- Sandpaper and files (for smoothing)
Designing and Patterning the Wings
Before starting the crafting process, it's essential to have a clear design and pattern for Morrigan's wings. You can find reference images online or create your own pattern based on the character's appearance in the game. Consider the shape, size, and details of the wings, as well as any additional features, such as the wing's curvature or texture.
Once you have your design, transfer it to paper or cardboard, and cut out a rough template. This will serve as a guide for cutting out the Worbla sheets.
Crafting the Wing Armature
A sturdy armature is crucial for supporting the wings and allowing them to be posed. Cut a wire frame to match the shape of the wing, using a thicker wire for the main structure and thinner wire for details. You can also add additional support with wire ribs or a central rod.
Bend the wire frame into shape, and secure it with glue or wire ties. Make sure the armature is sturdy enough to hold the weight of the Worbla and thermoplastic.
Shaping and Molding the Worbla
Cut out the Worbla sheets according to your pattern, leaving some excess material around the edges. Use a heat gun or lamp to shape and mold the Worbla into the desired form. You can also use a thermoplastic mold or shape to achieve a more precise shape.
Apply heat evenly, and use a combination of stretching and molding to achieve the desired curvature and shape. You can also add texture or details using a heat-resistant tool or a texture mat.
Assembling and Finishing the Wings
Once you have shaped and molded the Worbla, it's time to assemble the wings. Apply hot glue or epoxy to attach the Worbla to the wire armature, starting from the center and working your way outwards.
Use a combination of sanding and filing to smooth out any rough edges or bumps. You can also add additional details, such as veins or texture, using paint or a fine-tip marker.
Finally, apply a coat of primer and paint to achieve the desired color and finish. Make sure to follow the manufacturer's instructions for any materials used.
Tips and Variations
To add an extra layer of realism to your wings, consider adding a layer of translucent thermoplastic or Worbla to achieve a more delicate, membrane-like appearance.
You can also experiment with different materials, such as fabric or foam, to create a lighter or more flexible wing design.
For a more dramatic effect, consider adding LED lights or glow-in-the-dark paint to create a glowing or ethereal appearance.
Conclusion
Crafting Morrigan's iconic wings using Worbla and thermoplastic requires patience, skill, and attention to detail. With the right materials and techniques, you can create a stunning and accurate replica that will elevate your cosplay to new heights. Whether you're a seasoned cosplayer or just starting out, this guide provides a comprehensive and practical approach to creating one of the most iconic characters in the Darkstalkers series.