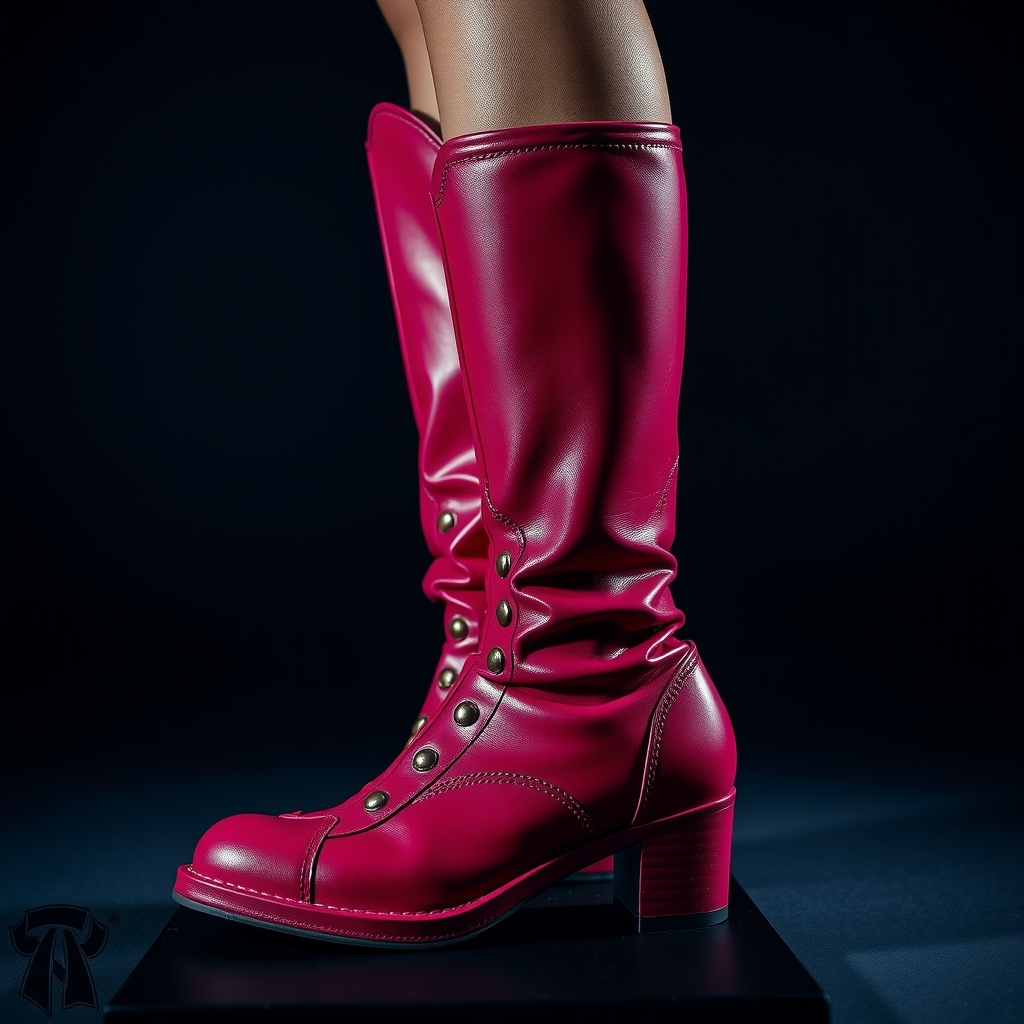
Finding the perfect pair of boots for a cosplay is often a struggle. While specialty stores offer a variety of styles, finding the exact color, material finish, or weathered look required for a specific character is rare. Most cosplayers settle for "close enough," but the footwear is often the first place where a costume can look like a costume rather than a costume that looks like a character. By applying professional painting techniques, you can turn a budget-friendly pair of faux-leather boots into high-end cinematic footwear.
Preparing the Surface for Maximum Adhesion
The most common failure in cosplay footwear is peeling. Boots are subject to constant flexing, friction, and environmental moisture. If you paint directly onto a factory-finished boot, the paint will likely crack or flake within hours of walking. Proper preparation is the most critical step in the process.
Start by cleaning the boots thoroughly. Use a mild soap and water solution to remove dust, but for synthetic leathers and plastics, a wipe-down with isopropyl alcohol is essential to remove factory oils and release agents. If the boots have a high-gloss finish, lightly sand the surface with a fine-grit sandpaper (around 400 to 600 grit). You are not trying to remove the material, but rather creating "tooth" for the paint to grip.
Once cleaned and sanded, apply a dedicated primer. For flexible materials, a flexible primer or a leather-specific prep agent is recommended. Avoid heavy-duty automotive primers that dry rigid, as these will crack the moment you take a step. Apply the primer in thin, even coats, allowing each layer to dry completely before proceeding.
Mastering the Base Coat with Acrylics
When choosing your paints, high-pigment acrylics designed for leather or fabric are the gold standard. These paints are formulated to remain flexible after curing. If you are using standard acrylics, mixing them with a fabric medium can help prevent cracking, though dedicated leather paints are generally more reliable for footwear.
Application Techniques:
- Brushing: Use soft-bristle synthetic brushes to avoid leaving visible brush strokes. Apply paint in thin layers. It is better to apply four thin coats than one thick coat, which is prone to bubbling and peeling.
- Blending: If your boots require a gradient or a multi-tonal look, work while the paint is slightly tacky to blend colors seamlessly.
- Edge Work: Use a fine-liner brush for piping, seams, and decorative stitching. This adds a level of detail that makes the boots look manufactured rather than painted.
Ensure the base color is completely opaque. If you are painting a light color over dark boots, you may need a white undercoat to ensure the final hue is vibrant and true to the character design.
Adding Depth with Airbrushing and Shading
Flat colors look artificial. Real-world materials—whether they are leather, metal, or rubber—interact with light and shadow. This is where airbrushing becomes an invaluable tool for the cosplay builder. An airbrush allows for soft transitions and subtle gradients that are nearly impossible to achieve with a brush.
Creating Natural Shadows
Identify the "recesses" of the boot—the areas where the material folds, the creases around the ankles, and the gaps between the sole and the upper. Using a shade slightly darker than your base color, lightly spray into these areas. This creates artificial depth, making the boots look three-dimensional even from a distance.
Adding Highlights
Conversely, identify the "high points" where light would naturally hit, such as the toe cap, the top of the heel, and the edges of straps. Use a lighter version of your base color or a pale cream to softly mist these areas. This simulates the way light reflects off the material, giving the boots a polished, professional appearance.
The Art of Realistic Weathering
Unless your character is a pristine royal or a futuristic android, your boots should not look brand new. Weathering is the process of adding "story" to your gear. It tells the viewer where the character has been and what they have endured.
Techniques for Realistic Wear:
- Dry Brushing: Dip a stiff brush into a metallic or light tan acrylic, then wipe almost all of the paint off onto a paper towel. Lightly flick the brush across the edges of the soles and the toes. This simulates scuffing and worn-down material.
- Wash Application: Mix a highly diluted dark brown or black acrylic paint (a "wash"). Apply it into the seams and crevices, then quickly wipe the surface with a damp cloth. The dark pigment remains in the cracks, simulating accumulated grime and dirt.
- Splatter Technique: For characters who travel through mud or snow, load a brush with a mixture of brown and ochre paint and flick the bristles toward the boots. This creates random, organic speckles of dirt.
Sealing and Protecting Your Work
Because boots are high-wear items, your paint job is vulnerable. A high-quality sealant is non-negotiable. The type of sealant you choose will determine the final "material" look of the boot.
Choosing Your Finish:
- Matte Finish: Best for combat boots, tactical gear, or suede-like materials. It removes the "plastic" look of acrylics and makes the boots look more natural.
- Satin Finish: A middle-ground option that provides a slight sheen, ideal for polished leather or synthetic fabrics.
- Gloss Finish: Reserved for patent leather, futuristic armor, or high-fashion footwear.
Apply the sealant in several light mists. Avoid spraying too heavily in one spot, as this can cause the paint to run or create "pooling" effects. For maximum durability, consider applying a final layer of a flexible, water-resistant clear coat specifically designed for footwear. This protects your hard work from rain, puddles, and the general wear and tear of a convention floor.
Maintenance and Touch-Ups
No matter how well you seal your boots, some wear is inevitable. Keep a small kit of the base colors and sealants you used for the project. If a scuff appears during an event, a quick dab of acrylic paint followed by a spot-application of sealant can restore the look instantly. To clean your boots between uses, avoid harsh chemicals; instead, use a damp microfiber cloth to gently wipe away surface dust.