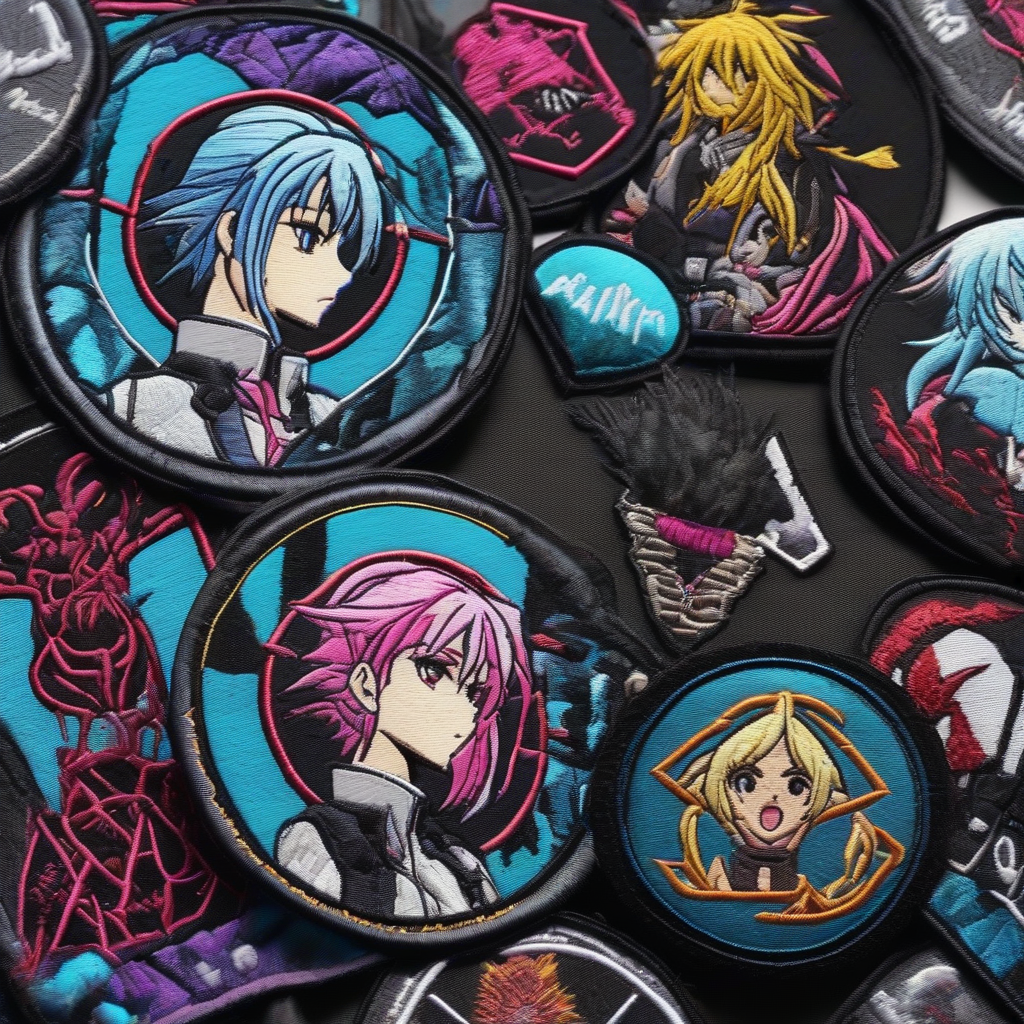
Introduction to Embroidered Patches in Cosplay
Embroidered patches have become an essential element in cosplay, allowing creators to add intricate details and personalized touches to their costumes. Anime-inspired cosplay, in particular, often features vibrant and iconic designs that can be beautifully replicated using embroidered patches. In this guide, we'll explore the process of creating custom embroidered patches, from design to completion, and provide tips for incorporating them into your cosplay creations.Designing Your Patch
Before starting your patch, it's essential to have a clear design concept. Consider the anime series or character you're drawing inspiration from and the specific elements you want to feature. Look for reference images to ensure accuracy and take note of the colors, shapes, and textures used.
Sketch out your design on paper or use digital software to create a mockup. Keep in mind the size and complexity of your design, as these factors will impact the stitching process. Simple designs with bold lines and minimal colors are ideal for beginners, while more intricate designs may require advanced stitching techniques.
Choosing Materials and Tools
To create your embroidered patch, you'll need the following materials:
- Fabric or stabilizer for the patch backing
- Embroidery hoop or frame
- Thread (various colors)
- Embroidery needles
- Scissors
- Stabilizing material (optional)
When selecting fabric or stabilizer for your patch backing, choose a material that is sturdy enough to support the embroidery but thin enough to be easily sewn or ironed onto your cosplay costume. Popular options include cotton, felt, or stabilizer specifically designed for embroidery.
Preparing Your Design for Stitching
Once you have your materials, transfer your design onto the fabric or stabilizer using a pencil or water-soluble marker. You can also use a light box or tracing paper to achieve a more accurate transfer.
If using a stabilizer, cut it to the desired size and place it under the fabric to prevent distortion during stitching. Secure the fabric or stabilizer in your embroidery hoop or frame, making sure it's tight and evenly spaced.
Stitching Techniques for Embroidered Patches
There are several stitching techniques commonly used for embroidered patches, including:
- Backstitch: ideal for outlining designs and creating details
- Satin stitch: suitable for filling large areas with solid colors
- French knots: used for creating textured, dimensional elements
- Running stitch: often used for outlining and creating patterns
Practice these stitches on scrap fabric before working on your patch to achieve a consistent and even tension. You can also experiment with different thread colors and textures to achieve the desired effect.
Adding Dimension and Texture
To add dimension and texture to your embroidered patch, consider using techniques such as:
- Layering: building up layers of stitching to create depth and dimension
- Color blending: using subtle color transitions to achieve a gradient effect
- Stitch variation: experimenting with different stitch lengths and angles to create texture
Attaching and Finishing Your Patch
Once your embroidered patch is complete, attach it to your cosplay costume using a needle and thread or a hot fix applicator. Make sure the patch is securely fastened to prevent it from coming loose during wear.
To finish the edges of your patch, use a zigzag stitch or a whipstitch to prevent fraying and give it a professional finish. You can also add a clear coat of varnish or embroidery sealant to protect the stitching and prevent damage.
Tips and Variations
To take your embroidered patches to the next level, consider experimenting with:
- Glow-in-the-dark thread or materials for added visibility
- Metallic or iridescent threads for a touch of shine
- Mixing and matching different stitching techniques for unique textures
With practice and patience, you can create stunning anime-inspired embroidered patches that add a personal touch to your cosplay creations. Don't be afraid to experiment and push the boundaries of what's possible with embroidery – the art of stitching is a journey, and the possibilities are endless.