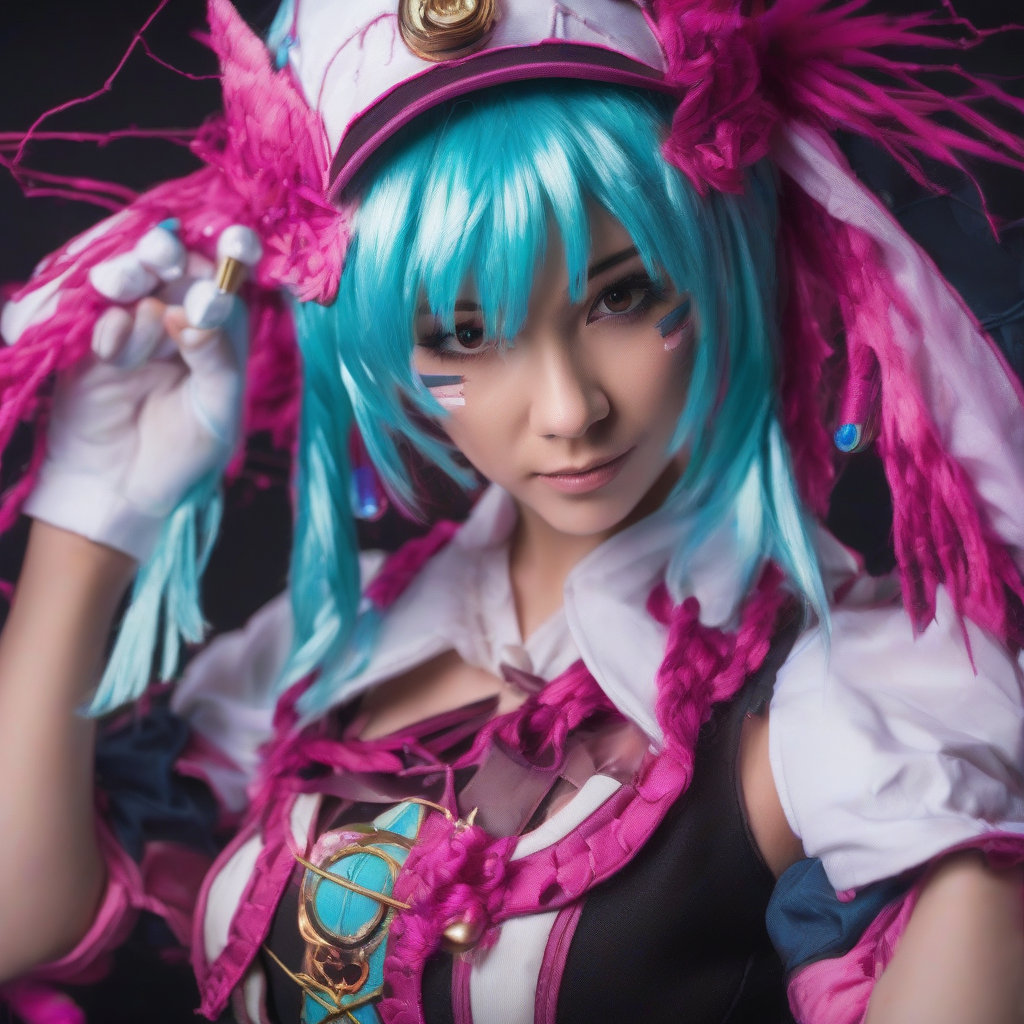
Introduction to Embroidered Cosplay Details
Embroidered details can add a level of realism and texture to your cosplay that is hard to achieve with other materials. Anime-inspired designs often feature intricate patterns, logos, and motifs that can be beautifully recreated using embroidery floss and fabric. With some basic stitches and a little practice, you can elevate your cosplay game and create stunning, one-of-a-kind pieces.
Choosing Materials and Tools
To get started with embroidered cosplay details, you'll need a few basic materials:
- Embroidery floss (available in a wide range of colors at craft stores or online)
- Stabilizing fabric (such as interfacing or water-soluble stabilizer)
- Embroidery hoop or frame
- Needle
- Scissors
- Design or pattern to follow
When choosing embroidery floss, consider the color palette of your cosplay and select floss that matches or complements it. You can also experiment with different types of fabric, such as cotton, linen, or even metallic fabrics, to add texture and interest to your designs.
Basic Embroidery Stitches for Cosplay
Before you start embroidering, it's essential to learn a few basic stitches. Here are some of the most useful stitches for cosplay:
- Running Stitch: A simple stitch that involves bringing the needle up and down through the fabric in a straight line.
- Backstitch: A versatile stitch that can be used for outlining designs and creating details.
- Satin Stitch: A smooth, shiny stitch that is great for filling in large areas.
- French Knot: A small, textured stitch that can be used to create details such as eyes or accessories.
Practice these stitches on scrap fabric before starting your cosplay project to get a feel for how they work.
Designing and Transferring Patterns
Once you've chosen your materials and learned the basic stitches, it's time to design and transfer your pattern. You can:
- Freehand your design directly onto the fabric using a pencil or marker
- Use a stencil or template to create a more intricate design
- Print out a design or pattern from a computer and transfer it to the fabric using a light box or tracing paper
Make sure to keep your design simple and bold, especially if you're new to embroidery. You can always add more details and complexity as you gain more experience.
Tips and Tricks for Cosplay Embroidery
Here are a few tips and tricks to keep in mind when embroidering cosplay details:
- Use a consistent thread tension to avoid puckering or distortion
- Keep your stitches small and even for a more professional look
- Experiment with different thread colors and textures to add depth and interest
- Don't be afraid to make mistakes – they can often be easily corrected or incorporated into the design
Additionally, consider using embroidery software or online resources to help you create and manage your designs. These tools can save you time and frustration, and help you achieve professional-looking results.
Showcasing Your Finished Embroidery
Once you've completed your embroidered cosplay details, it's time to showcase them. Consider:
- Attaching your embroidery to a cosplay prop or accessory
- Incorporating your embroidery into a larger costume piece, such as a jacket or sleeve
- Using your embroidery as a focal point for a cosplay photoshoot
With a little creativity and practice, you can use embroidery to take your cosplay to the next level and create stunning, one-of-a-kind pieces that showcase your skills and attention to detail.