Introduction to Faux Leather Crafting
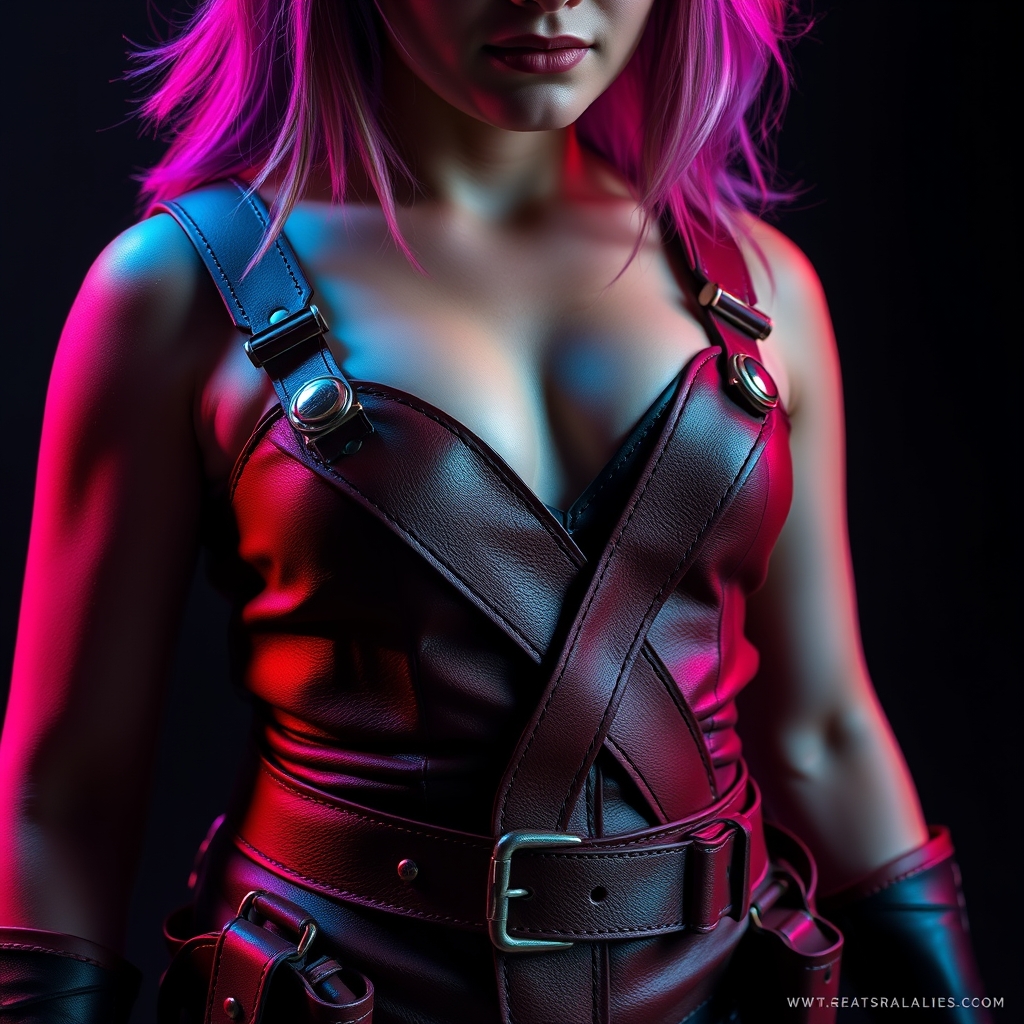
As cosplayers, we strive for authenticity and realism in our costumes. One crucial element that can make or break a cosplay is the use of belts and harnesses. While real leather can be expensive and difficult to work with, faux leather offers a versatile and accessible alternative. In this article, we'll explore the techniques and materials needed to create convincing faux leather belts and harnesses for your cosplay projects.
Materials and Tools
To get started, you'll need the following materials:
- EVA foam (ethylene-vinyl acetate) or Worbla, a thermoplastic material
- Leather-like fabric, such as faux leather or vinyl
- Adhesives, like hot glue, epoxy, or contact cement
- Paint and primer, specifically designed for plastics or fabrics
- Weathering powders or pigments
- Tools: craft knife, scissors, heat gun, and a work surface
Preparing the Pattern and Base Material
Begin by creating a pattern for your belt or harness. You can use a pre-existing belt or harness as a reference or create one from scratch using paper or cardboard. Transfer the pattern onto your EVA foam or Worbla, and cut it out using a craft knife or scissors.
If using EVA foam, you can shape it to create a more complex design or add texture using heat or a modeling tool. For Worbla, apply heat to shape and mold the material into the desired form.
Applying the Faux Leather Finish
Cut your leather-like fabric, leaving a little extra material around the edges. Apply a thin layer of adhesive to the EVA foam or Worbla base and attach the faux leather, smoothing out any wrinkles or air bubbles.
For a more realistic finish, you can use a combination of paint and primer to add texture and color to the faux leather. Apply a coat of primer to the fabric, followed by layers of paint, allowing each layer to dry before adding additional coats.
Adding Weathering and Distressing
To give your faux leather belt or harness a worn, battle-worn look, use weathering powders or pigments to add dirt, grime, and wear. Apply these powders using a brush or a cloth, focusing on areas that would naturally show wear.
You can also use a heat gun or a hair dryer to distress the faux leather, carefully manipulating the material to create creases, folds, or tears.
Assembly and Finishing Touches
Once your faux leather belt or harness is complete, assemble any additional components, such as buckles, clips, or straps. Use adhesives or mechanical fasteners to secure these components in place.
Finally, add any finishing touches, such as adjusting the fit or adding additional details, like rivets or studs.
Conclusion and Tips
With these techniques and materials, you can create convincing faux leather belts and harnesses for your cosplay projects. Remember to experiment and practice, as the key to realistic faux leather is in the details.
Some additional tips to keep in mind:
- Use reference images to study the texture, color, and wear of real leather.
- Experiment with different materials and techniques to find what works best for you.
- Pay attention to scale and proportion when creating your belt or harness.
By following these steps and tips, you'll be well on your way to creating realistic and impressive faux leather belts and harnesses for your cosplay projects.