## Introduction to Custom Witcher Armor
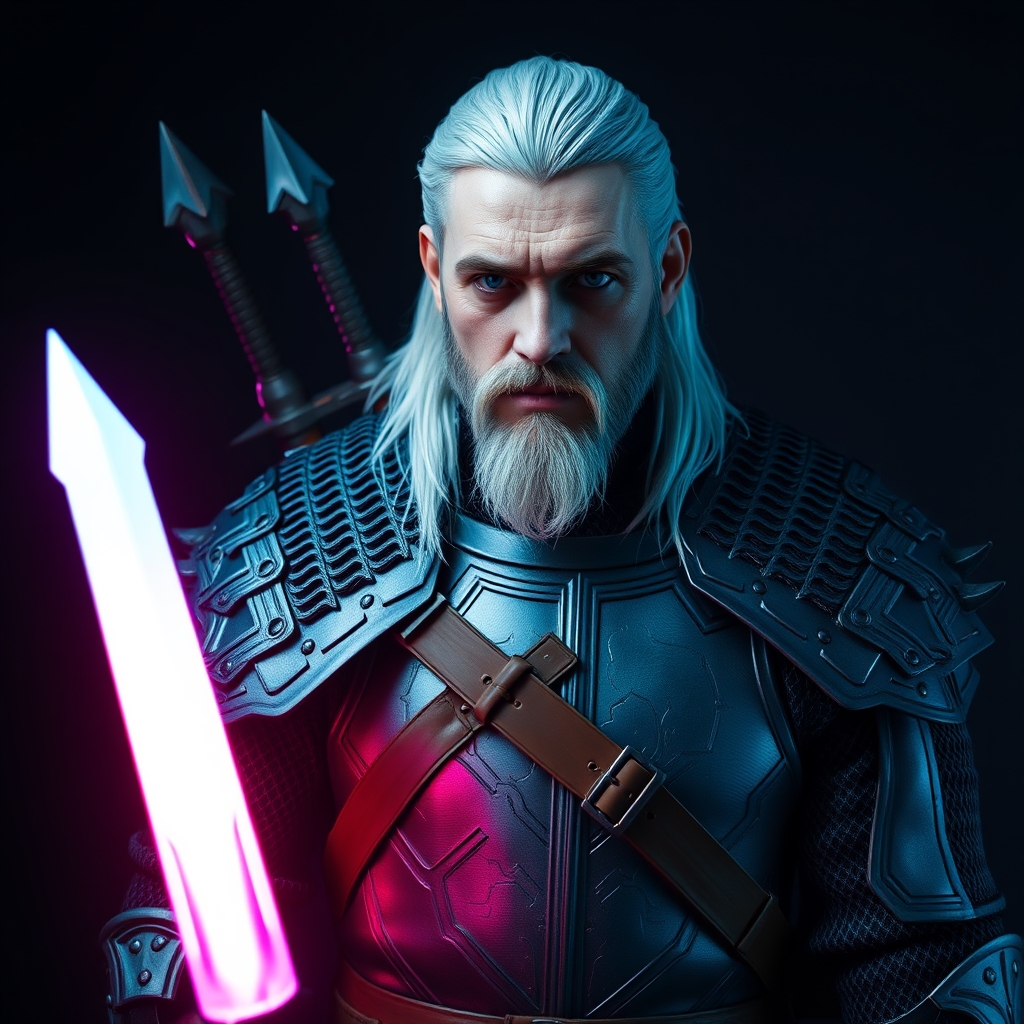
The Witcher series has captivated audiences worldwide with its rich lore, engaging characters, and detailed world-building. As a cosplayer or prop maker, creating a Geralt of Rivia or other Witcher character costume requires attention to detail, especially when it comes to the armor. In this guide, we'll explore how to craft custom Witcher armor using 3D printing and Worbla, two powerful tools that can help you achieve a professional-looking and durable prop.
## Designing and 3D Printing Armor Pieces
To start, you'll need to design or obtain 3D models of the Witcher armor pieces you want to create. You can find various Witcher 3D models online, created by fans or professionals, or design your own using computer-aided design (CAD) software like Blender or Tinkercad. For this guide, we'll assume you have a 3D model ready to print.
When 3D printing, choose a suitable material for your armor pieces, such as PLA, ABS, or PETG. Consider the durability and weight you want to achieve. For a more detailed and smooth finish, use a resin printer or a high-quality FFF/FDM printer.
## Preparing 3D Printed Parts for Worbla
Before applying Worbla, make sure your 3D printed parts are clean, dry, and free of any debris or oils. If your parts have a smooth surface, lightly sand them to create a better bond between the plastic and Worbla.
## Working with Worbla
Worbla is a versatile and popular thermoplastic material used for prop making, cosplay, and crafting. To work with Worbla, you'll need a heat gun, a surface to work on, and a Worbla sheet.
### Basic Worbla Application
1. Cut a Worbla sheet to the desired size, leaving some excess material around the edges. 2. Place the Worbla sheet on the 3D printed part, positioning it carefully to cover the entire surface. 3. Apply heat using a heat gun, moving it slowly and evenly to melt the Worbla. 4. Use a tool or your hands (with heat-resistant gloves) to shape and smooth out the Worbla, ensuring it adheres to the 3D printed part.
## Adding Details and Finishing Touches
To achieve a more realistic and detailed look, you can add textures, patterns, or small details using various techniques:
* Apply paint or markers to add colors, textures, or small details. * Use a Dremel or a rotary tool to add engravings or small designs. * Add leather or fabric elements, such as straps or accents.
## Assembly and Final Touches
Once you've created and finished all the armor pieces, assemble them according to your design. You can use adhesives, screws, or other fastening methods to secure the pieces together.
To complete your Witcher armor, add any final details, such as weathering effects, using paint, washes, or other techniques.
## Conclusion and Tips
Creating custom Witcher armor with 3D printing and Worbla requires patience, attention to detail, and practice. Here are some final tips to keep in mind:
* Research and reference the Witcher armor designs to ensure accuracy and authenticity. * Experiment with different Worbla techniques, such as layering or shaping, to achieve unique effects. * Consider adding electronics, such as LED lights, to enhance your armor's appearance.
By following this guide and practicing your skills, you'll be able to create stunning and durable Witcher armor that will elevate your cosplay or prop making projects.
## Additional Resources
For more information on 3D printing and Worbla, check out the following resources:
* Worbla official website * Thingiverse 3D model repository * Cosplay.com community and resource hub