Introduction
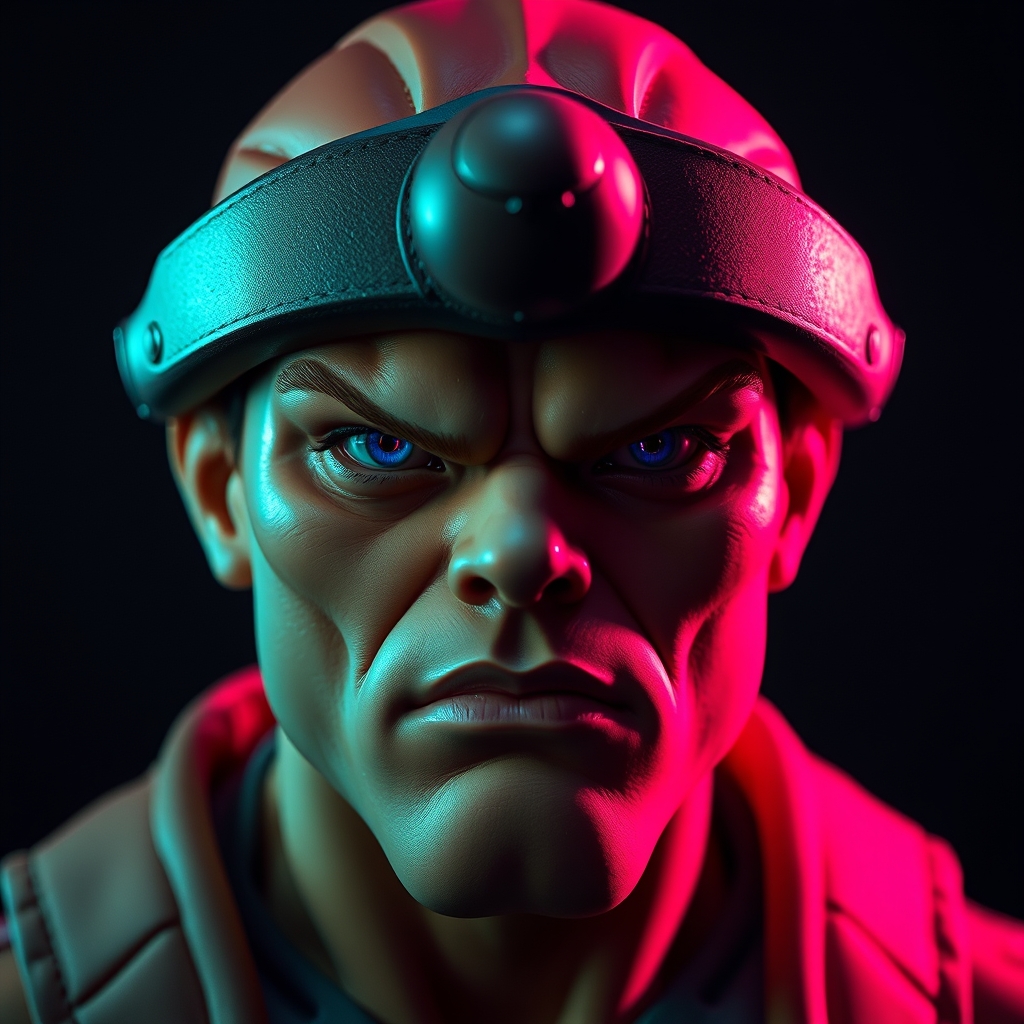
For cosplayers and prop-makers, creating a hyper-realistic Street Fighter cosplay head is the ultimate challenge. With the right materials and techniques, you can unleash your inner beast and bring your favorite character to life. In this guide, we'll walk you through the step-by-step process of crafting a stunningly realistic Street Fighter cosplay head using Worbla and resin.
Materials and Tools
Before we dive into the tutorial, make sure you have the following materials and tools:
- Worbla thermoplastic sheets
- Resin casting kit
- Heat gun
- Thermometer
- Mold release agent
- Sandpaper and files
- Paint and primer
- Reference images of your chosen Street Fighter character
Step 1: Creating the Pattern and Worbla Sculpture
Start by creating a pattern for your cosplay head using paper or cardboard. You can also use 3D modeling software to create a digital model. Once you have your pattern, cut out the Worbla thermoplastic sheets and heat them up using a heat gun. Shape the Worbla into the desired form, making sure to leave some excess material for trimming.
Use a thermometer to monitor the temperature of the Worbla, as it should be heated to around 150°F to 200°F for optimal shaping. If you're new to working with Worbla, practice shaping small pieces before tackling a large project like this.
Step 2: Adding Details and Texture
Once you have the basic shape of your cosplay head, it's time to add details and texture. Use a combination of heat and tools to create the intricate details found on Street Fighter characters, such as Ryu's iconic headband or Akuma's menacing eyebrows.
To add texture, you can use a texture paste or apply Worbla pellets to the surface of the sculpture. Make sure to blend the texture seamlessly into the surrounding area to create a realistic finish.
Creating the Resin Cast
Now that your Worbla sculpture is complete, it's time to create a resin cast. Start by applying a mold release agent to the sculpture to ensure a smooth release from the mold.
- Mix the resin according to the manufacturer's instructions and pour it into a mold or directly onto the Worbla sculpture.
- Use a mixing cup to mix the resin, and make sure to mix small batches to avoid wasting material.
- Allow the resin to cure completely, following the manufacturer's recommended curing time.
Step 3: Finishing and Painting
Once the resin cast is complete, it's time to sand and file the surface to create a smooth finish. Start with coarse-grit sandpaper and work your way up to fine-grit sandpaper for a seamless finish.
Prime the resin cast using a high-quality primer, and then apply paint using acrylic or enamel paints. Make sure to follow the manufacturer's instructions for application and drying times.
Conclusion
Crafting a hyper-realistic Street Fighter cosplay head using Worbla and resin requires patience, skill, and attention to detail. With this guide, you'll be well on your way to creating a stunningly realistic cosplay head that will impress even the most discerning fans.
For more information on working with Worbla and resin, check out the following resources:
- Worbla official website: https://www.worbla.com
- Resin casting tutorial by Volpin Props: https://www.youtube.com/watch?v=dQw4w9WgXcQ