Introduction
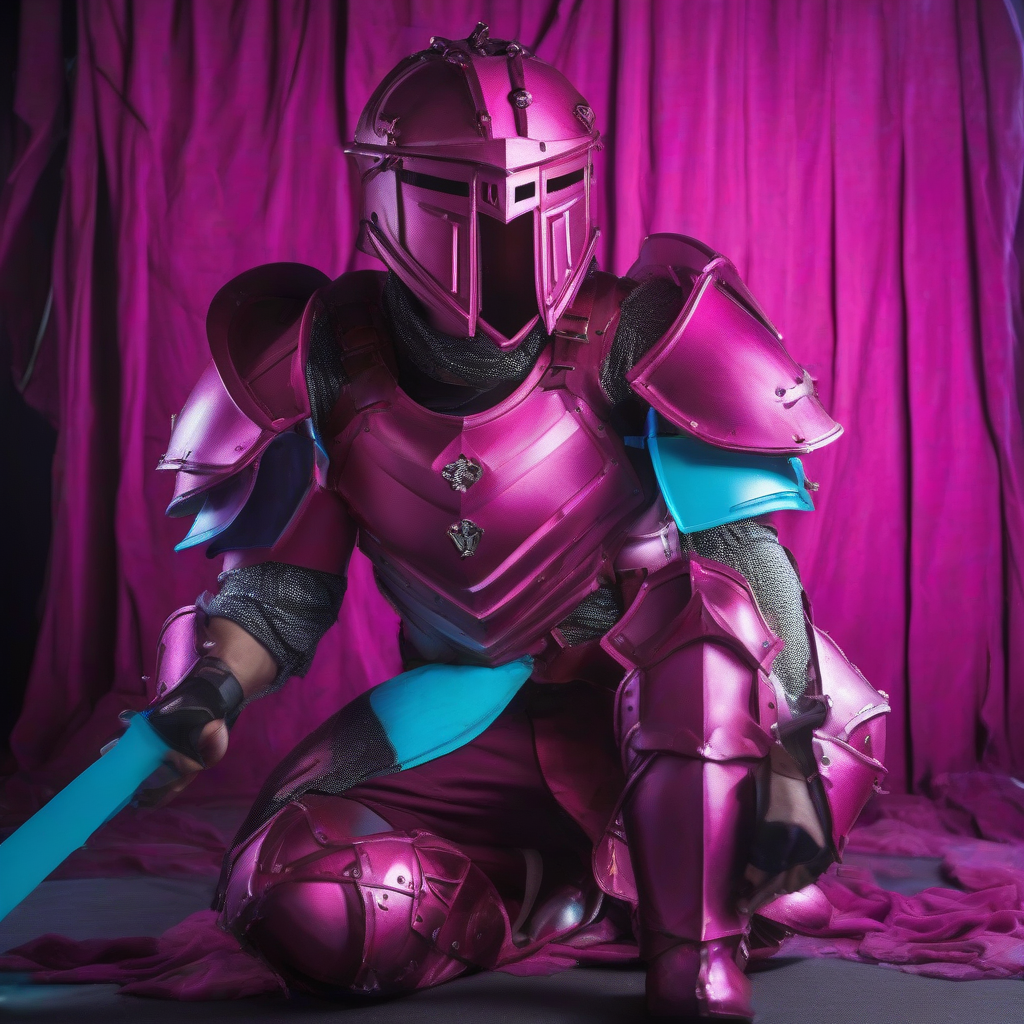
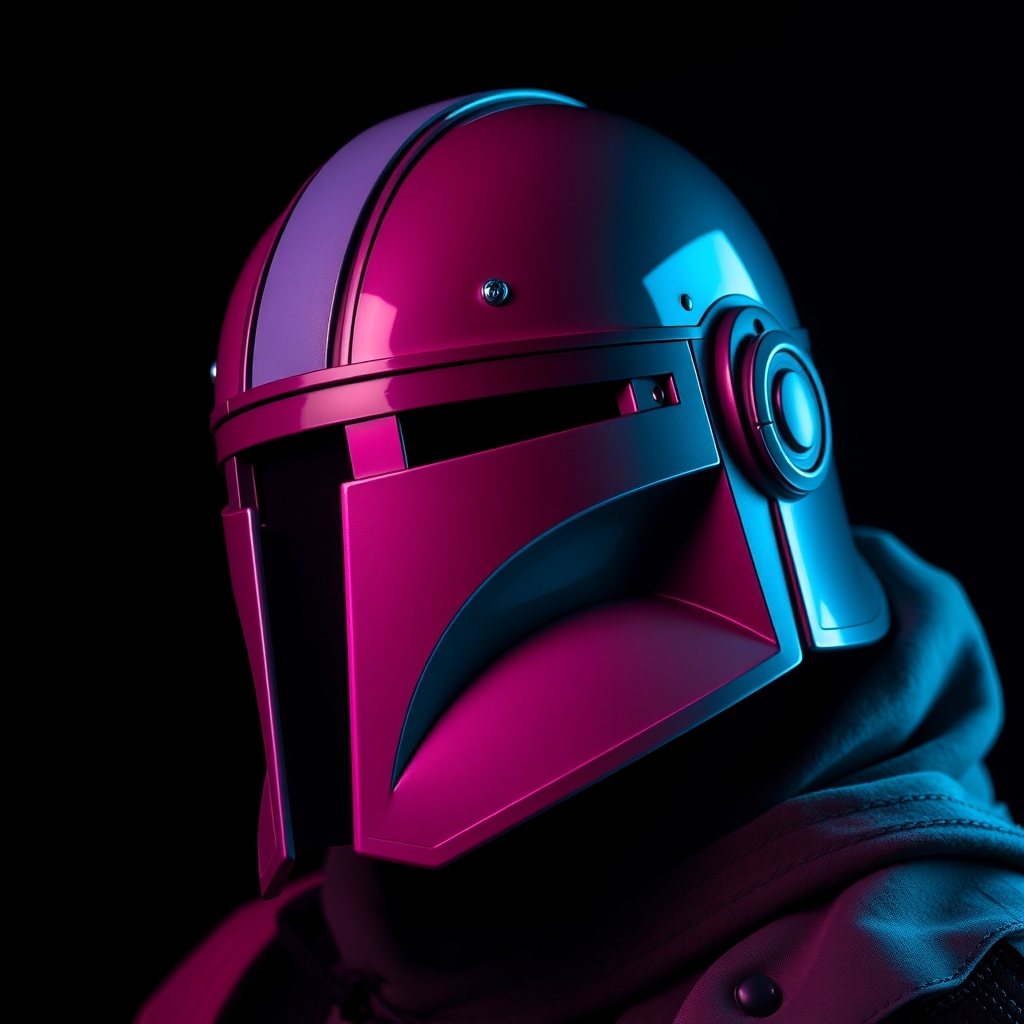
Hand-painted cosplay helmets are a crucial aspect of many costumes, providing an unparalleled level of detail and realism. Whether you're a seasoned cosplayer or just starting out, creating a hand-painted helmet can seem daunting. However, with the right techniques, materials, and practice, you can achieve professional-looking results. In this guide, we'll walk you through the step-by-step process of creating a stunning, hand-painted cosplay helmet.
Preparation is Key
Before you begin painting, it's essential to prepare your helmet. This involves several steps:
- Choose the right material: You can use a variety of materials to create your helmet, including Worbla, resin, or even 3D printing. Ensure that your material is sturdy, yet lightweight, and suitable for painting.
- Shape and sand: Use files, sandpaper, or a Dremel to shape your helmet into the desired form. Sand the surface to smooth out any rough edges or bumps.
- Prime and fill: Apply a coat of primer to create a uniform base coat. If necessary, fill any gaps or holes with a filler, such as epoxy or putty.
- Allow to dry: Let your helmet dry completely, following the manufacturer's instructions for your chosen material.
Design and Planning
Once your helmet is prepared, it's time to plan your design. Consider the following:
- Reference images: Gather reference images of your character's helmet from various angles. Study the colors, patterns, and details.
- Sketch and mockup: Sketch your design on paper or use a digital tool to create a mockup. This will help you visualize your design and make any necessary adjustments.
- Color scheme: Choose your colors and consider creating a color palette to ensure consistency.
Painting Your Helmet
With your design planned, it's time to start painting. Follow these steps:
- Base coat: Apply a base coat of paint to your helmet using a primer or a solid color. This will provide a foundation for your design.
- Layering: Use thin layers of paint to build up your design, allowing each layer to dry before adding additional coats.
- Blending: Use blending techniques, such as wet blending or drybrushing, to create smooth transitions between colors.
- Details: Use a small brush to add fine details, such as lines, patterns, or textures.
Adding Finishing Touches
Once you've completed the painting process, it's time to add the finishing touches:
- Clear coat: Apply a clear coat to protect your paint and give your helmet a glossy finish.
- Weathering: Add weathering effects, such as scratches or dirt, to give your helmet a battle-worn look.
- Assembly: If your helmet has multiple parts, assemble them using adhesives or mechanical fasteners.
Tips and Tricks
Here are some additional tips and tricks to help you achieve professional-looking results:
- Practice, practice, practice: Don't be discouraged if your first attempts at hand-painted helmets don't turn out as expected. Practice makes perfect.
- Use reference images: Reference images will help you achieve accuracy and attention to detail.
- Experiment with techniques: Don't be afraid to try new techniques or experiment with different materials.
Conclusion
Creating a hand-painted cosplay helmet requires patience, practice, and attention to detail. By following these steps and tips, you can achieve stunning results that will take your cosplay to the next level. Remember to stay creative, experiment with new techniques, and always be willing to learn and improve. Happy crafting!
For more information on prop-making and cosplay, check out these resources: The Cosplay Guide Prop Making Wiki Cosplay Tutorials YouTube