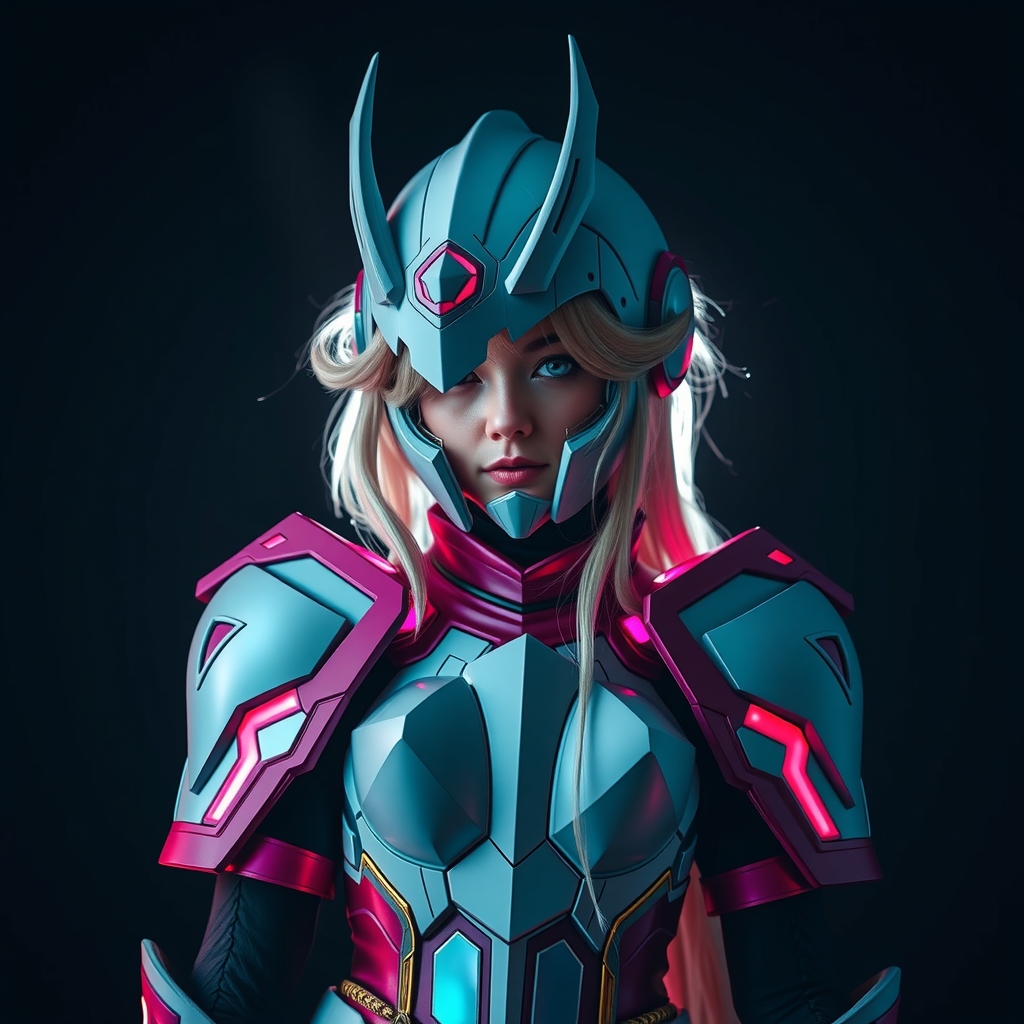
Introduction to EVA Foam and Weathering
EVA foam, short for Ethylene-Vinyl Acetate foam, has become a popular material in cosplay and prop making due to its versatility, durability, and ease of use. One of the most iconic and sought-after applications of EVA foam is in crafting anime armor, which often features intricate designs and weathered finishes. In this guide, we'll walk you through the process of transforming EVA foam into stunning anime armor, focusing on pattern making, shaping, and weathering techniques.
Pattern Making and Cutting Out EVA Foam
Before you begin shaping and weathering your EVA foam, you'll need to create a pattern and cut out the individual pieces. Use a combination of cardboard, paper, or digital tools to create a precise pattern, taking into account the design, shape, and size of the armor piece. You can also use existing armor pieces or reference images as a starting point.
- Use a craft knife or a hot wire foam cutter to cut out the EVA foam pieces, making sure to leave a small margin around the edges for sanding and shaping.
- Cut multiple pieces at once, if possible, to ensure consistency and save time.
- Label and organize the pieces to avoid confusion during assembly.
Shaping and Assembling EVA Foam Armor
With your EVA foam pieces cut out, it's time to shape and assemble them into the desired armor form. Use a combination of heat, sanding, and adhesives to shape and bond the pieces together.
- Apply heat to the EVA foam pieces using a heat gun or a hair dryer to make them more pliable and shapeable.
- Use a sanding block or sandpaper to smooth out the edges and surfaces, feathering the edges to create a seamless bond between pieces.
- Apply a suitable adhesive, such as hot glue or epoxy, to bond the pieces together, making sure to clamp or weight the assembly until the adhesive sets.
Adding Details and Texture
To give your anime armor a more authentic look, add details and texture using various techniques and materials.
- Use a Dremel or a rotary tool to add intricate details, such as bolts, rivets, or engravings.
- Apply texture using materials like fabric, foam, or Worbla, or by using texture sprays or paints.
- Add raised details, such as panels or molding, using a combination of EVA foam, thermoplastics, or resin.
Weathering Techniques for Anime Armor
Weathering is a crucial step in creating a realistic and battle-worn look for your anime armor. Use a combination of paints, washes, and effects to achieve a weathered finish.
Painting and Priming
Start by priming the armor piece with a suitable primer, followed by a base coat of paint. Use acrylic or enamel paints to achieve the desired color and finish.
- Apply multiple coats of paint, allowing each coat to dry before adding additional layers.
- Use a paintbrush or an airbrush to achieve smooth, even coverage.
Washes and Drybrushing
Washes and drybrushing are essential techniques for creating a weathered, battle-worn look.
- Mix a wash by combining paint with a solvent, such as water or thinner, and apply it to recessed areas using a brush.
- Use drybrushing to add texture and wear to raised areas, loading the brush with paint and wiping it almost clean before applying it to the armor.
Adding Final Touches
To complete the weathered look, add final touches using various effects and materials.
- Apply edge wear using a combination of paint, markers, or sanding.
- Add rust, corrosion, or grime using texture sprays, paints, or pigments.
- Seal the finish with a clear coat or varnish to protect the armor and enhance the colors.
Conclusion
Transforming EVA foam into weathered anime armor requires patience, creativity, and practice. By following this step-by-step guide, you'll be able to craft stunning cosplay pieces that showcase your skills and attention to detail. Remember to experiment with different techniques and materials to achieve the desired look, and don't be afraid to push the boundaries of what's possible with EVA foam and weathering.