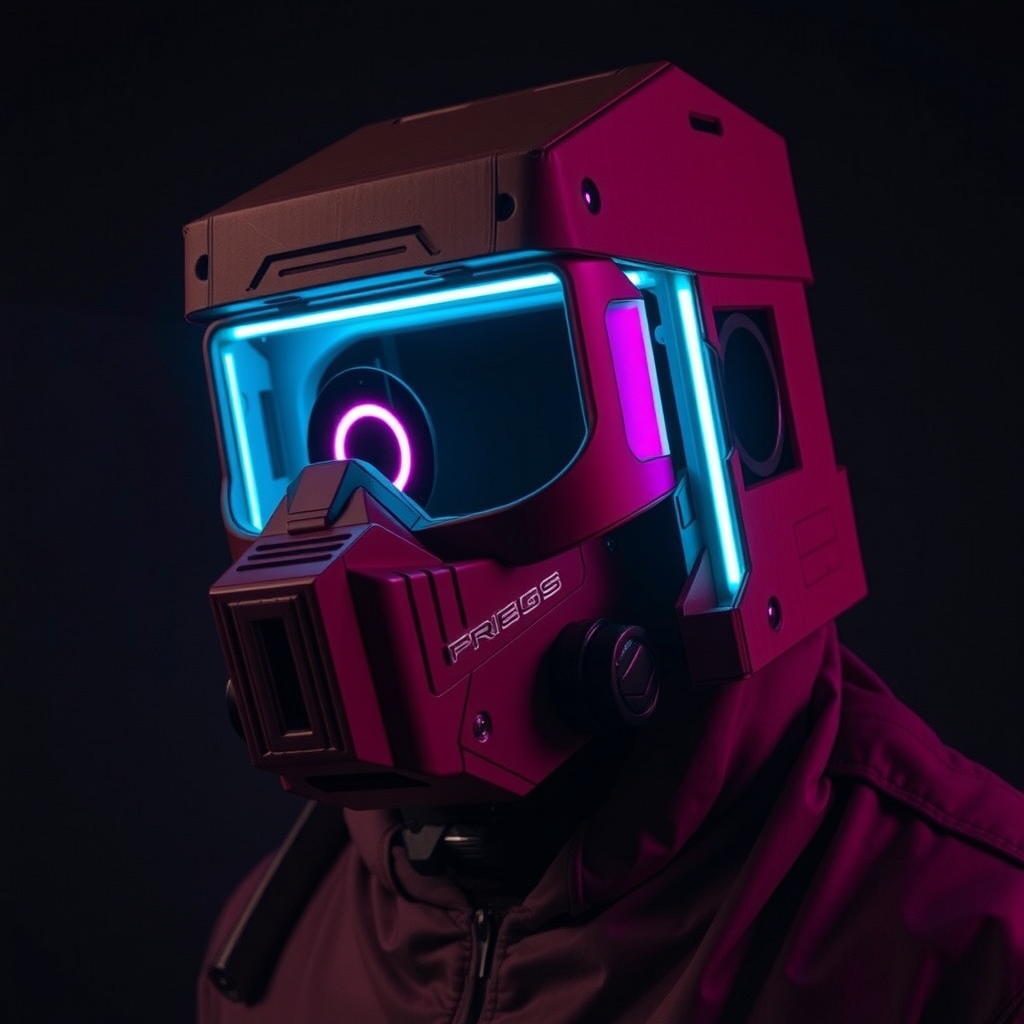
Introduction to Worbla and Prop Making
As a cosplayer, creating your own props can elevate your costume to the next level, but it can be intimidating if you're new to prop making. Worbla is a popular thermoplastic material used in cosplay and prop making, known for its versatility and durability. In this guide, we'll walk you through the basics of working with Worbla and provide a step-by-step tutorial on creating a durable cosplay prop.
Materials and Tools Needed
Before you start, make sure you have the following materials and tools:
- Worbla thermoplastic sheets (various thicknesses)
- A heat gun or hair dryer
- A work surface (e.g., a table or countertop)
- A cutting tool (e.g., scissors, craft knife, or Worbla-specific cutter)
- A mold or shape to form your prop around (e.g., cardboard, foam, or a 3D printed model)
- Adhesives (e.g., hot glue, epoxy, or Worbla's own adhesives)
- Optional: Worbla's thermoplastic granules for added texture or details
Preparing Your Design and Mold
Before you begin working with Worbla, it's essential to have a clear design and mold in mind. You can create your own design or use an existing one as a reference. If you're new to prop making, start with a simple design and gradually move on to more complex projects.
Create a mold or shape that represents the prop you want to create. This can be made from cardboard, foam, or even 3D printed. The mold will help you shape and form the Worbla into the desired shape.
Step-by-Step Worbla Prop Making Guide
Step 1: Cutting and Shaping the Worbla
Cut a piece of Worbla sheet to the desired size, leaving some excess material around the edges. Use a cutting tool to trim the Worbla to the correct shape, or use a template to help guide your cuts.
For more intricate designs, you can use Worbla's thermoplastic granules to add texture or details. Simply sprinkle the granules onto the Worbla sheet and heat them with a heat gun or hair dryer to melt and shape.
Step 2: Heating and Forming the Worbla
Using a heat gun or hair dryer, heat the Worbla sheet until it becomes pliable and can be molded. Be careful not to overheat the Worbla, as it can become too soft and lose its shape.
Once the Worbla is heated, carefully place it over your mold or shape, making sure to cover the entire surface. Use your hands or a tool to shape and form the Worbla into the desired shape.
Step 3: Cooling and Shaping the Worbla
Allow the Worbla to cool and harden completely. This may take several minutes, depending on the thickness of the Worbla and the ambient temperature.
Once the Worbla is cool, use a cutting tool to trim any excess material from the edges. You can also use a file or sandpaper to smooth out any rough edges or surfaces.
Step 4: Assembling and Finishing the Prop
If your prop requires multiple pieces, use adhesives to assemble the parts together. Make sure to follow the manufacturer's instructions for the adhesive you're using.
To add a finish to your prop, you can use paint, varnish, or other coatings. Make sure to test the finish on a small, inconspicuous area first to ensure it doesn't damage the Worbla.
Tips and Tricks for Working with Worbla
Here are some additional tips and tricks to keep in mind when working with Worbla:
- Always work in a well-ventilated area, as Worbla can release fumes when heated.
- Use a thermometer to monitor the temperature of your heat gun or hair dryer, as excessive heat can damage the Worbla.
- Experiment with different Worbla thicknesses and colors to achieve the desired effect.
- Practice makes perfect – don't be discouraged if your first project doesn't turn out as expected.
Conclusion and Resources
With these steps and tips, you're ready to start creating your own durable cosplay props with Worbla. Remember to experiment, practice, and have fun with the process.
For more information on Worbla and prop making, check out the following resources:
- Worbla's official website and tutorials: https://www.worbla.com
- BYO Cosplay's prop making tutorials and guides: https://byocosplay.com
- Online communities and forums for cosplay and prop making: https://www.cosplay.com