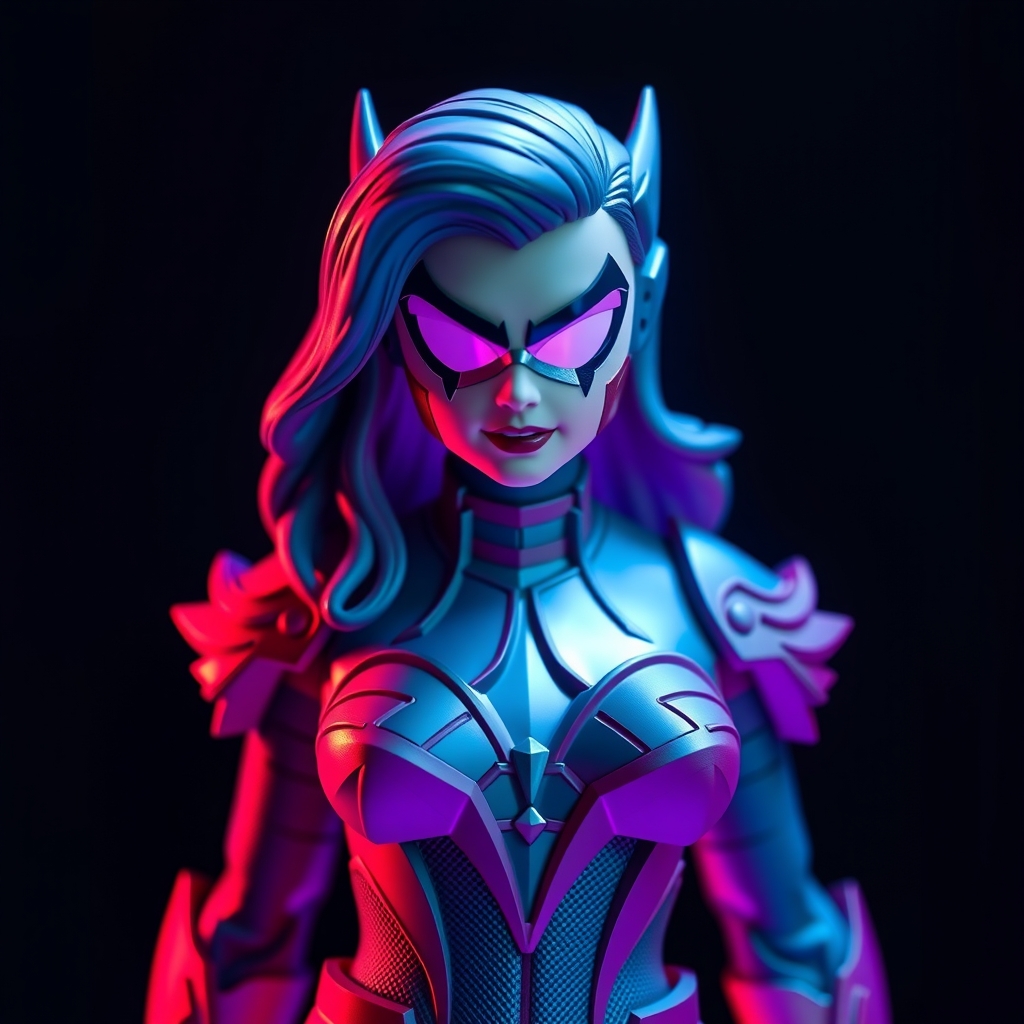
The barrier to entry for high-fidelity gaming cosplay often seems to be the cost of specialized materials. While high-density EVA foam and thermoplastics are industry standards, they can become expensive when building full suits of armor or oversized weaponry. The secret to professional-looking results on a budget is not finding cheaper versions of expensive materials, but identifying unconventional materials that possess the same structural properties.
Successful budget crafting requires a shift in perspective: looking at an object not for its intended purpose, but for its geometry, rigidity, and how it reacts to adhesives. By integrating these ten unconventional materials, you can reduce your spending while adding unique textures and strengths to your builds.
Structural Bases and Bulk
1. Corrugated Cardboard and Cereal Boxes
While often dismissed as "beginner" materials, cardboard is a powerhouse for gaming props. Corrugated cardboard provides excellent structural rigidity for large weapons or shields. To avoid the "cardboard look," use a technique called "skinning," where you cover the cardboard frame with a thinner material or a layer of fabric. Cereal boxes (chipboard) are ideal for smaller, detailed armor plates because they are thinner and can be curved more easily than corrugated sheets.
2. PVC Pipe and Plumbing Fittings
For gaming props that require a sturdy core—such as staves, oversized swords, or mechanical arms—PVC pipe is indispensable. It provides a level of stability that foam cannot match. To make PVC look like metal or organic material, wrap it in athletic tape or thin foam, then sand the joints to create seamless transitions. Plumbing elbows and T-joints are perfect for creating the "tech" look common in sci-fi gaming armor.
3. Insulation Foam Board
Found in hardware stores, rigid XPS (extruded polystyrene) foam is the gold standard for carving organic shapes, such as rocky terrain for a diorama or thick, sculpted armor plating. Unlike EVA foam, which is flexible, insulation foam can be carved with a hobby knife or sanded to a precise edge. It is particularly useful for creating "hard" edges on futuristic armor that must remain perfectly straight.
Detailing and Texture
4. Plastic Bottle Caps and Containers
Gaming armor is often defined by "greebles"—small, non-functional details that make a prop look complex and mechanical. Plastic bottle caps, shampoo lids, and the rings from soda bottles are perfect for this. When glued to a surface and painted with a metallic finish, these items transform into buttons, vents, bolts, or power cells. The key is to vary the sizes and placements to create a believable mechanical logic.
5. Mesh Packaging and Netting
The plastic netting used to hold fruit or the mesh found in electronics packaging can be repurposed for futuristic "energy" effects or reinforced armor sections. By stretching mesh over a curved surface and painting it, you can simulate carbon fiber or high-tech fabrics. If you apply a layer of glue or resin over the mesh, it becomes a rigid, textured surface that catches the light realistically.
6. Old Credit Cards and Gift Cards
Expired plastic cards are a fantastic source of thin, durable plastic. They can be cut into precise geometric shapes for small armor accents or heated slightly to be bent into curved brackets. Because they are already smooth, they require very little sanding before painting, making them ideal for the sleek, polished surfaces found in cyberpunk-style gaming gear.
Surface Finishing and Reinforcement
7. Duct Tape and Electrical Tape
Beyond simple repairs, tape can be a primary construction material. "Tape-casting" involves wrapping a shape in tape to create a durable, flexible shell. Electrical tape is particularly useful for adding "cable" details to armor or creating ribbed textures on gauntlets. When used as a base, duct tape can be coated in a layer of sealant or primer to remove the sticky residue and prepare it for paint.
8. Newspaper and Flour Paste (Papier-Mâché)
For organic, asymmetrical gaming props—like monster horns, organic armor, or weathered stone—modernized papier-mâché is an underrated tool. By layering strips of newspaper with a mixture of flour and water (or white glue), you can build up significant volume without adding much weight. Once dry, the surface can be sanded and primed, providing a rock-hard base that is incredibly cheap to produce.
9. Bubble Wrap
Bubble wrap is not just for shipping; it is an excellent tool for creating "padded" armor or futuristic textures. When painted, the circular protrusions can look like reinforced plating or biological textures. For a more advanced technique, you can heat-shrink certain types of plastic wrap or bubble packaging over a form to create a tight, organic skin that looks like alien armor.
10. Egg Cartons
The molded pulp of egg cartons is an excellent material for creating "distressed" textures. When torn and glued in layers, it mimics the look of rusted metal, decayed leather, or volcanic rock. This is particularly useful for "wasteland" style gaming cosplays where the gear is meant to look salvaged and worn. Painting these with a heavy dry-brush technique emphasizes the irregular texture.
Putting It All Together: The Budget Workflow
Integrating these materials requires a strategic approach to ensure the final product doesn't look like a collection of household scraps. Follow this workflow to maintain a professional finish:
- The Skeleton: Start with your most rigid materials (PVC pipe, corrugated cardboard) to establish the scale and structure.
- The Volume: Add bulk using insulation foam or papier-mâché to create the primary shapes of the armor or prop.
- The Detail: Apply your "greebles" (bottle caps, plastic cards) to add complexity and visual interest.
- The Sealant: This is the most critical step. Use a primer, a mixture of glue and water, or a dedicated sealant to unify the different materials. This hides the seams between a plastic cap and a cardboard base.
- The Paint: Use a consistent color palette. A unified paint job—especially one with consistent highlighting and weathering—tricks the eye into seeing the object as a single, cohesive material rather than a mix of repurposed items.
By focusing on the physical properties of these unconventional materials, you can create stunning, durable gaming cosplay without a massive financial investment. The most impressive builds are often not those made with the most expensive tools, but those that demonstrate the most creativity in problem-solving.