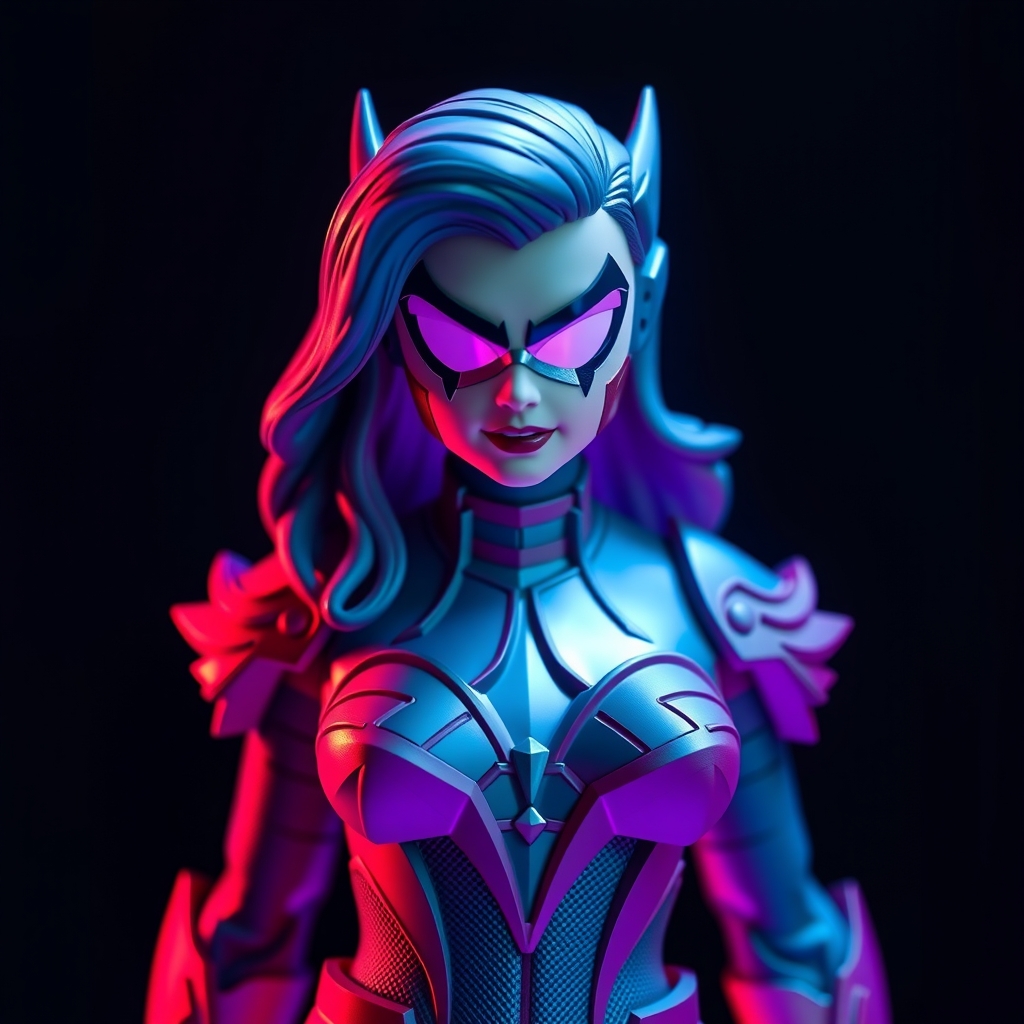
Introduction to Miniature Cosplay Figures
Miniature cosplay figures have become increasingly popular among cosplayers and prop-makers, allowing for intricate details and precise designs that can be difficult to achieve with traditional crafting methods. By combining 3D printing and painting techniques, you can create stunning miniature figures that bring your favorite characters to life. In this guide, we'll explore the process of designing, 3D printing, and painting miniature cosplay figures, providing you with the skills and knowledge needed to take your prop-making to the next level.
Designing Your Miniature Figure
Before you begin 3D printing and painting, it's essential to have a well-designed model. You can either create your own design using computer-aided design (CAD) software or source a pre-made model from online repositories. When designing your miniature figure, consider the following factors:
- Scale: Determine the size of your miniature figure, taking into account the materials and techniques you'll use for printing and painting.
- Detail: Balance intricate details with printability, ensuring that your design is feasible with your 3D printing setup.
- Material: Choose a design that accommodates the properties of your printing material, such as resin, plastic, or metal.
Popular CAD software for designing miniature figures includes Blender, Tinkercad, and Fusion 360. If you're new to 3D modeling, consider starting with pre-made models or tutorials to develop your skills.
3D Printing Your Miniature Figure
Once you have a design, it's time to 3D print your miniature figure. There are several 3D printing technologies to choose from, including:
- Fused Deposition Modeling (FDM): A popular and affordable method, ideal for printing with plastic filaments.
- Stereolithography (SLA): A resin-based method, suitable for creating highly detailed and accurate prints.
- Selective Laser Sintering (SLS): A powder-based method, often used for printing with metal or plastic powders.
When 3D printing your miniature figure, ensure that your printer is calibrated and optimized for the specific material you're using. You may need to adjust settings such as layer height, infill density, and support material to achieve the best results.
Painting and Finishing Your Miniature Figure
After 3D printing, your miniature figure will likely require post-processing and painting to achieve a realistic and visually appealing finish. The following steps will help you achieve a stunning finish:
- Cleaning and Sanding: Remove any excess material, such as support structures or layer lines, using sandpaper or a hobby knife.
- Priming: Apply a primer to create a uniform base coat and improve paint adhesion.
- Painting: Use acrylic or enamel paints to add color and details to your miniature figure.
- Sealing: Apply a clear coat to protect your paint and give your figure a glossy finish.
When painting, use reference images to ensure accuracy and attention to detail. Experiment with different techniques, such as drybrushing, washes, or layering, to achieve a realistic and weathered look.
Tips and Tricks for Mastering Miniature Cosplay Figures
To take your miniature cosplay figures to the next level, consider the following tips and tricks:
- Experiment with different materials and printing techniques to achieve unique textures and effects.
- Pay attention to scale and proportion, ensuring that your miniature figure is accurate and visually appealing.
- Use reference images and real-world observations to inform your design and painting decisions.
- Practice patience and persistence, as creating miniature cosplay figures can be a time-consuming and iterative process.
By mastering the art of 3D printing and painting miniature cosplay figures, you'll be able to create stunning props and characters that showcase your creativity and skill. Whether you're a seasoned prop-maker or just starting out, this guide has provided you with the foundation to bring your miniature marvels to life.