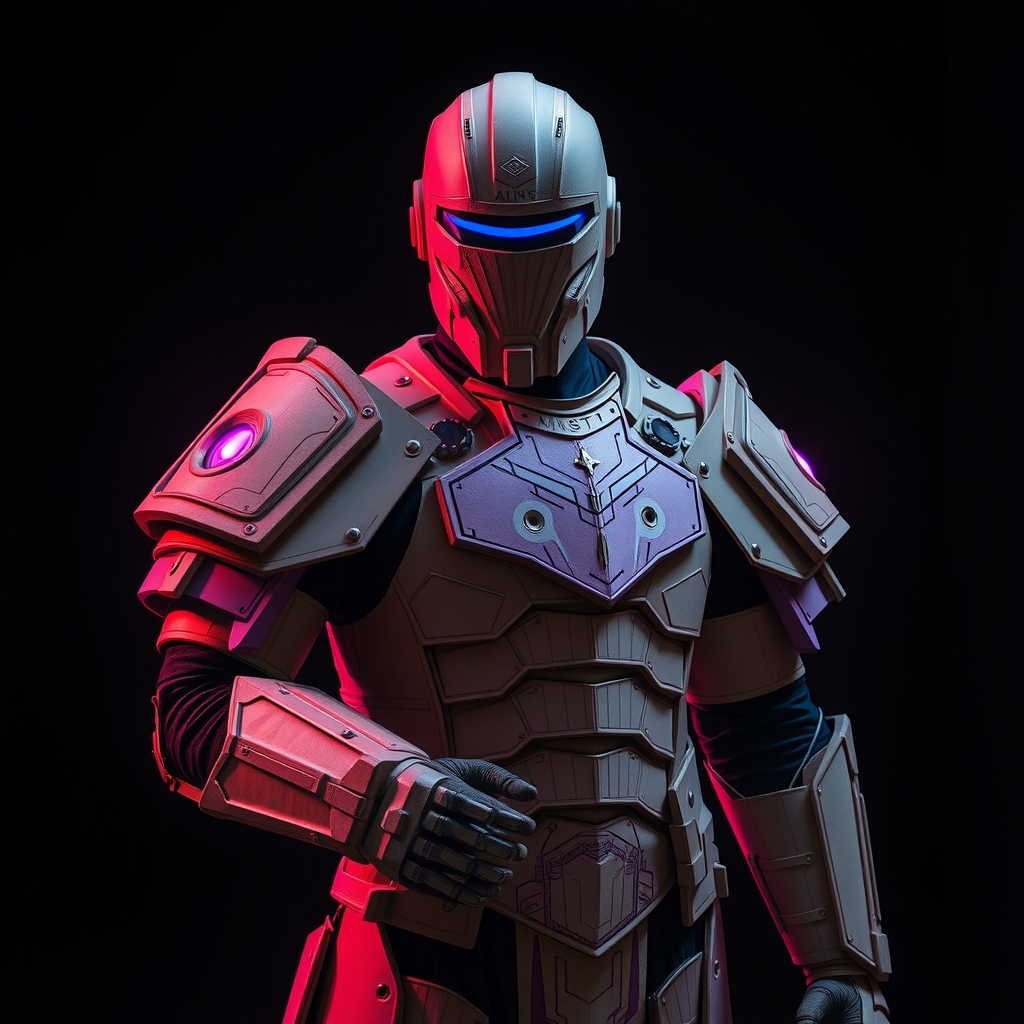
For many cosplayers, the barrier to entry for armor building is the cost of high-density EVA foam and the specialized tools required to shape it. While foam is the industry standard, some of the most impressive builds in the community began with materials found in a recycling bin. Cardboard and papier-mâché are not just "beginner" materials; when used with an understanding of structural engineering and surface preparation, they can produce rigid, lightweight armor that rivals professional builds.
Understanding Your Base: Selecting the Right Cardboard
Not all cardboard is created equal. To build armor that holds its shape and resists collapsing, you must choose your substrate based on the specific needs of the piece.
Corrugated Cardboard
This is the standard shipping box material. It is excellent for large, flat surfaces like chest plates or shoulder pauldrons. The internal "fluting" provides vertical strength, but it can be prone to creasing. To maximize its strength, always align the fluting to run in the direction of the most significant stress on the garment.
Cereal Box Cardboard (Chipboard)
Thin, flexible cardboard is ideal for detailing, organic curves, and layering. Because it lacks the internal fluting of shipping boxes, it can be rolled or curved without the "kinking" effect. Use chipboard for gauntlets, bracers, or adding decorative trim to larger pieces.
The Architecture of the Build: Shaping and Assembly
The secret to making cardboard look like metal or plastic is removing the "boxy" appearance. This is achieved through a combination of scoring and strategic layering.
Scoring for Curves
To create a curve without folding the cardboard, use a technique called scoring. Use a utility knife to cut through only the top layer of the cardboard, leaving the bottom layer intact. This allows the material to bend smoothly. For tighter radii, make multiple shallow scores close together. This creates a rounded surface that mimics the curvature of a human body.
Structural Triangulation
Cardboard can be flimsy if left as a single sheet. To add rigidity, integrate internal supports. Small triangles of cardboard glued into the corners of a piece act as gussets, preventing the armor from sagging. For larger pieces, such as a breastplate, glue two layers of cardboard together with the grain of the fluting running in opposite directions. This "cross-graining" creates a composite material that is significantly stronger than a single thick sheet.
Reinforcing with Papier-Mâché
While cardboard provides the skeleton, papier-mâché provides the skin. This process seals the porous edges of the cardboard and adds a hard, shell-like finish that is easier to paint.
The Glue Mixture
Avoid using flour-based pastes, which can attract pests or mold over time. Instead, use a mixture of white PVA glue and water. A ratio of two parts glue to one part water typically provides a strong bond that dries hard and clear. For areas requiring extreme durability, a small amount of joint compound or acrylic medium can be mixed in to create a thicker, more sculptural paste.
The Layering Process
Tear your paper into small, irregular strips rather than cutting them with scissors. Torn edges blend into one another more seamlessly, reducing the number of visible ridges. Apply the strips in overlapping layers, ensuring that each new layer runs in a different direction than the previous one. This creates a woven structural integrity similar to fiberglass.
Pro Tip: Do not apply too many layers at once. Applying three or four thin layers with drying time in between prevents the cardboard core from becoming oversaturated and warping. If the base becomes too damp, it may lose its structural shape.
Surface Refinement and Sanding
The most common mistake in budget armor is leaving the "bumpy" texture of the paper. To achieve a professional, smooth finish, you must move from the additive phase to the subtractive phase.
Filling the Gaps
Once the papier-mâché is completely dry, use a lightweight spackle or wood filler to plug any holes, seams, or deep ridges. Apply the filler with a putty knife, smoothing it as much as possible. Let it dry completely before moving to the next step.
Sanding for Precision
Use a medium-grit sandpaper to knock down the high points of the papier-mâché, then switch to a fine-grit sandpaper to smooth the filler. Sand in circular motions to avoid creating flat spots on curved armor. The goal is to create a surface where the transition between the cardboard base and the papier-mâché is invisible to the touch.
Painting and Finishing for Realism
Cardboard and paper are highly absorbent. If you apply paint directly to the surface, it will soak in, causing the material to soften and the color to look dull.
Priming the Surface
Apply a primer before any color. A spray-on primer designed for plastic or a mixture of PVA glue and grey acrylic paint works well. The primer seals the pores of the paper and provides a uniform base for the final colors. If you notice any new imperfections after priming, this is your last chance to sand them down.
Creating Metallic Effects
To make cardboard look like steel or gold, use the "dry brushing" technique. Paint the entire piece in a dark base color, such as black or deep brown. Once dry, dip a stiff brush into a metallic acrylic paint, wipe most of the paint off onto a paper towel, and lightly flick the brush across the raised edges of the armor. This highlights the "wear and tear" and gives the piece a three-dimensional, weathered look.
Maintenance and Longevity
Because these materials are organic, they are susceptible to moisture. To ensure your armor lasts through multiple conventions, apply a clear sealant. A matte or glossy clear acrylic spray will lock in the paint and provide a water-resistant barrier. When storing your armor, avoid damp environments and use acid-free tissue paper to prevent the paint from sticking to other pieces of the costume.