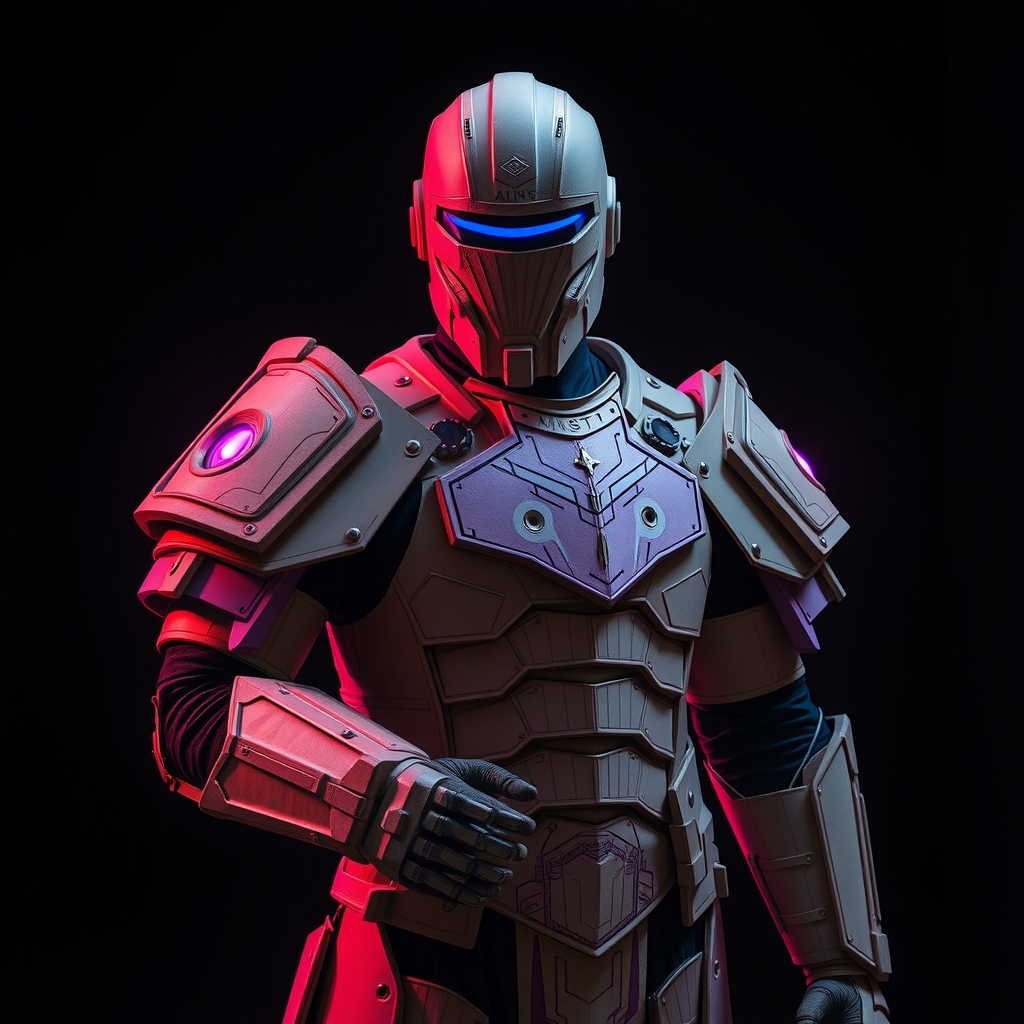
Introduction to Interactive Cosplay
As cosplayers, we're constantly looking for ways to improve our craft and bring our characters to life. One way to achieve this is by incorporating interactive elements into our costumes. Interactive cosplay allows us to engage with others in a more immersive and dynamic way, creating a memorable experience for both the cosplayer and the audience. In this guide, we'll explore how to create interactive cosplay using Raspberry Pi and LED lighting.
Getting Started with Raspberry Pi
Raspberry Pi is a small, affordable computer that's perfect for DIY projects. To get started, you'll need a Raspberry Pi board, a power source, and a few basic components like a keyboard, mouse, and monitor. You'll also need to install an operating system, such as Raspbian, which is specifically designed for Raspberry Pi.
Once you have your Raspberry Pi set up, you can start exploring the various programming languages and software available. Python is a popular choice for Raspberry Pi projects, and there are many resources available for beginners.
LED Lighting for Cosplay
LED lighting is a great way to add visual interest to your cosplay. You can use LED strips, individual LEDs, or even LED matrices to create a wide range of effects. When working with LED lighting, it's essential to consider the power source, wiring, and safety precautions.
For interactive cosplay, you'll want to focus on addressable LEDs, which can be programmed to display different colors and patterns. WS2812B and APA102 are popular types of addressable LEDs used in cosplay projects.
Creating Interactive Effects with Raspberry Pi and LED Lighting
Now that you have a basic understanding of Raspberry Pi and LED lighting, let's dive into creating interactive effects. One popular project is a reactive LED vest that responds to sound or movement. You can use a microphone or accelerometer to detect changes in the environment, and then program the Raspberry Pi to adjust the LED lighting accordingly.
Another idea is to create a LED-lit prop that can be controlled using a smartphone or tablet. You can use a Bluetooth or Wi-Fi module to connect your Raspberry Pi to a mobile device, and then use a app to send commands to the Raspberry Pi.
Step-by-Step Tutorial: Interactive LED Armor
Let's create a simple interactive LED armor piece using Raspberry Pi and LED lighting. Here's a step-by-step guide:
- Cut a piece of LED strip to the desired length and connect it to a Raspberry Pi.
- Install the necessary software and libraries, such as Python and the RPi.GPIO library.
- Write a simple Python script to control the LED lighting.
- Add a sensor, such as a button or accelerometer, to detect user input.
- Program the Raspberry Pi to respond to user input by changing the LED lighting pattern.
Tips and Safety Precautions
When working with electronics and LED lighting, it's essential to follow safety precautions to avoid damage or injury. Here are a few tips to keep in mind:
- Always follow proper wiring and soldering techniques.
- Use a suitable power source and ensure proper voltage regulation.
- Keep your project away from water and moisture.
- Test your project thoroughly before wearing it in public.
Conclusion and Resources
Creating interactive cosplay with Raspberry Pi and LED lighting is a fun and rewarding experience. With a little creativity and practice, you can bring your cosplay to life and take your craft to the next level. For more information and resources, check out the following links:
- Raspberry Pi official website: https://www.raspberrypi.org/
- LED strip tutorials: https://www.youtube.com/results?search_query=led+strip+tutorial
- Python programming resources: https://docs.python.org/3/