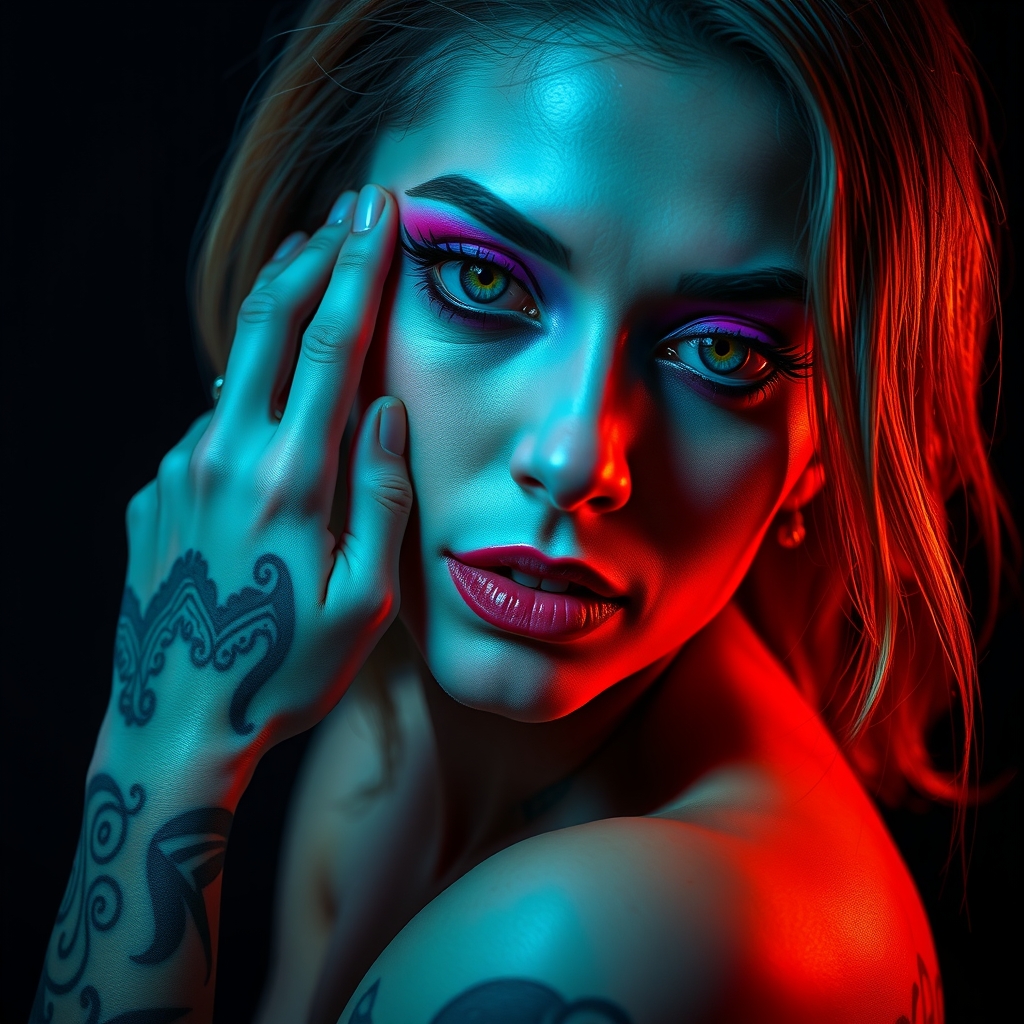
For many cosplayers, the final touch that transforms a costume from a garment into a character is the ink. Whether it is the intricate seals of a shinobi, the tribal markings of a warrior, or the futuristic circuitry of a cyborg, tattoos are often the most overlooked part of a build. Relying on standard eyeliner or permanent markers often leads to smudging, skin irritation, or a flat, unnatural appearance that looks "painted on" rather than embedded in the skin.
Achieving a professional look requires understanding the chemistry of skin-safe adhesives and the layering techniques used in special effects makeup. This guide covers three distinct methods for creating realistic cosplay tattoos, ranging from freehand painting to precision transfers.
Choosing Your Medium: Paint vs. Transfers
Before beginning, you must decide which method suits your design and the duration of your wear. Freehand painting offers the most flexibility for organic shapes but requires a steady hand. Transfers provide perfect symmetry and precision, which is essential for complex geometric patterns or written text.
Regardless of the method, always prioritize skin safety. Avoid using acrylics, permanent markers, or craft glues directly on the skin, as these can cause allergic reactions or be difficult to remove. Instead, utilize alcohol-activated paints, cosmetic-grade creams, or specialized temporary tattoo paper.
Alcohol-Activated Paints
These are the gold standard for professional cosplay. They are waterproof, smudge-proof, and translucent, meaning they mimic the way real ink sits beneath the epidermis. They only activate when touched with 99% isopropyl alcohol, making them virtually immune to sweat and costume friction.
Cosmetic Cream Paints
Cream paints are easier to apply and blend, making them ideal for larger areas of color. However, they require a strong setting powder or sealant to prevent them from transferring onto your costume fabrics.
Method 1: The Precision Transfer Technique
When your character has mirrored tattoos on both arms or complex calligraphy, freehanding is rarely the best option. Using a custom transfer ensures consistency across your entire build.
- Design the Art: Create your design digitally. If you are drawing by hand, ensure the lines are clean and bold.
- Print the Transfer: Use a temporary tattoo printer or a specialized inkjet transfer paper. If you do not have this equipment, you can print your design on standard paper, apply a thin layer of cosmetic glue to the skin, and lightly press the paper onto the skin before peeling it away to leave a faint guide.
- Application: Clean the skin with alcohol to remove oils. Apply the transfer and hold a damp cloth over it for 30 seconds.
- Enhancement: Temporary transfers often look "plastic." To fix this, lightly dab a matte translucent powder over the tattoo to remove the shine. For added depth, use a fine-tip brush and alcohol-activated paint to touch up the edges and darken the deepest parts of the design.
Method 2: Freehanding with Depth and Dimension
Real tattoos are rarely a solid, flat black. They fade into the skin and vary in saturation. To make your painted tattoos look realistic, you must layer your colors.
The Base Layer
Start with a slightly lighter shade than your final goal. For a black tattoo, start with a deep charcoal or navy blue. Use a synthetic detail brush to map out the primary shapes. Do not worry about perfection in this stage; focus on the overall proportions.
The Definition Layer
Once the base is set, use a pure black alcohol-activated paint to define the sharpest edges and the center of the lines. This creates a 3D effect, making the tattoo look as though it has depth.
The Blending Phase
Use a clean brush dampened with a small amount of alcohol to soften the edges where the tattoo meets the skin. This prevents the "sticker look" and mimics the natural diffusion of ink in the skin.
Method 3: The Stencil and Fill Approach
For those who lack confidence in their freehand skills but want the durability of professional paint, stencils are the ideal middle ground.
- Creating the Stencil: Use adhesive vinyl or surgical tape to cut out your design. The "negative space" should be the area where the tattoo will go.
- Applying the Paint: Apply the stencil firmly to the skin, ensuring there are no gaps at the edges. Use a stippling motion (tapping the brush vertically) rather than a brushing motion to push the paint into the skin. This prevents the paint from leaking under the stencil.
- The Reveal: Carefully peel away the stencil while the paint is still slightly tacky. This results in perfectly crisp lines that are far more durable than a standard temporary tattoo.
Sealing and Longevity
The greatest enemy of cosplay tattoos is "rub-off," especially in areas like the inner arm or neck where skin frequently touches fabric. Proper sealing is non-negotiable.
For Cream Paints: Apply a generous amount of colorless setting powder using a powder puff. Press the powder into the paint rather than dusting it on. Finish with a professional makeup setting spray.
For Alcohol Paints: These are naturally water-resistant, but a layer of matte sealant can prevent them from sticking to your costume. Avoid oil-based sealants, as these can break down the paint.
Safe Removal Processes
Removing heavy-duty body art can be taxing on the skin if done incorrectly. Scrubbing with soap and water is often ineffective for alcohol-based products.
- Oil-Based Cleansers: Use coconut oil, olive oil, or a professional makeup remover balm. Massage the oil into the tattoo for several minutes to break down the pigments.
- Micellar Water: For lighter transfers, micellar water on a cotton pad is the gentlest option.
- Post-Care: After removal, apply a fragrance-free moisturizer. Professional paints and alcohols can strip the skin of its natural oils, and moisturizing prevents irritation before your next convention.