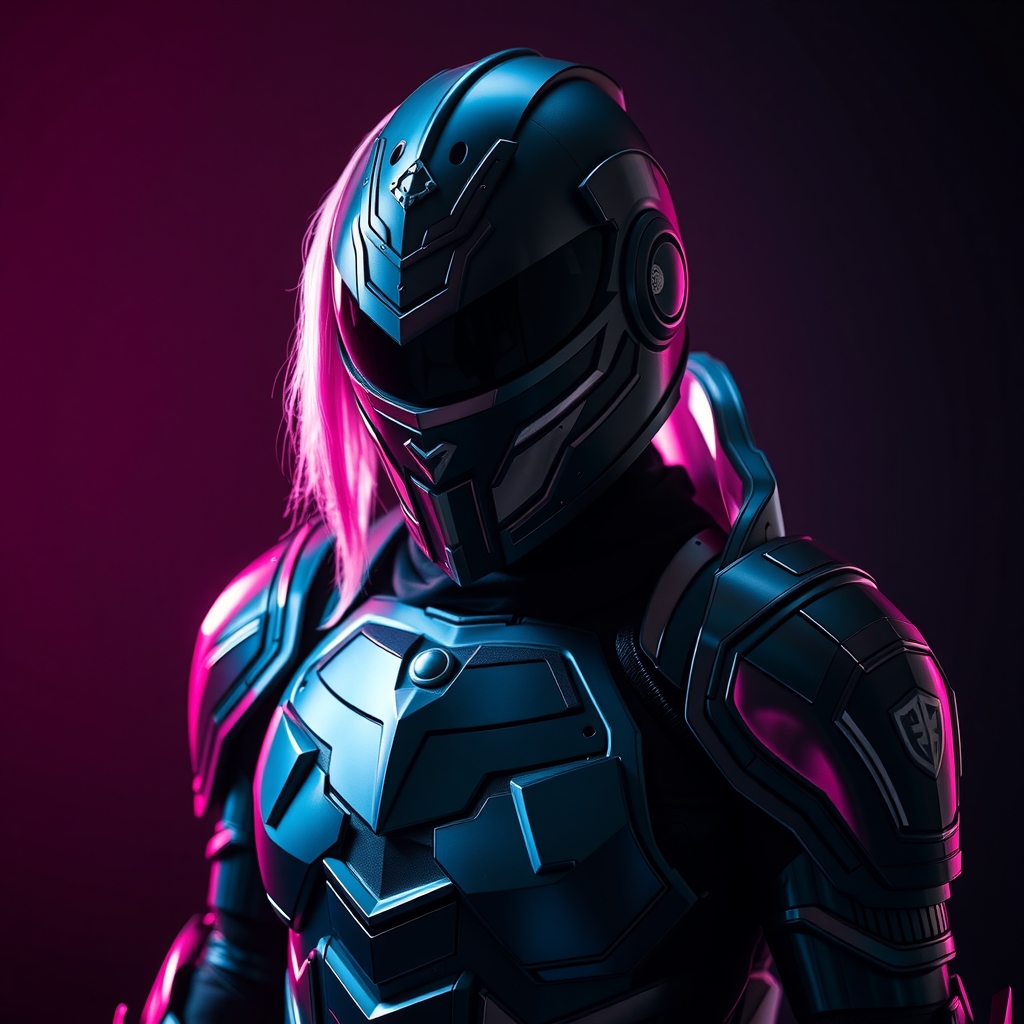
For many cosplayers, the "barrier to entry" for armor building often feels like a price tag. High-end heat-moldable thermoplastics are frequently marketed as the gold standard for creating organic shapes and durable plates. However, the cost per sheet can be prohibitive, especially for beginners or those tackling massive builds like full suits of plate armor or oversized weaponry.
The secret to professional-looking armor isn't the price of the raw material, but the finishing process. Most expensive thermoplastics are simply a medium for creating a shape; once that shape is sanded, primed, and painted, the original material is invisible. By shifting your focus to affordable, accessible alternatives, you can allocate your budget toward high-quality paints and electronics while still achieving a high-fidelity finish.
1. EVA Foam: The Versatile Workhorse
EVA (Ethylene-Vinyl Acetate) foam is the most widely used alternative to expensive thermoplastics because of its balance between weight, durability, and cost. Unlike heat-moldable plastics that require a heat gun for every single curve, EVA foam can be cut with a sharp knife and glued instantly.
Practical Application
To get the most out of EVA foam, utilize the "cut and bevel" technique. By cutting the edges of your foam at a 45-degree angle, you can create seamless corners that mimic the look of folded metal or molded plastic. For organic curves, use a heat gun to warm the foam, then press it against a shaped form or hold it in a curve until it cools.
Pro Tip for Budgeting
Avoid buying "cosplay-branded" foam kits. Instead, look for high-density floor mats or gym tiles at sporting goods stores. These are often the same material but sold in larger quantities for a fraction of the cost.
2. Worbla-Style Alternatives: PVC Foam Board
When a build requires rigid structural integrity—such as a large sword or a breastplate that cannot flex—foam may be too soft. PVC foam board (often sold as Sintra or expanded PVC) provides the rigidity of plastic but is significantly more affordable than specialty cosplay thermoplastics.
Working with PVC Board
PVC foam board is vacuum-formed, meaning it is lightweight but stiff. The primary advantage is its reaction to heat. When heated with a heat gun, it becomes pliable, allowing you to bend it into cylinders or curves. Once it cools, it retains that shape with much more rigidity than EVA foam.
Finishing the Surface
Because PVC board has a very smooth surface, it takes paint exceptionally well. However, to ensure the paint doesn't peel, always lightly sand the surface with medium-grit sandpaper to create "tooth" for the primer to grip.
3. Cardboard and Paper-Mache (The Hard-Shell Method)
While often dismissed as "school project" materials, cardboard and paper-mache can be engineered into incredibly strong armor when used with a layering technique. The key is not to leave the cardboard raw, but to use it as a structural skeleton.
The Layering Process
- The Skeleton: Build the basic shape using corrugated cardboard.
- The Skin: Cover the cardboard in masking tape or a thin layer of paper-mache to smooth out the ridges.
- The Hardener: Apply a mixture of wood glue and water, or a resin-based sealant, over the surface. This transforms the soft paper into a hard, plastic-like shell.
Enhancing the Detail
To add fine details like rivets or filigree, use hot glue or puffy paint on top of the hardened shell. Once painted with a metallic acrylic or spray paint, the cardboard origin is completely undetectable.
4. Craft Foam and Felt for Fine Detailing
Not every part of a costume needs to be heavy-duty. Using thick thermoplastics for small trim, jewelry, or decorative piping is an inefficient use of money. High-density craft foam (the thin, 2mm sheets) is an ideal replacement for these elements.
Creating "3D" Trim
Instead of molding plastic, cut thin strips of craft foam and layer them on top of your primary armor. This creates a tiered, dimensional look. Because craft foam is so light, you can add dozens of layers of detail without adding significant weight to the garment.
The Heat-Shrink Trick
If you apply a heat gun to thin craft foam, it will shrink and tighten. This is incredibly useful for creating tight-fitting gauntlets or boots that contour perfectly to your limb without needing expensive molding materials.
5. Upcycled Plastics: Packaging and Containers
Some of the best armor materials are already in your recycling bin. High-density polyethylene (HDPE) and other rigid plastics found in detergent bottles or food containers can be repurposed into armor plates.
The Melting and Shaping Technique
Plastic containers can be cut into flat sheets and then heat-formed. While you must be cautious of fumes (always work in a well-ventilated area), these plastics can be bent into sharp angles or curved shapes. They are naturally waterproof and extremely durable, making them perfect for footwear or lower-leg armor that frequently touches the ground.
Surface Preparation
Upcycled plastics are often glossy, which causes paint to flake. To fix this, use a plastic-specific primer or a mixture of glue and acrylic paint as a base layer to ensure the final color adheres permanently.
Comparing the Materials
Choosing the right material depends on the specific needs of the piece. Use the following guidelines to decide which budget alternative to employ:
- For large, curved surfaces: EVA Foam.
- For rigid, structural props: PVC Foam Board.
- For lightweight, complex shells: Hardened Paper-Mache.
- For intricate trim and filigree: Craft Foam.
- For high-wear, waterproof areas: Upcycled Plastics.
The Final Step: The "Professional" Finish
Regardless of which budget material you choose, the difference between a "homemade" look and a "professional" look is the finishing. To make budget materials look like expensive thermoplastics or metal, follow this sequence:
Sanding: Use a variety of sandpaper grits (from 120 to 400) to remove seams and imperfections. For foam, use a Dremel or a sanding block.
Sealing: Seal your material to close the pores. For foam, use a flexible sealant or a mixture of white glue and water. For plastics, use a sanding primer.
Priming: Apply a neutral grey or white primer. This reveals any remaining bumps that need sanding and provides a uniform base for your color.
Painting and Weathering: Use acrylics or spray paints. To truly hide the material, add "weathering"—dark washes in the crevices and silver dry-brushing on the edges—to simulate worn metal or battle-damaged plastic.