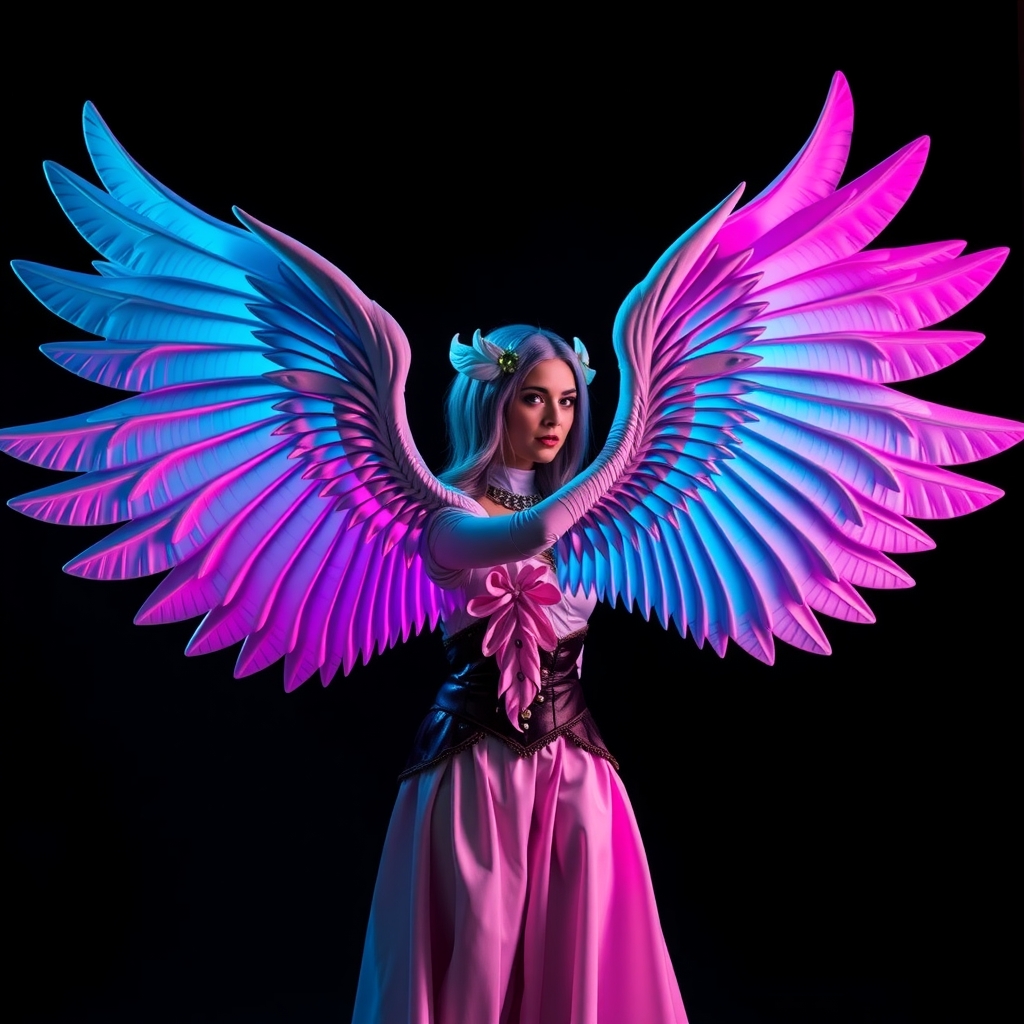
Designing Your Wings
Crafting hyper-realistic cosplay wings begins with a solid design concept. Start by researching reference images of the character's wings, taking note of their shape, size, and details. Consider the material and weight of your wings, as well as how they will be attached to your costume. Make a sketch or digital rendering of your design, including measurements and a list of required materials.
Choose a wing shape that is feasible to construct and wear comfortably. Consider the span, chord, and cambered surface of the wing, as well as any distinctive features such as feathers, membranes, or skeletal structure. You can also experiment with different wing styles, such as bat, bird, or insect-inspired designs.
Materials and Tools
To create your hyper-realistic cosplay wings, you will need the following materials:
- Worbla: a thermoplastic material ideal for creating durable, lightweight props
- Foam: a versatile material used for shaping and constructing the wing's framework
- Hot wire foam cutter: a tool for precision-cutting foam
- Heat gun: a tool for shaping and molding Worbla
- Adhesives: such as epoxy or super glue, for bonding materials
- Paint and finishing materials: for adding color and texture to your wings
Constructing the Wing Framework
Using your hot wire foam cutter, cut out the wing's framework from foam. You can also use a combination of foam and Worbla to create a more rigid structure. Start by creating the wing's skeleton, including the ribs and spar. This will provide a foundation for shaping the wing's surface.
Apply a thin layer of adhesive to the foam framework and attach a layer of Worbla, shaping it to conform to the wing's surface. Use a heat gun to mold and shape the Worbla, creating a smooth, even surface.
Adding Membrane and Details
To create the wing's membrane, apply a thin layer of Worbla to the framework, shaping it to create a smooth, taut surface. You can also use a combination of Worbla and fabric or translucent material to create a more realistic membrane.
Add details such as feathers, veins, or skeletal structure using a combination of paint, markers, and Worbla. You can also use a 3D printer or laser cutter to create intricate details such as feather attachments or wing tips.
Finishing and Painting
To achieve a hyper-realistic finish, apply multiple layers of paint and primer to your wings. Use reference images to match the color and texture of the character's wings. Consider adding weathering effects such as dirt, grime, or wear and tear to create a more realistic look.
Apply a clear coat to protect the paint and give the wings a glossy finish. You can also add a UV-resistant coating to prevent fading or discoloration.
Attaching the Wings
To attach the wings to your costume, consider using a harness or backpack-style attachment. This will distribute the weight of the wings evenly and provide a secure fit. You can also use adhesives, magnets, or Velcro to attach the wings to your costume.
Test the wings' stability and comfort before wearing them, making any necessary adjustments to the attachment or design.
Tips and Variations
To take your cosplay wings to the next level, consider adding motion or movement. You can use hinges, joints, or mechanical systems to create movable wings that add an extra layer of realism.
Experiment with different materials and techniques, such as using fabric or LED lights to create glowing or translucent effects. You can also add interactive elements, such as sensors or sound effects, to create a more immersive experience.
With practice and patience, you can create stunning, hyper-realistic cosplay wings that will elevate your costume to new heights.