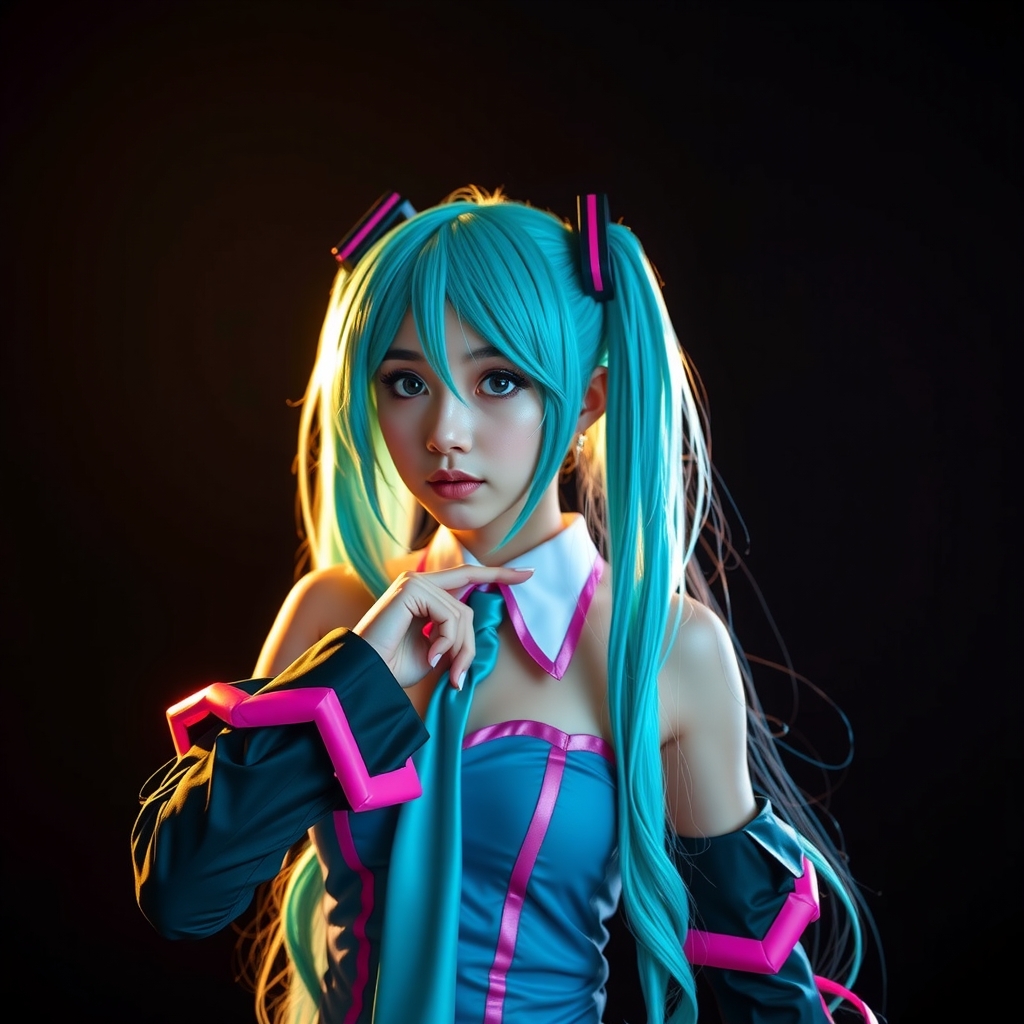
Introduction to MMD and 3D Cosplay Modeling
MikuMikuDance, commonly referred to as MMD, is a free 3D animation software that has gained immense popularity among cosplayers, animators, and 3D modelers. Developed by MikuMikuDance, the software allows users to create stunning 3D animations and models with ease. In the realm of cosplay, MMD has become an essential tool for creating intricate 3D models that bring characters to life. In this guide, we'll explore the world of MMD and provide a comprehensive overview of creating 3D cosplay models.
Getting Started with MMD
Before diving into the world of 3D cosplay modeling, it's essential to familiarize yourself with the MMD software. Start by downloading the latest version of MMD from the official website. Once installed, take some time to explore the interface, which consists of a 3D viewport, a timeline, and various toolbars.
To get started with MMD, you'll need to understand the basic concepts of 3D modeling, including vertices, edges, and faces. If you're new to 3D modeling, it's recommended to start with some online tutorials or courses to grasp the fundamentals.
Importing Characters and Accessories
One of the most exciting aspects of MMD is the ability to import custom characters and accessories. You can find a vast array of free 3D models and accessories online, created by the MMD community. To import a character or accessory, follow these steps:
- Download the desired 3D model or accessory in .pmx or .obj format.
- Launch MMD and select "File" > "Import" > "Model" (or press Ctrl + Shift + I).
- Navigate to the location of the downloaded file and select it for import.
- Adjust the model's settings, such as scale and rotation, as needed.
Character Design and Customization
With your character imported, it's time to customize and refine the design. MMD offers a wide range of tools and features to help you achieve the desired look. Here are some tips for character design and customization:
- Use the "Edit" mode to modify the character's mesh, adding or removing vertices, edges, and faces as needed.
- Apply textures and materials to enhance the character's appearance.
- Experiment with different lighting setups to achieve the desired mood and atmosphere.
Animation and Rigging
Animation is a crucial aspect of bringing your 3D cosplay model to life. MMD offers a range of animation tools, including keyframe animation and physics simulations. To create a basic animation, follow these steps:
- Set up your character and accessories in the desired pose.
- Create a new animation by selecting "File" > "New" > "Animation" (or press Ctrl + Shift + A).
- Use the timeline to create keyframes, defining the character's movement and actions.
- Adjust the animation's physics and dynamics to achieve a more realistic look.
Rendering and Post-Production
Once you've completed your animation, it's time to render the final image or video. MMD offers various rendering options, including real-time rendering and pre-rendering. Here are some tips for rendering and post-production:
- Experiment with different rendering settings, such as resolution and frame rate, to achieve the desired quality.
- Use post-processing effects, such as bloom and depth of field, to enhance the image.
- Consider using external video editing software for further refinement and editing.
Conclusion and Community Resources
Mastering MMD takes time and practice, but with dedication and patience, you can create stunning 3D cosplay models that bring characters to life. To further improve your skills, explore the MMD community, which offers a wealth of resources, including tutorials, models, and accessories.
Some recommended resources include:
- MMD official website and documentation
- MMD community forums and social media groups
- Online tutorials and YouTube channels dedicated to MMD and 3D modeling
With this comprehensive guide, you're ready to embark on your MMD journey and create breathtaking 3D cosplay models. Happy modeling and animating!