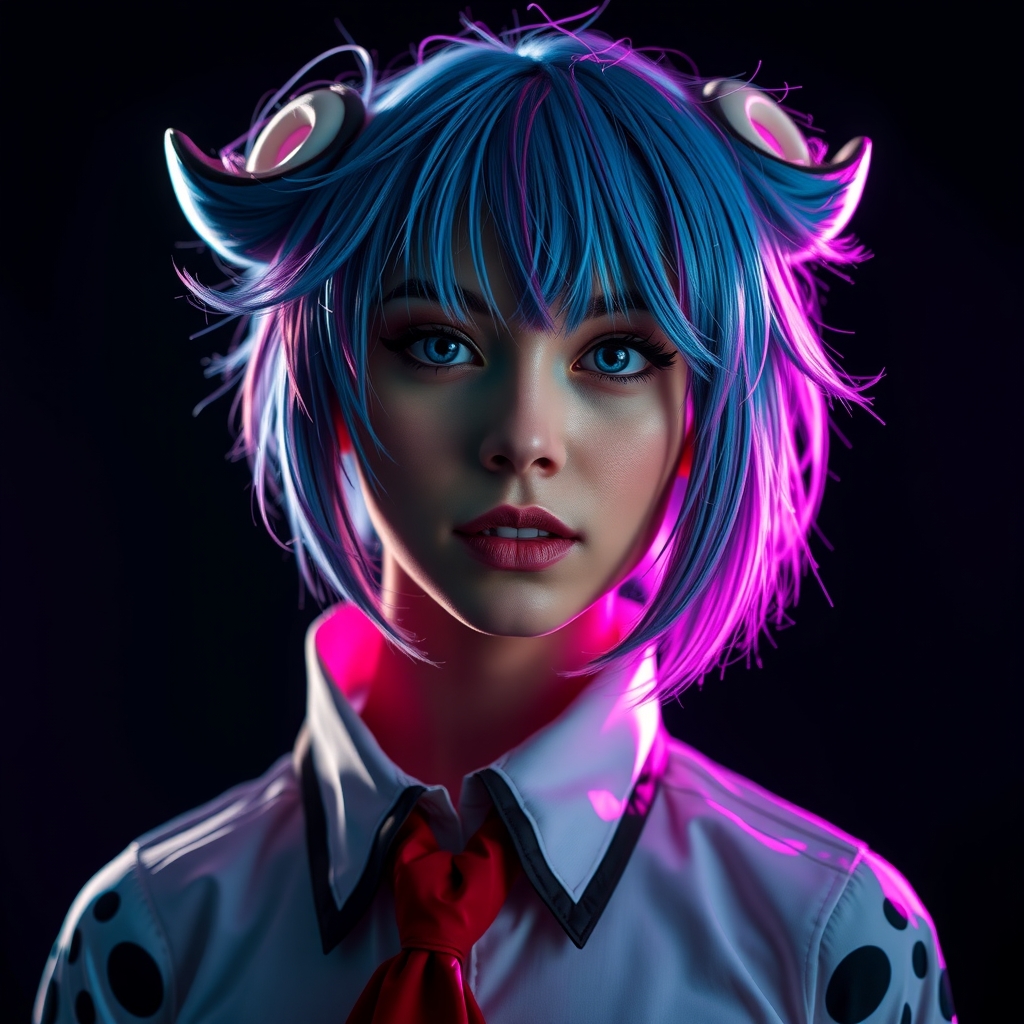
Introduction to Pattern Making for Cosplay
Creating a custom cosplay pattern can seem daunting, especially for beginners. However, with the right tools and a little practice, you can bring your character designs to life. Adobe Illustrator is a powerful vector graphics editor that can help you create precise and scalable patterns for your cosplay costumes. In this guide, we'll walk you through the process of creating custom cosplay patterns from scratch using Adobe Illustrator.
Setting Up Your Document
Before you start creating your pattern, it's essential to set up your document correctly. In Adobe Illustrator, go to File > New to create a new document. Choose a Units setting that you're comfortable with, such as inches or centimeters. Set the Color Mode to RGB and the Resolution to 300 dpi. For cosplay patterns, it's best to work in a CMYK color mode, but RGB is fine for the initial setup.
Understanding the Basics of Vector Graphics
Adobe Illustrator is a vector graphics editor, which means that it uses lines and curves defined by mathematical equations to draw shapes. This allows for scalable and precise designs. Familiarize yourself with the basic tools and functions, such as the Pen Tool, Shape Tools, and Layers panel.
Creating Your Character Design
Sketch your character design on paper or use a digital drawing tool to get a rough idea of the costume's shape and features. Then, use Adobe Illustrator to create a vector version of your design. You can use the Pencil Tool or Brush Tool to draw the basic shape of the costume.
Breaking Down the Costume into Pattern Pieces
A cosplay costume typically consists of multiple pattern pieces, such as bodices, sleeves, and skirts. Break down your character design into individual pattern pieces, taking into account the seams, folds, and other details. Use the Layer panel to organize your design into separate layers for each pattern piece.
Creating Pattern Pieces with Adobe Illustrator
To create a pattern piece, use the Pen Tool or Shape Tools to draw the shape of the piece. Use the Stroke and Fill options to add details such as seams, folds, or textures. You can also use the Pathfinder tool to create complex shapes by combining simple ones.
- Use the Pen Tool to draw precise lines and curves.
- Use the Shape Tools to create basic shapes, such as rectangles and ellipses.
- Use the Pathfinder tool to combine shapes and create complex designs.
Adding Seam Allowances and Notches
Seam allowances and notches are essential for sewing and assembling your costume. Use the Stroke option to add a seam allowance around each pattern piece. Add notches to indicate where seams should be matched or where fabric should be folded.
Refining and Testing Your Pattern
Once you've created all the pattern pieces, refine and test your pattern by making a muslin prototype. A muslin is a test garment made from inexpensive fabric, which allows you to check the fit and make adjustments before cutting into your final fabric.
- Cut out the pattern pieces and sew them together.
- Try on the muslin and make adjustments as needed.
- Refine your pattern pieces based on the changes you made.
Conclusion
Creating custom cosplay patterns with Adobe Illustrator takes practice, but with patience and dedication, you can bring your character designs to life. Remember to take your time, break down your design into individual pattern pieces, and refine your pattern through testing and iteration. Happy crafting!
For more information on creating custom cosplay patterns, check out these resources: